6.2 Printer assembly
With Original Prusa i3 MK2S printer kit we suggest to follow the guidelines and
assemble the kit according to the the online manual at manual.prusa3d.com. (Online
manual is available in several languages on the website). The construction of the
printer should not take more than one working day. After a successful completion
continue to the chapter 6.3 Setup before printing.
6.3 Setup before printing
● Place the printer to a horizontally stable position, best place is a workbench where
there is no risk of draft.
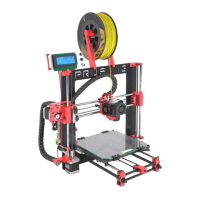
● Attach the filament holders to the upper frame.
● Attach Filament to the holders. Make sure the filament spool doesn’t jam and can
move freely.
● Plug in the AC power cord, check to make sure the proper setting for AC voltage is
selected (110V/220V) and turn on the switch.
● Check out the firmware version (in the Support menu via LCD panel) and please
upgrade to the latest one from our website www.prusa3d.com/drivers.
Filament is a common term for the plastic rod - material provided on a spool from
which 3D objects are printed.
6.3.1 Calibration flow
11