6.3.8 Loading the filament into the extruder
● You need to preheat the nozzle before inserting the filament (and the bed too if you
like to print right away). The temperature depends on the material used. Detailed
information about nozzle and bed temperatures are described at chapter 11
Materials.
● Press the LCD-knob to enter the main menu on the LCD. Rotate the button to choose
Preheat option and confirm by pressing the LCD-knob. Next you choose the material
you will print from. Choose a material then confirm with LCD-knob. The nozzle and
heatbed will heat to the requested temperature.
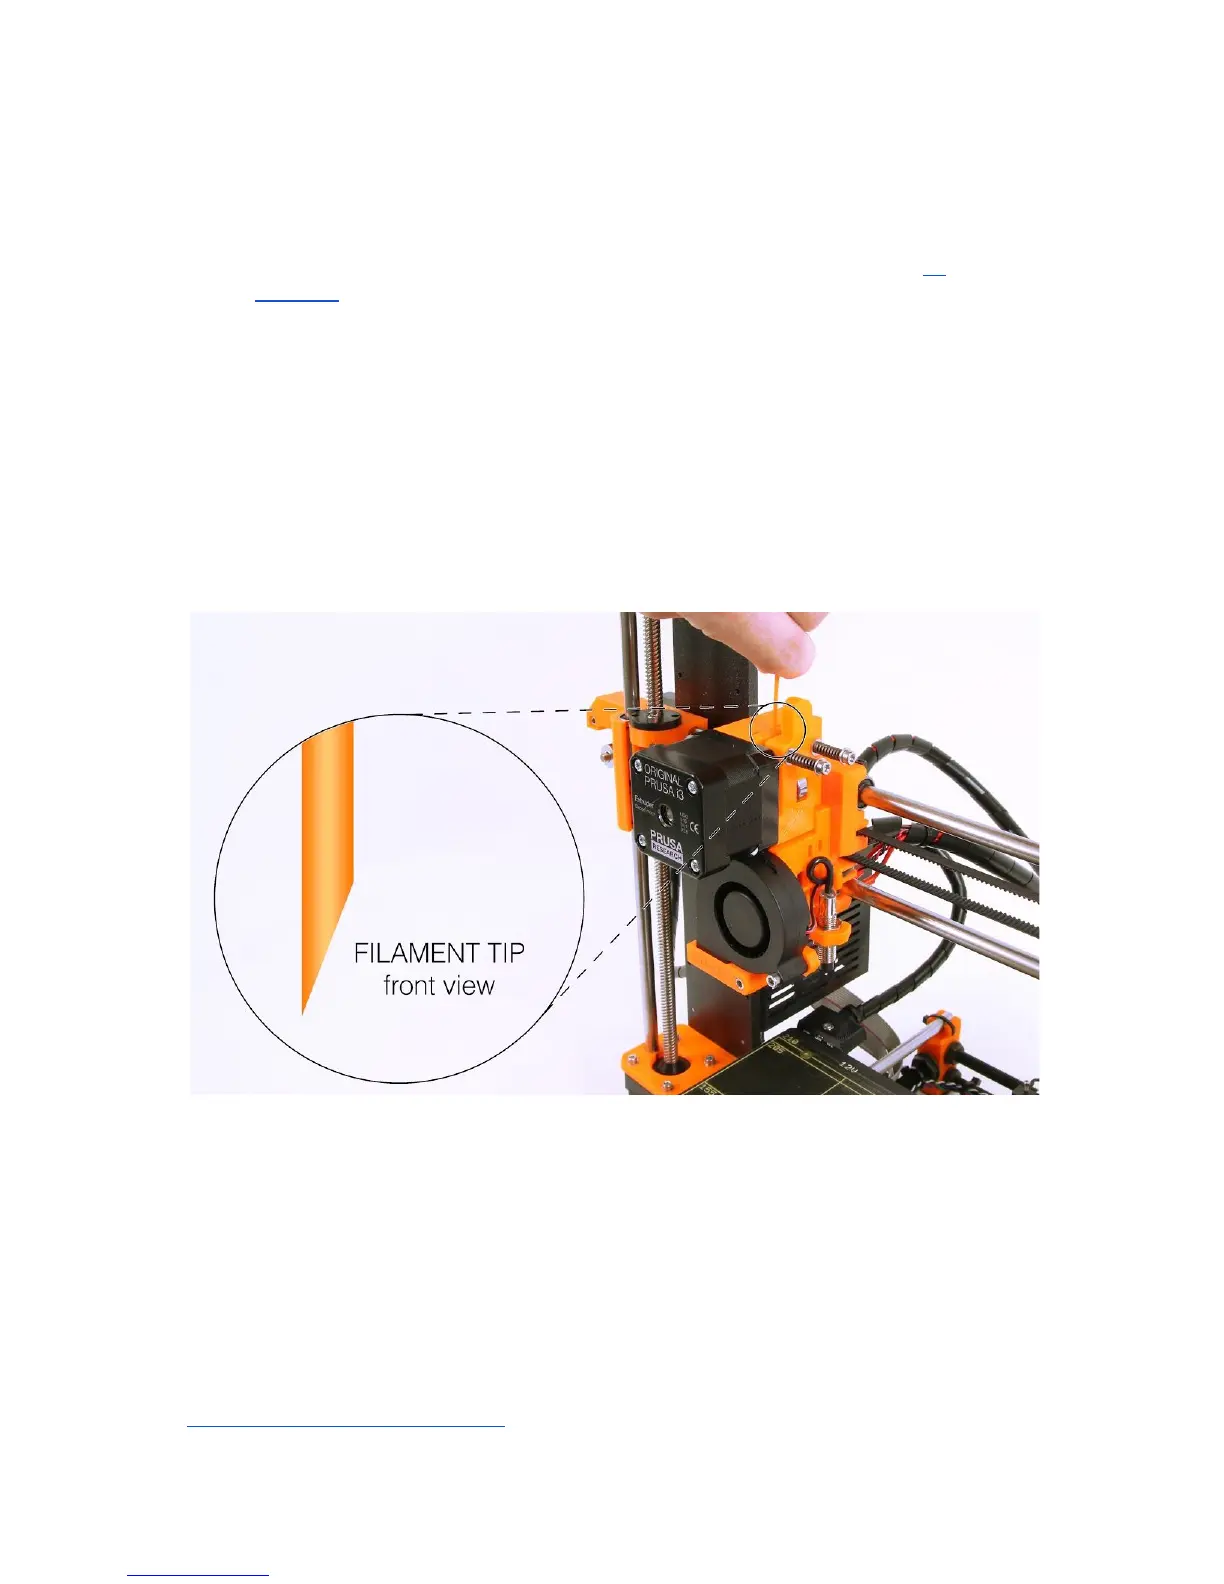
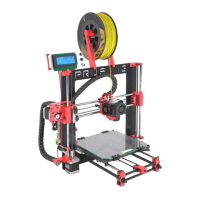
● Press the LCD-knob on the LCD panel to enter the main menu. Insert the filament to
the extruder, choose the Load filament option in the menu and press the button to
confirm. Filament is then loaded to the extruder by the extruder stepper
automatically. You should cut the top of the filament as shown in the picture below
(pict.6 - detail).
Pict.
6
-
Loading
the
filament
to
the
extruder
● Check if the filament is flowing from the nozzle.
● If you change the filament for a new one do not forget to completely remove the old
filament before the printing by extruding the filament from Settings - Move axis -
Extruder until the color is completely changed.
If your filament is running out during a print, you can easily change it for a new spool. Just go
to the LCD menu, select Tweak submenu and press Change filament. Printer will pause, go
out of the print area, unload the old filament and guide you on the LCD what to do. You can
even insert filament of different color and make your prints more colorful. Check out chapter
9.5 Printing in color with ColorPrint to find out how to make more intricate color models.
21