If your prints are stuck too well and don’t want to separate, try using a dental floss. Slide a
dental floss under the corner of the object which you previously separated by the spatula a in
saw like motion gently separate the object from the print surface. Dental floss is generally
covered in wax so the print surface needs to be cleaned thoroughly before a next print.
7.2 Printer Control
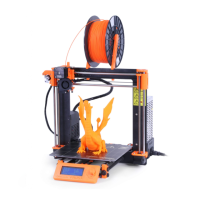
There are two ways controlling the printer. You can use the LCD panel integrated with the
printer or you can connect your computer with USB cable. We suggest the LCD panel
because of its speed and reliability, and moreover you do not rely on a computer.
7.2.1 LCD screen
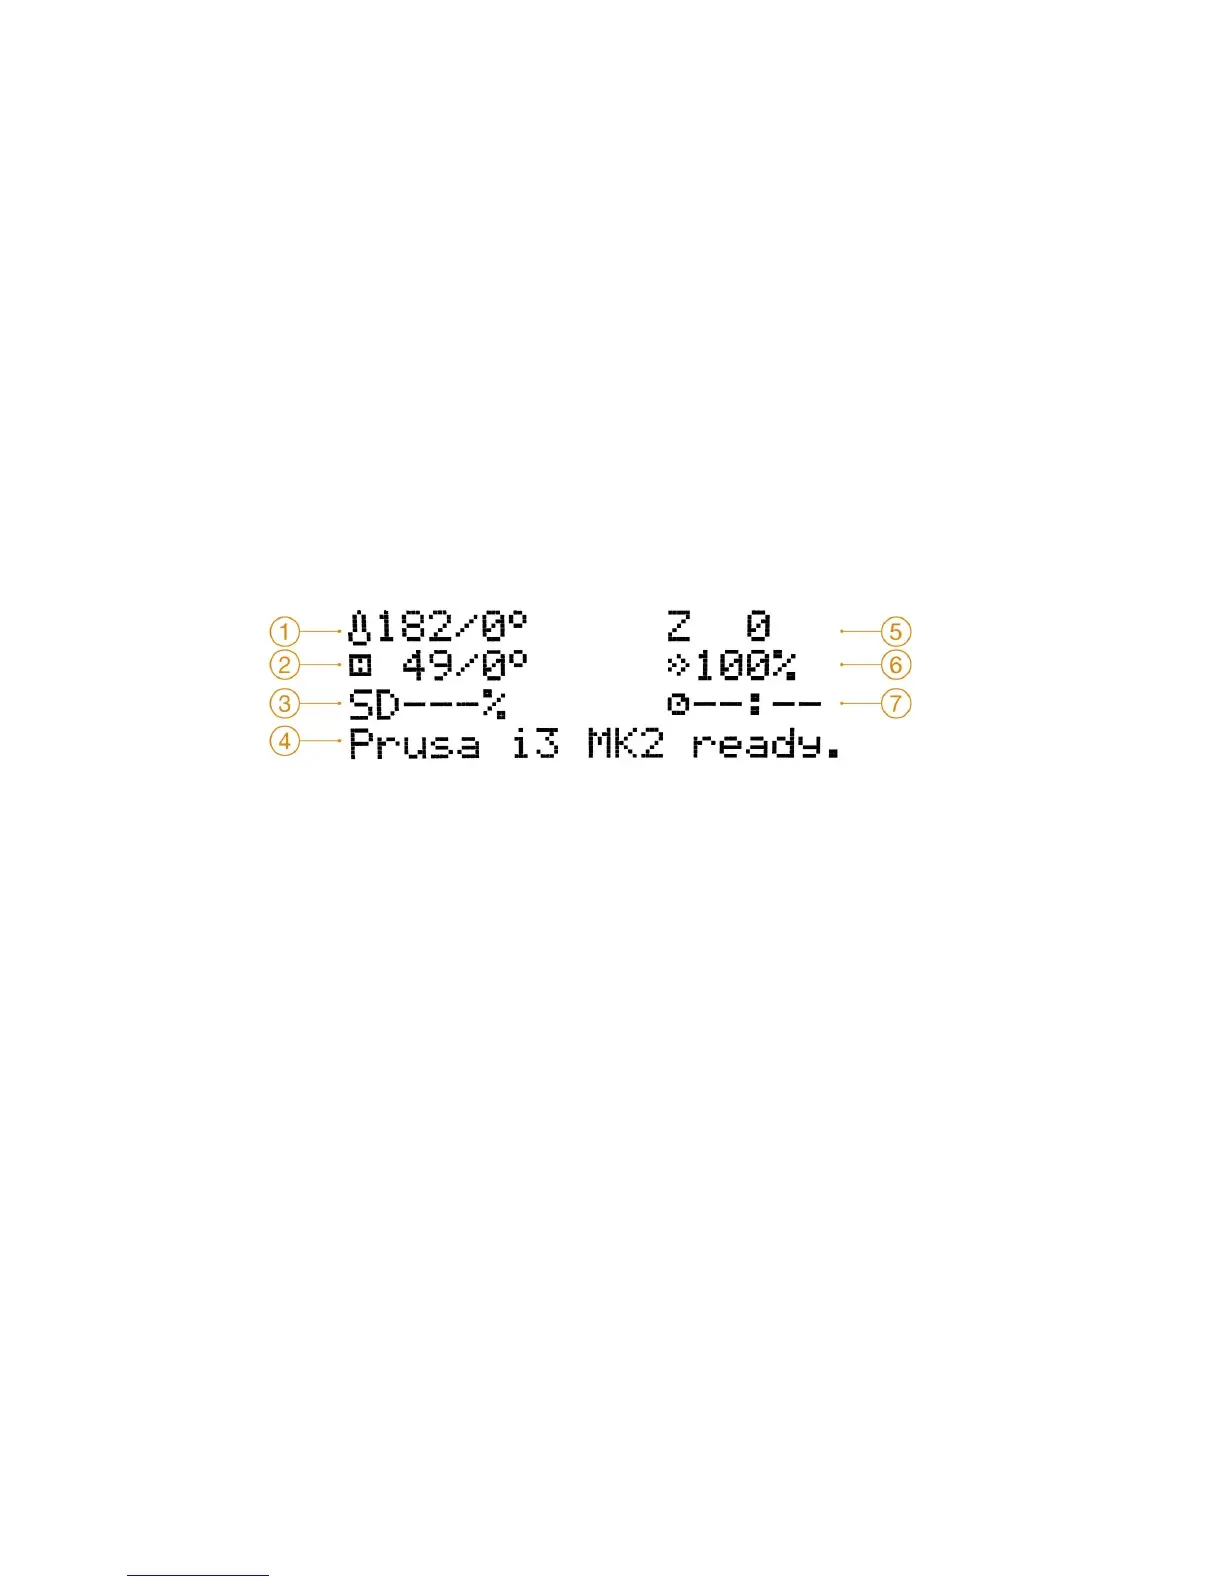
● Main screen is an information screen displaying the most important details. These
are the temperature of the nozzle and the heatbed (1, 2), printing time (3) and the
actual Z-axis position (5).
Pict.
12
-
LCD
layout
1. Nozzle temperature (actual / desired temperature)
2. Heatbed temperature (actual / desired temperature)
3. Progress of printing in % - shown only during the printing
4. Status bar (Prusa i3 MK2 ready / Heating / model_name.gcode, etc.)
5. Z-axis position
6. Printing speed
7. Elapsed printing time - shown only when printing
7.2.2 Print statistics
The printer tracks printing statistics. When you access this option during a print, you will see
statistics for the running print. If you do so while the printer is idle, you will see the lifetime
statistics. Both filament usage and print time is being tracked.
26