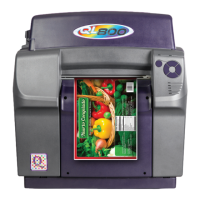
Getting Started
12 QL-800 User Guide
Using the After Shipping Wizard
After installing the driver, the QL-800 Maintenance Utility will be available for use. You
will use the After Shipping wizard in this utility to prepare the maintenance roller, install
ink cartridges, and install the printhead.
1 Launch the QL-800 Maintenance Utility.
From the Windows Start Menu, choose Start > All Programs > QuickLabel
QL-800 > QL-800 Maintenance Utility. A language and printer prompt will open.
Select a display language and the QL-800 printer you want to connect to. Choose
OK.
2 Choose the Cleaning tab.
3 Choose After Shipping. Follow the on-screen instructions to complete this
procedure. This wizard will guide you through the following actions.
• Preparing the Maintenance Roller - See “Preparing the Maintenance Roller” on
page 12.
• Installing Ink Cartridges - See “Installing Ink Cartridges” on page 13.
• Installing the Printhead - See “Installing the Printhead” on page 14.
Preparing the Maintenance Roller
A foam block is installed over the maintenance roller to protect it during shipping. Use
the following instructions to remove this foam block.
1 Open the top cover and remove the cinch strap [1].
2 Remove the foam support block [2] from the printer. Use caution when removing
the block to avoid dislodging the maintenance roller assembly.
Save the foam support block and strap for future shipping purposes.