QL-800 Maintenance Utility
QL-800 User Guide 61
Replacing the Maintenance Cartridge
When the maintenance cartridge is filled to capacity with collected ink, printing stops.
An error message and LED indicate this condition.
• A message indicating the maintenance cartridge is full will be displayed in the
Status Monitor and System Logs tab of the Maintenance Utility.
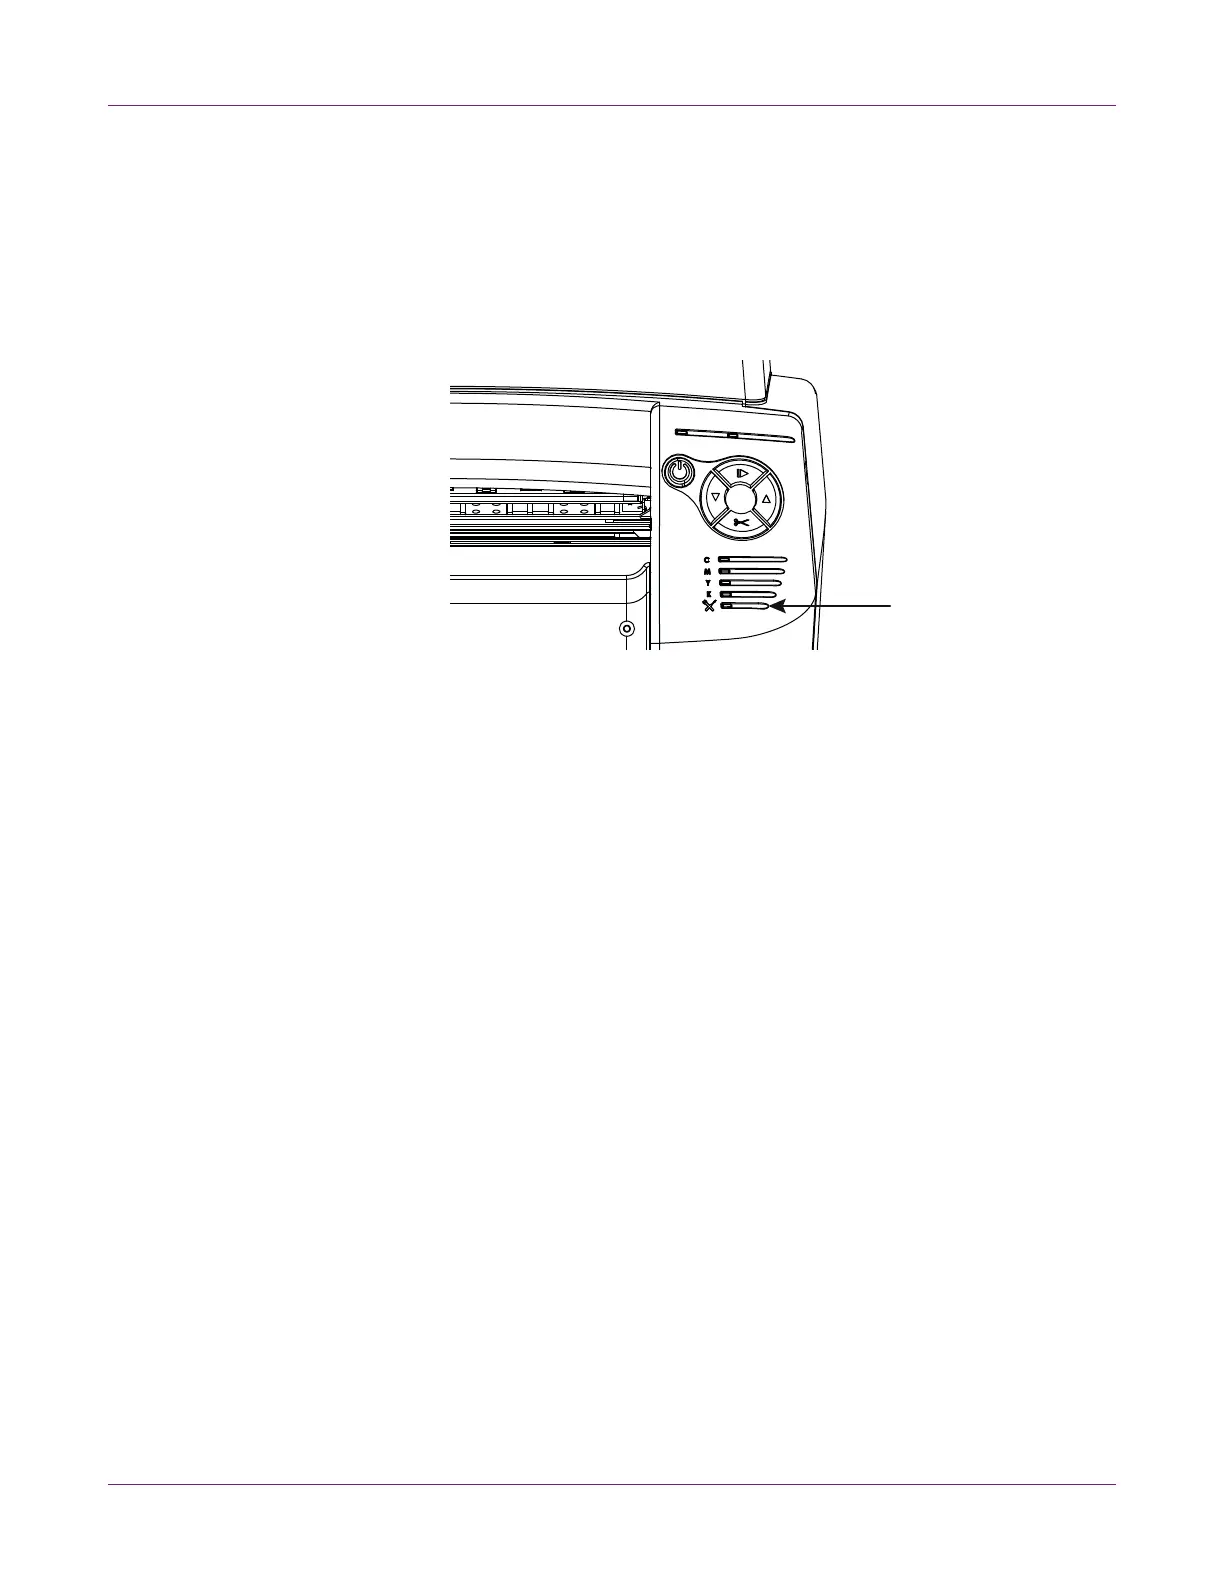
• The non-ink consumables LED will illuminate (solid).
Use the following procedure to replace the maintenance cartridge.
Note: For safety, keep the maintenance cartridge out of the reach of children. If ink is
accidentally ingested, contact a physician immediately.
• To prevent ink from leaking from a used maintenance cartridge, avoid dropping the
cartridge or storing it at an angle. Otherwise, ink may leak and cause stains.
• Ink adheres to the maintenance cartridge after it has been used. Handle the
maintenance cartridge carefully during replacement. The ink may stain clothing.
Note: Wear protective gloves to prevent ink from staining your hands during this
procedure.
1 Launch the QL-800 Maintenance Utility.
From the Windows Start Menu, choose Start > All Programs > QuickLabel
QL-800 > QL-800 Maintenance Utility. A language and printer prompt will open.
Select a display language and the QL-800 printer you want to connect to. Choose
OK.
2 Choose the Parts Replacement tab.
3 Select Maintenance Cartridge. Then choose Start. Follow the on-screen
instructions to complete this procedure.