24
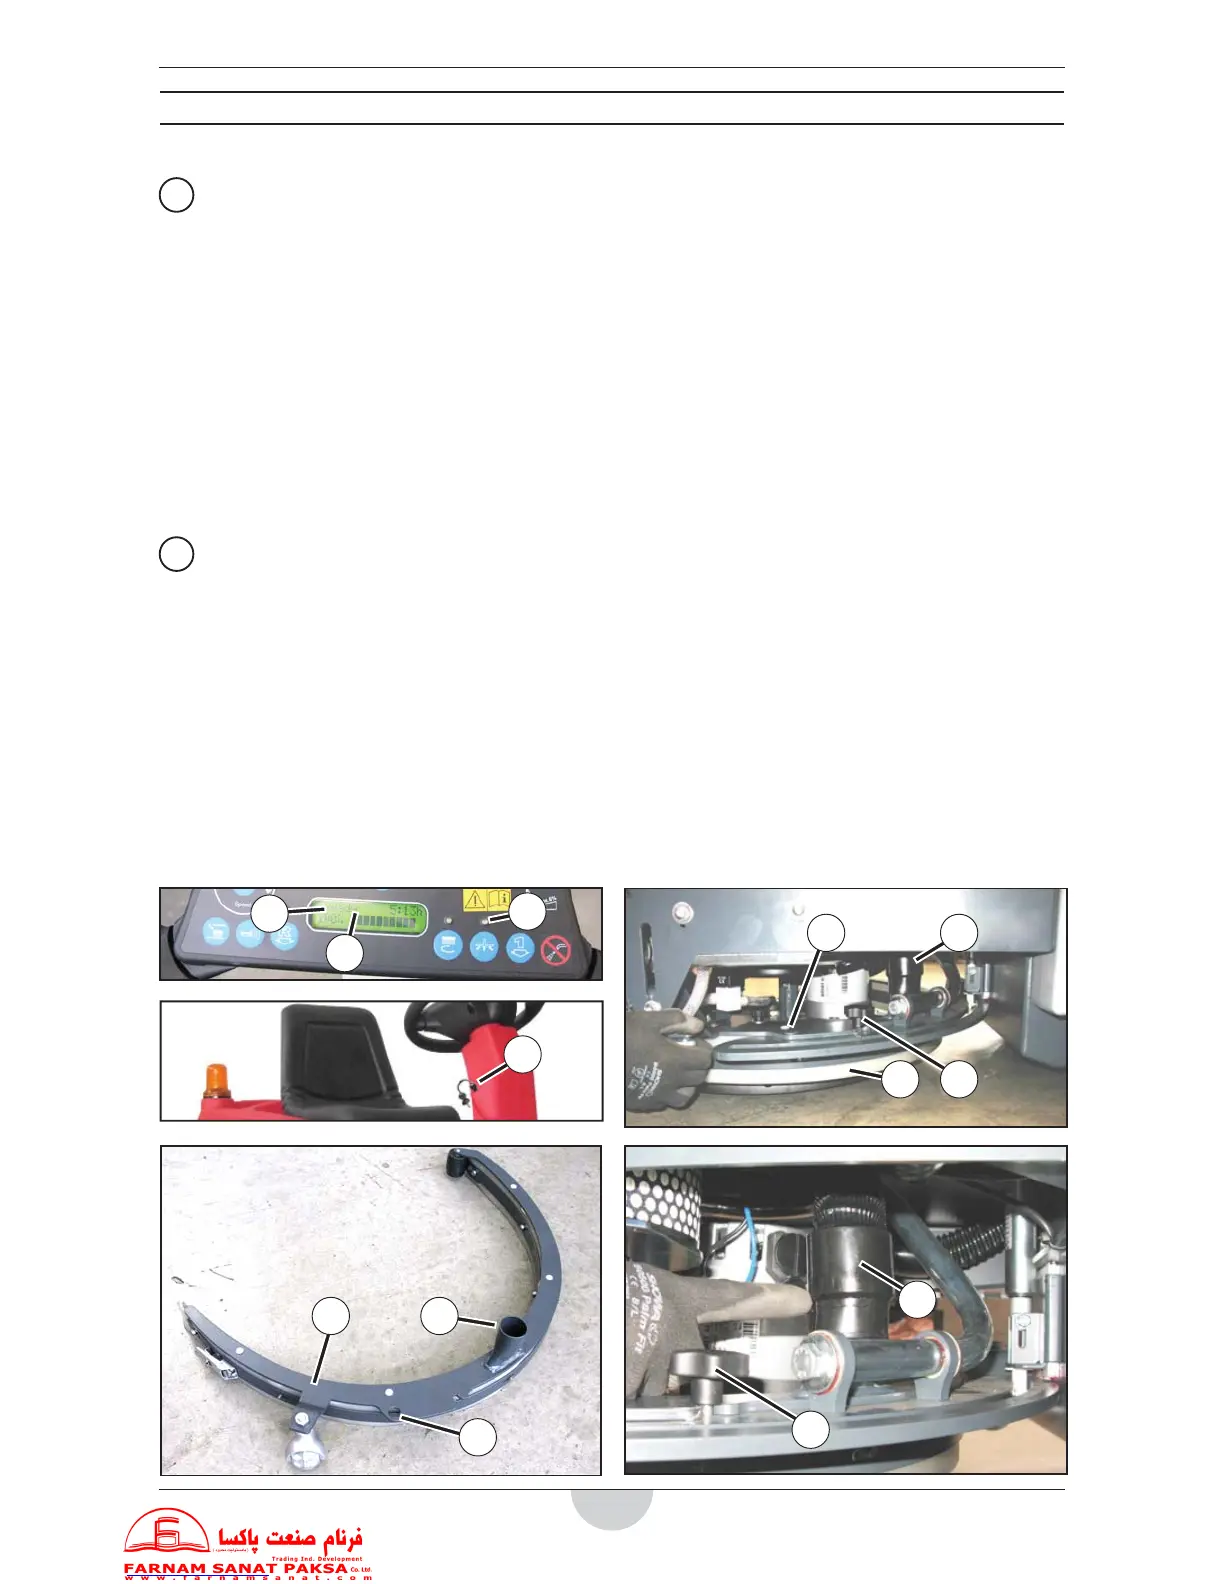
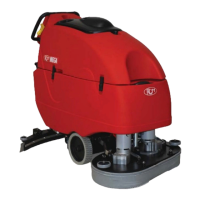
SQUEEGEE
Proceed as follows for assembly/disassembly of the squeegee (A) on the machine:
!
ATTENTION!
Always check there are no foreign bodies between the squeegee (A) and the machine, which can obstruct lift-
ing of the squeegee, before activating the ignition key (B).
Assembly of squeegee
1. Sit on the machine seat and rotate the ignition key (B) to “I”, then wait a few seconds until the caption (D)
“Ready” appears on the display (C).
2. Wait for the squeegee (A) to lift and the luminous indication (E) to turn o .
3. Rotate the ignition key (B) to “0” and extract it.
4. Operate on the left side of the machine to rotate the squeegee's support bracket (F) forward.
5. Position the squeegee (A) on the support bracket (F) and engage the pin (G) in the hole (H) of the squeegee.
Tighten the squeegee xing knob (I).
6. Connect the suction pipe (J) to the inlet (K) of the squeegee.
7. Rotate the squeegee unit inwards towards the machine, in a central work position.
8. The squeegee (A) is coupled and ready for use; if necessary, turn the machine o by rotating the ignition key
(B) to “0” and extract it.
!
ATTENTION!
Use of the machine with the squeegee not perfectly assembled can cause injury to people and damage to
equipment.
Always ensure all components have been assembled before starting the machine. Carefully inspect the ma-
chine before using it.
Disassembly of squeegee
1. Sit on the machine seat and rotate the ignition key (B) to “I”, then wait a few seconds until the caption (D)
“Ready” appears on the display (C).
2. Wait for the squeegee (A) to lift and the luminous indication (E) to turn o .
3. Rotate the ignition key (B) to “0” and extract it.
4. Operate on the left side of the machine to rotate the squeegee's support (F) forward and loosen its xing knob
(B).
5. Disconnect the suction pipe (J) from the squeegee's inlet (K).
6. Remove the squeegee (A) by disengaging its hole (H) from the pin (G) of its support.
D
C
E
K
H
A
B
JG
IA
I
J