© Xiamen RGBlink Science & Technology Co., Ltd.
Ph: +86 592 5771197
| support@rgblink.com | www.rgblink.com
The supported format is exFAT.
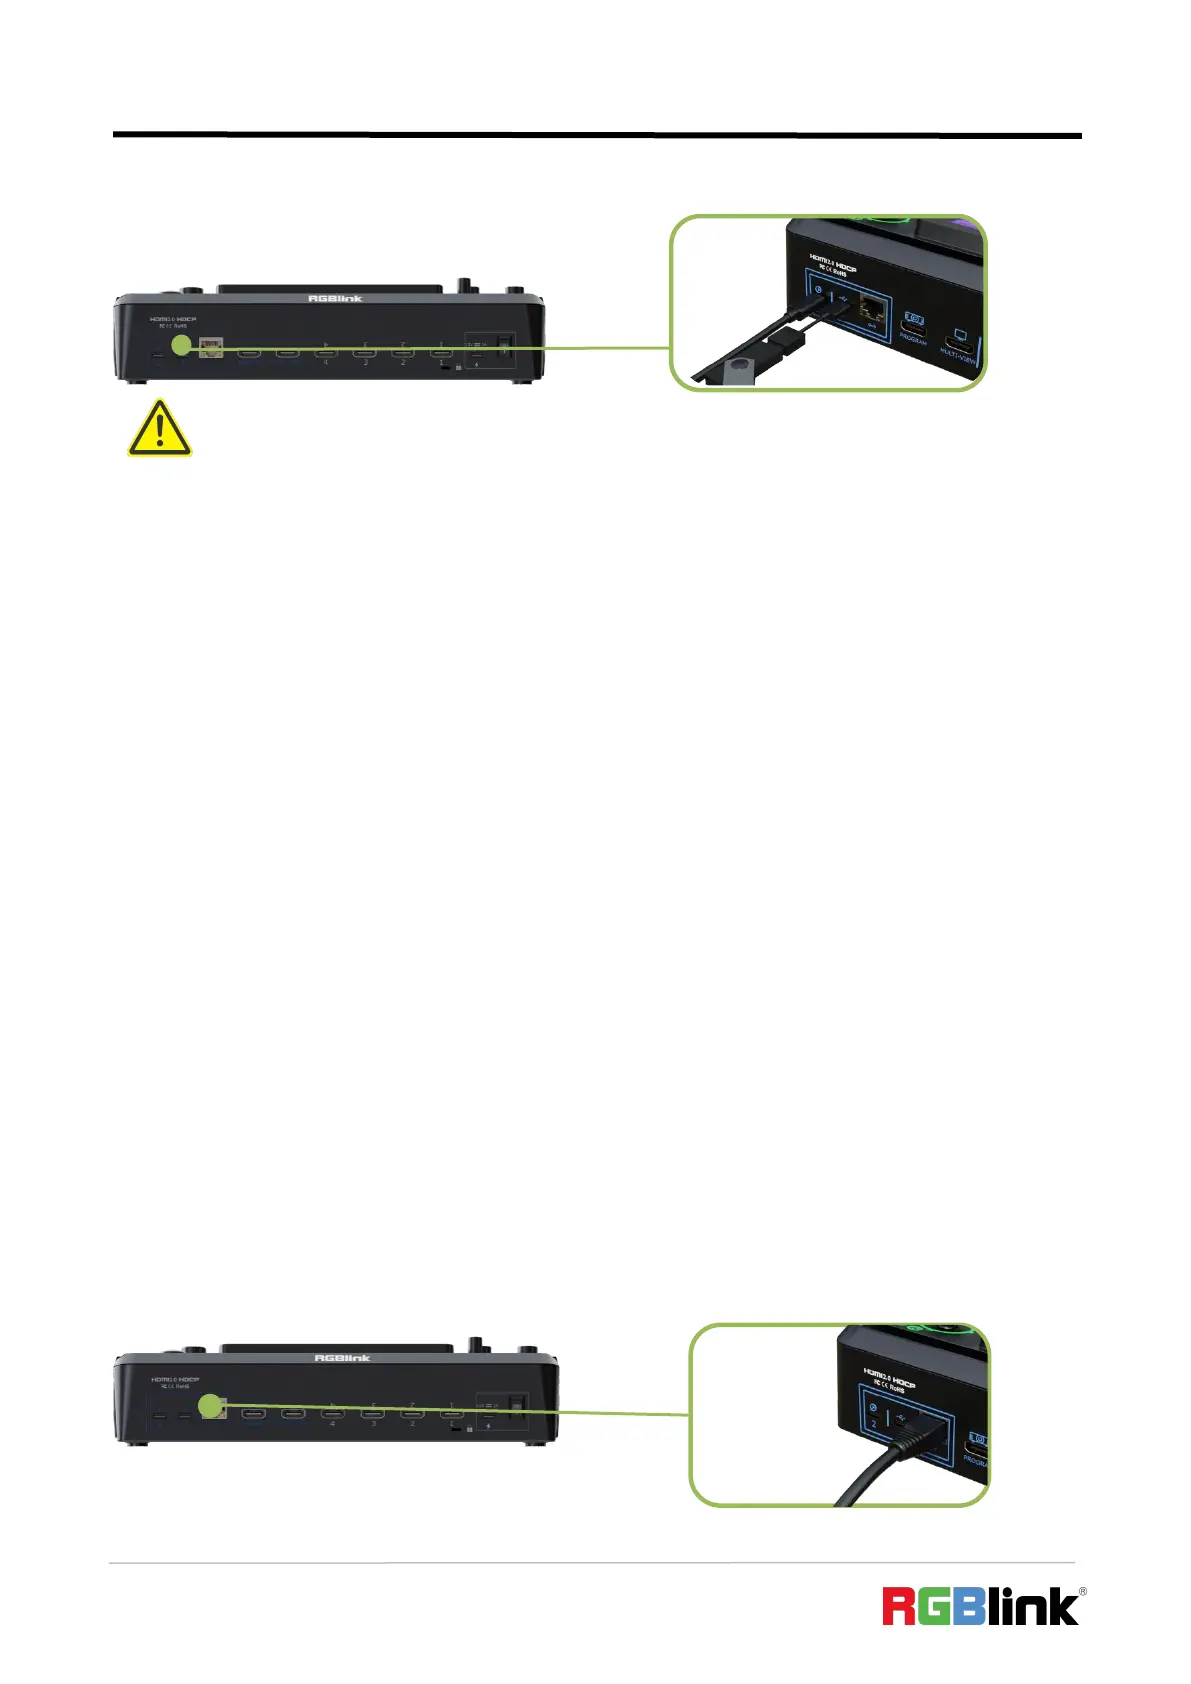
2.5 Connecting Router
Connect router and mini-edge with CAT6 cable.
Push MENU Button to gain access to MENU. Use ENTER Knob to select SETTING >
NETWORK >Turn OFF DHCP > use Number Button to set IP address. When connecting
mini-edge and the router, the IP address of mini-edge must be in the same LAN as the router.
Connect router and mini-edge with CAT6 cable.
If the router has DHCP enabled and has set up a specific network segment, and mini-edge also
has DHCP enabled, there is no need to set IP address by yourself. When mini-edge is connected to
a router with DHCP enabled, it automatically obtains an IP address within the network segment
set by the router to ensure communication with other devices.
Warning:
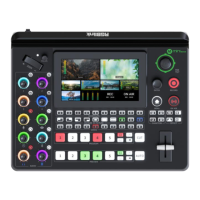
1. For U disk, please use one with USB 3.0 port.
2. For SSD, please check if it needs extra power supply.
3. OTG cable only for file transfer cannot be used for streaming.
4. For dual-channel streaming, or use UVC output/recording simultaneously, the touch screen may get sluggish.
5. USB-C ports adopts USB 3.1 data transmission protocol.