© Xiamen RGBlink Science & Technology Co., Ltd.
Ph: +86 592 5771197
| support@rgblink.com | www.rgblink.com
3.5 Adding Layers
mini-edge allows users to import layers, such as BACKGROUND, LOGO, OVERLAY, etc.
3.5.1 Layer Storage Path
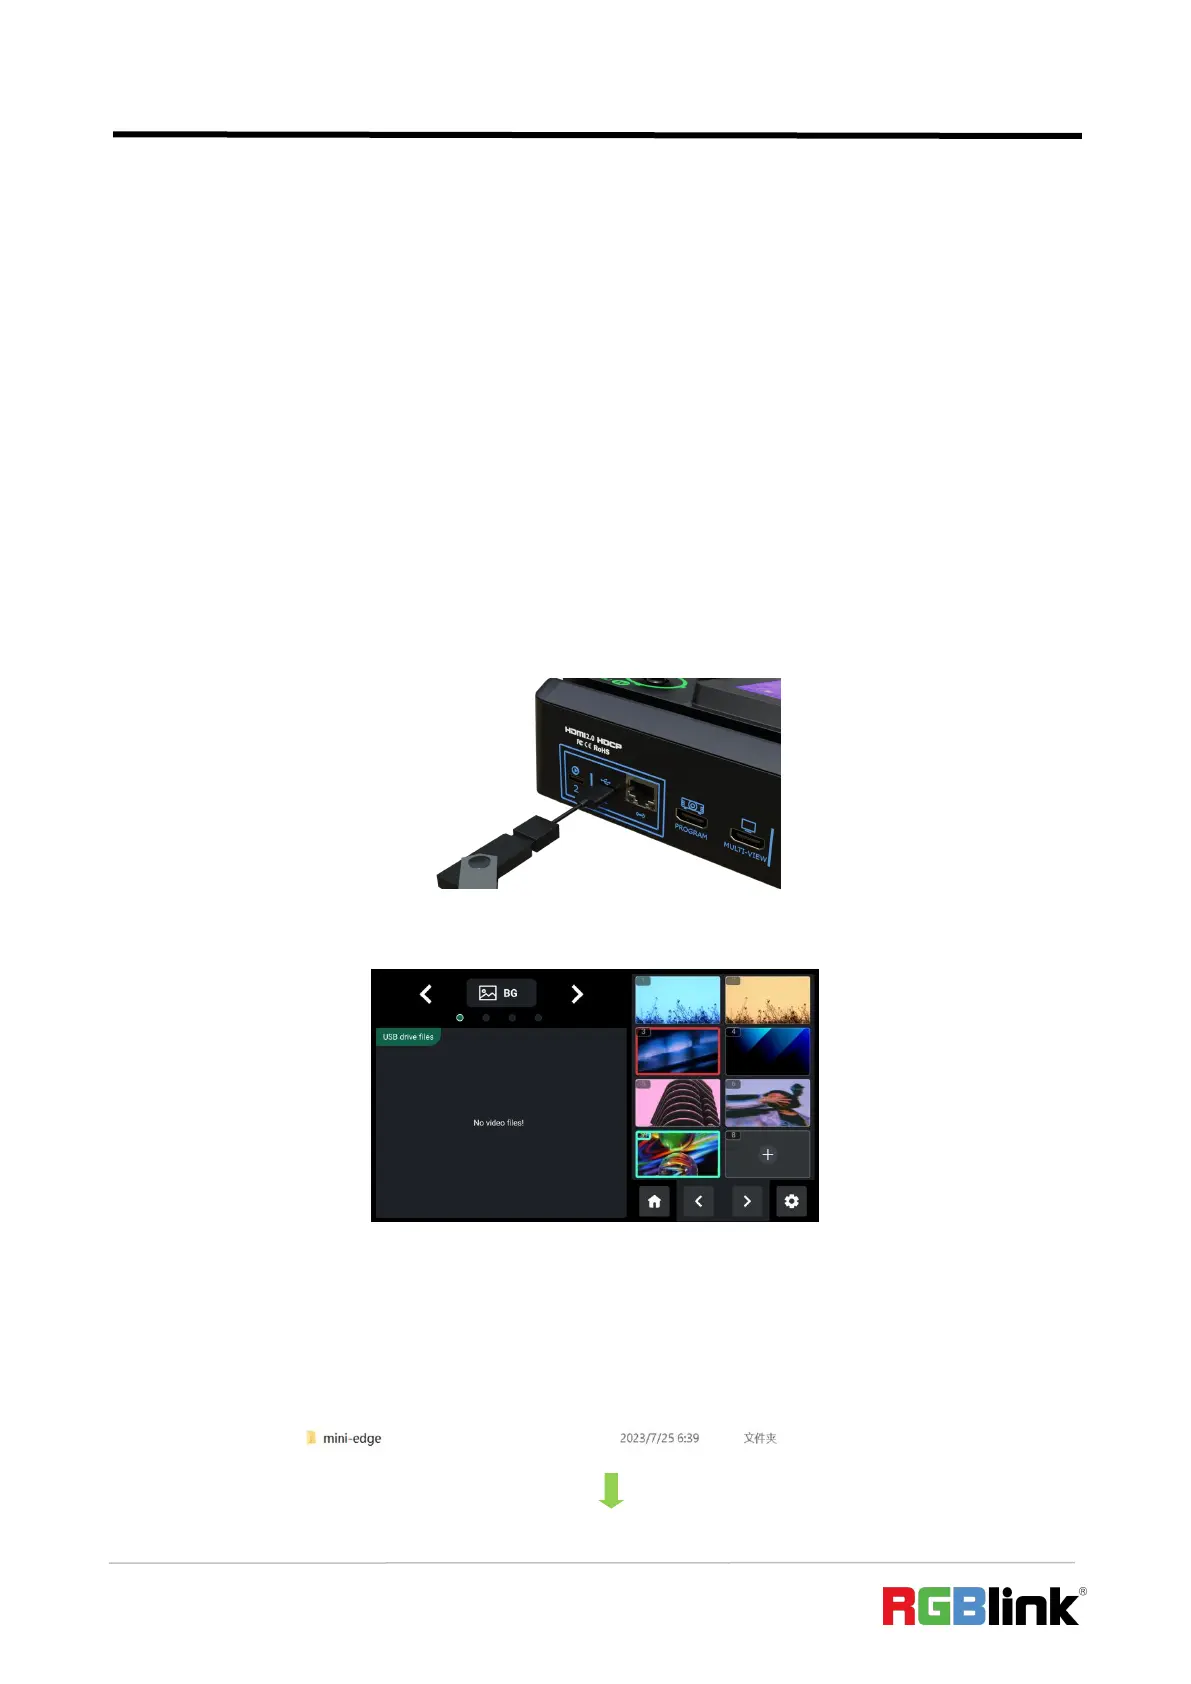
Use a U disk to import layers, such as BACKGROUND, LOGO, OVERLAY, etc.
Before importing layers, please create folders for layer storage in the U disk.
Create Folders Automatically:
1. Insert a U disk into USB interface labeled number 1, reboot mini-edge or enter
BACKGROUND/LOGO/OVERLAY interface.
2. Wait for mini-edge to recognize available files. Figure below shows no files available in U disk.
3. If there are no available files, the USB flash drive will automatically create a folder named
mini-edge, with audio and image folders included. The image folder includes three sub-folders:
background, logo and overlay.