© Xiamen RGBlink Science & Technology Co., Ltd.
Ph: +86 592 5771197
| support@rgblink.com | www.rgblink.com
the accuracy and stability of the screen. mini-edge provides T-Bar PVW mode to allow switch after
editing and confirmation. When PVW Mode is enabled, all operation could be checked on PVW
window. Slide T-Bar to switch between PVW and PGM.
If the user wants t perform a quick switch between PVW and PGM, you can choose CUT mode in
this interface and set time to be 0s, or simply press CUT button on the front panel. Then use
Button 1~5 on the PREVIEW Source Row to switch input to PROGRAM.
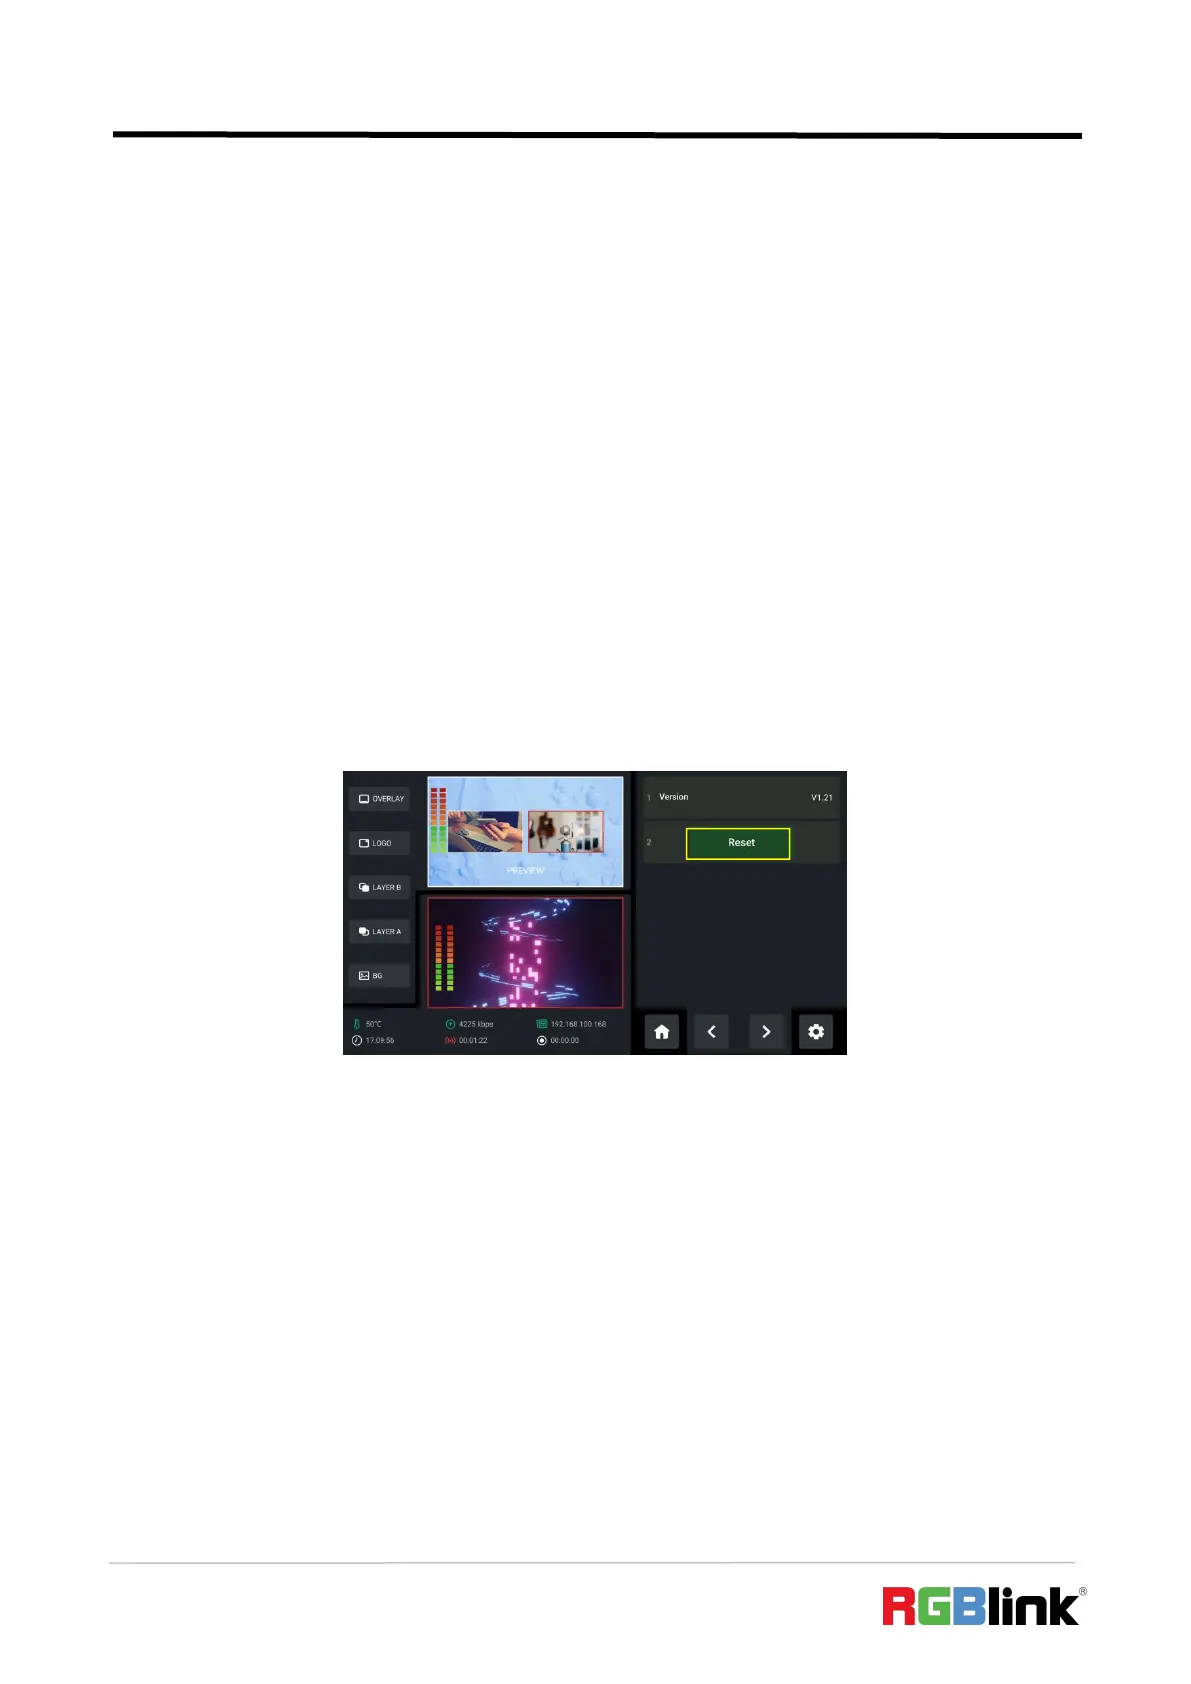
3.14.7 Reset
Rotate ENTER knob to move the cursor to【Rest】, press knob once again to check current version
of mini-edge and perform factory reset.
3.14.8 Auto Return
Rotate ENTER knob to move the cursor to 【 Auto Return 】 , press knob once again enter the
following interface.
The user can disable Auto PVW or set interval to 15s, 30s, 45s or 60s.
As shown in the figure below, the interval is set to 15s. Time’s up, and the Standby Interface will
automatically return to the Main Interface.