© Xiamen RGBlink Science & Technology Co., Ltd.
Ph: +86 592 5771197
| support@rgblink.com | www.rgblink.com
4. Store materials in corresponding folder.
Create Folders Manually:
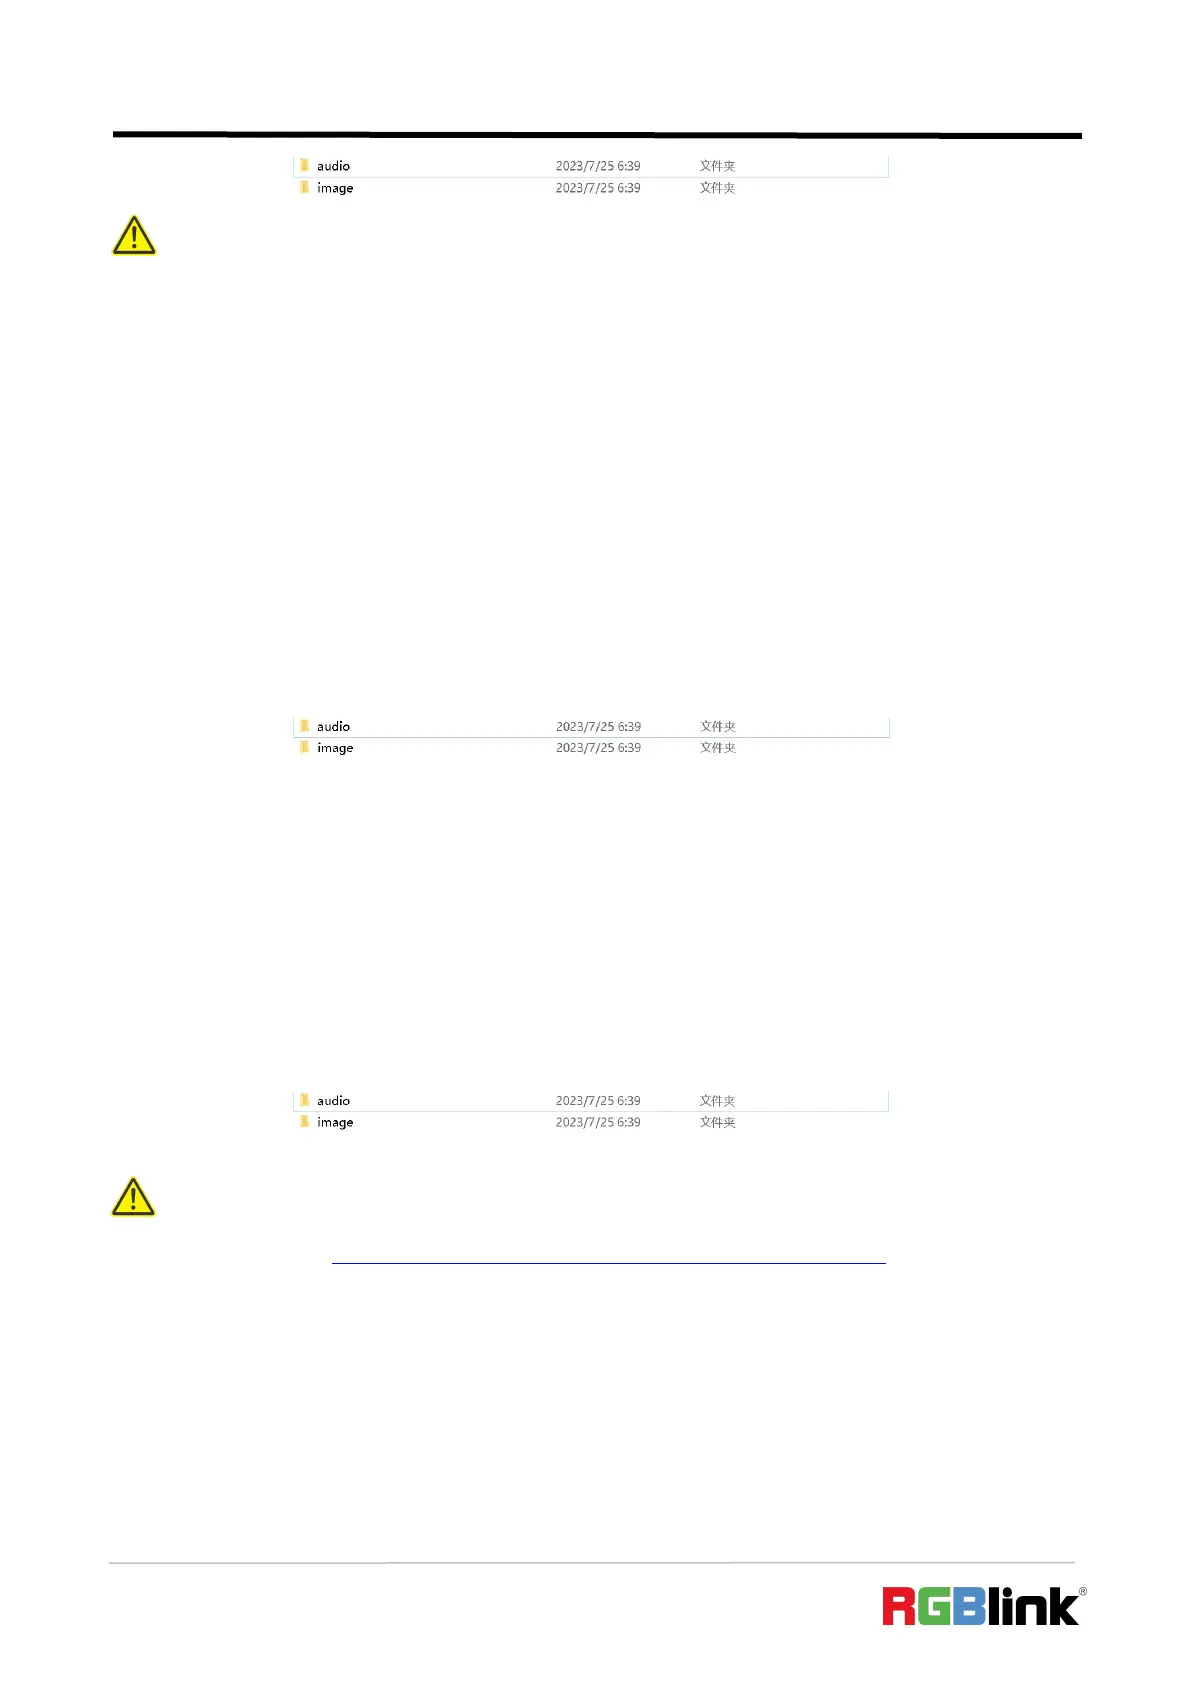
1. Create a folder name mini-edge by yourself;
2. Create audio and image folders respectively in mini-edge folder;
3. Create three sub-folders in image: background, logo and overlay.
4. Store materials in corresponding folder.
3.5.2 Adding Background
1. Insert a U disk into the USB port labeled number 1 to import background sources.
Tips:
Layers should meet the following requirements:
1. BACKGROUND: 1)no space and symbols in picture name;2) jpg, png format (32-bit depth) or bmp
(24-bit depth), resolution within 1920x1080, subject to the actual output resolution; 3) picture size
should be consistent with the resolution; 4) cropping and scaling not supported.
2. LOGO:1)no space and symbols in picture name;2)png format (32-bit depth),resolution within
1920x1080, subject to the actual output resolution.
3. OVERLAY:1)no space and symbols in picture name;2) png format (32-bit depth),resolution within
1920x1080, subject to the actual output resolution.
4. Audio:in mp3 format.
Tips:
Go to RGBlink website ( https://rgblink-web.azurewebsites.net/productsinfo.aspx?id=252) > mini-edge >
download mini-edge _material pack.