© Xiamen RGBlink Science & Technology Co., Ltd.
Ph: +86 592 5771197
| support@rgblink.com | www.rgblink.com
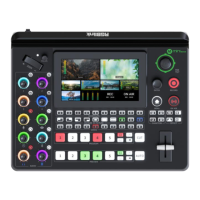
3. LOGO Interface is shown as below: window with a green border indicates the cursor position,
while window with a red border indicate that the LOGO image has been placed on PVW window.
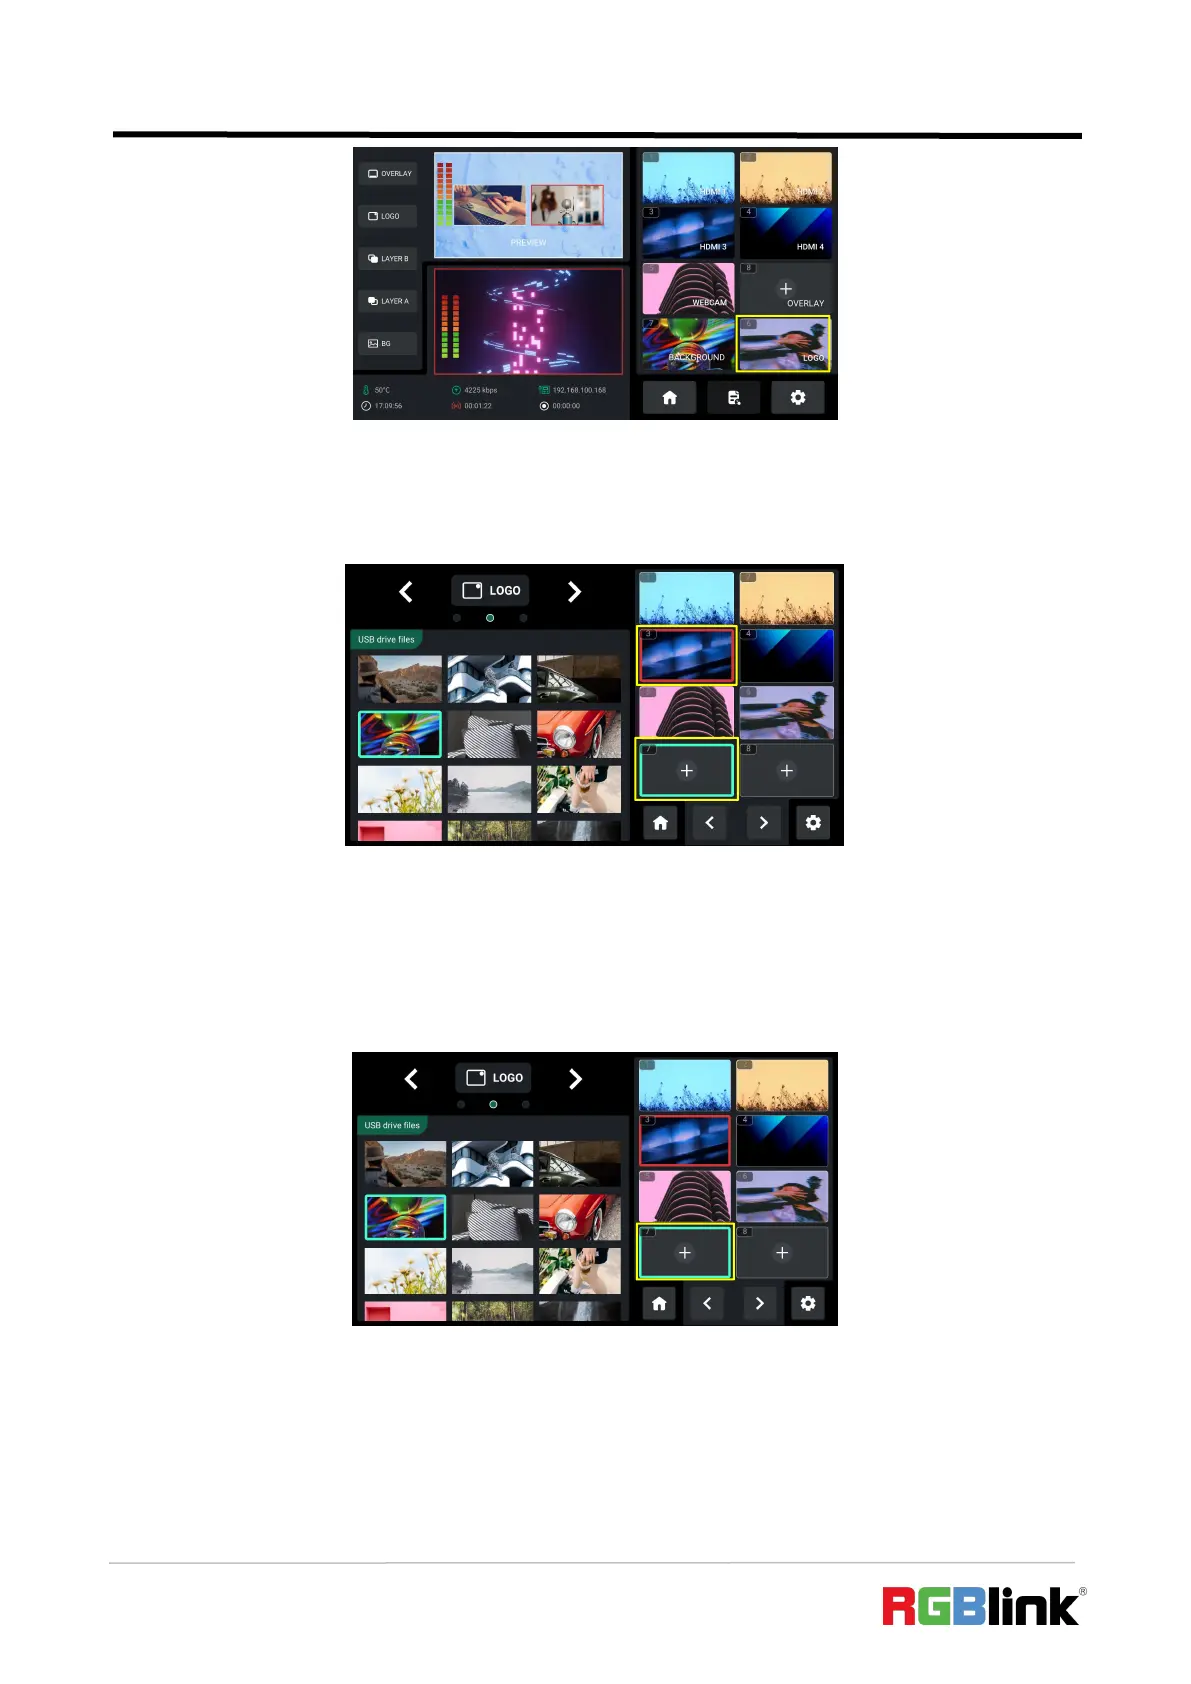
To add LOGO Source, Please follow the steps outlined as follows.
1) “+”indicates window with no source saved. If the user wants to add LOGO image to Window
7, rotate ENTER knob to move the cursor to Window 7, press ENTER knob once again.
2) Then the cursor will automatically jump to USB files on the left side. Rotate the ENTER knob to
select the saved LOGO images in the U disk, and then press the knob once again to add the image
to Window 7.