12. Press [SSID Setting].
13. Press [Enter SSID] and enter the SSID for the access point you want to connect to, and
then press [OK].
14. Press [OK].
15. Press [Security Method].
16. Enter the security method that is specified for the access point you want to connect to.
Press [WEP] or [WPA2], and then press [Enter] on the screen to enter your password.
If you do not use security setting, select [No].
17. Press [OK].
The settings are complete.
To check the connection status, press [Wireless LAN Signal] in [Wireless LAN] in [Interface Settings] in
[System Settings] and confirm the signal status.
Obtaining an IP address automatically (IPv4 DHCP)
The machine is set to obtain IP addresses automatically as a factory default.
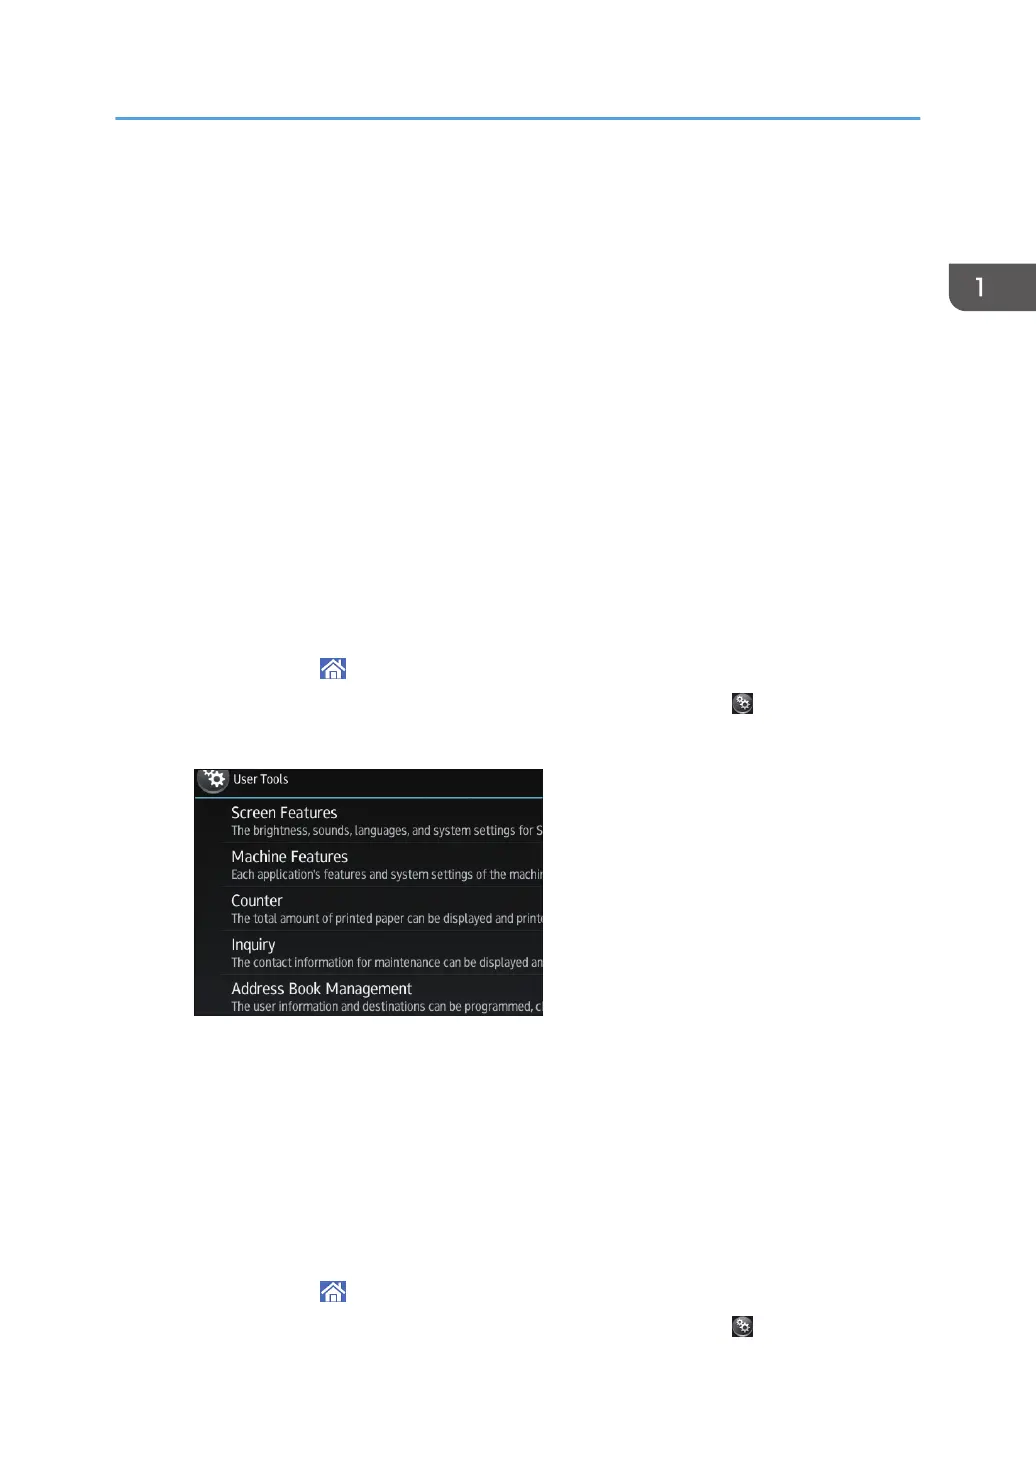
1. Press [Home] ( ) at the bottom of the screen in the center.
2. Flick the screen to the left, and then press the [User Tools] icon (
).
3. Press [Machine Features].
4. Press [System Settings].
5. Press [Interface Settings] tab.
6. Press [Network].
7. Press [Machine IPv4 Address].
8. Press [Auto-Obtain (DHCP)].
9. Press [OK].
Specifying an IP address (IPv4)
1. Press [Home] ( ) at the bottom of the screen in the center.
2. Flick the screen to the left, and then press the [User Tools] icon ( ).
Connecting and Setting the Network
25
 Loading...