Installing Hard Drive & Testing NiteHAWK Internet Jukebox
2-2 22022602
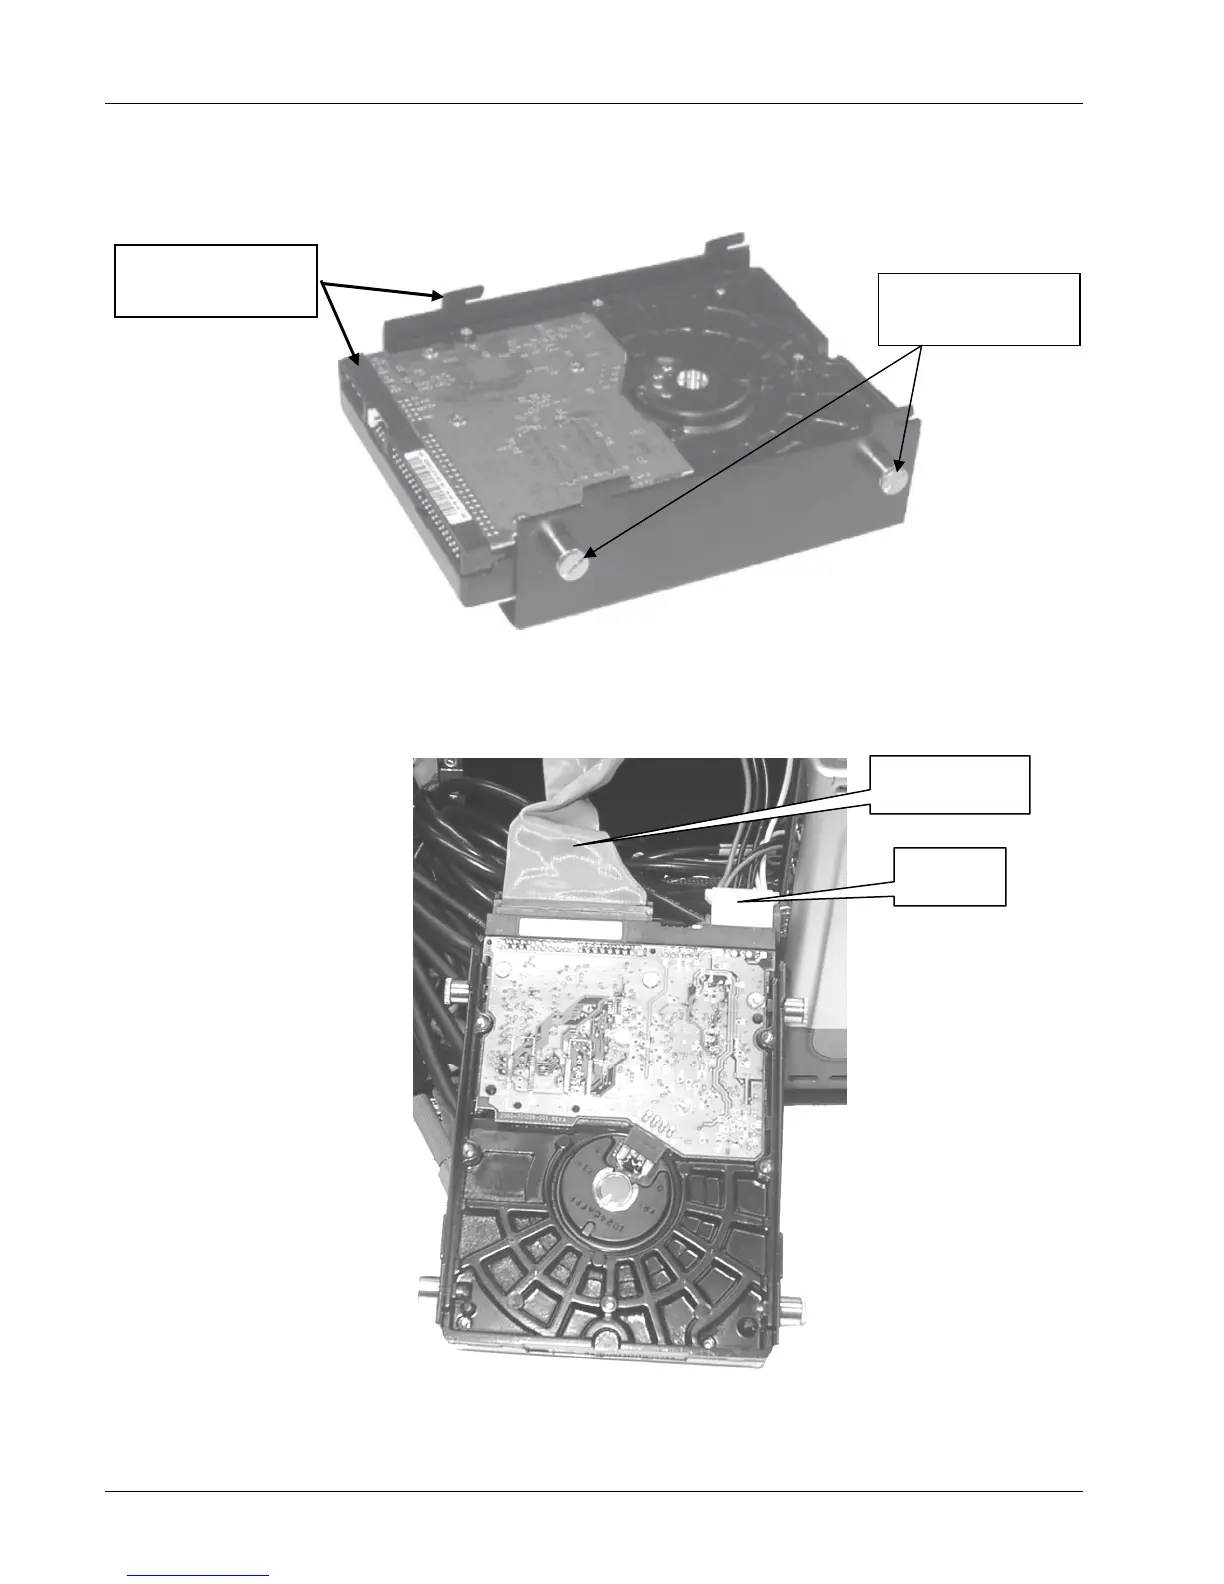
4. Place the hard drive in the housing (Note the hard drive connector's relationship to
the hooks) and secure it by tightening the four spring-loaded screws as shown in
Figure 2-2.
Figure 2-2 - Hard Drive Installed in Housing
5. Carefully extend the IDE cable from inside the core computer and connect it to the
hard drive. Locate a 4-pin power connector from the ATX Power Supply and connect
it to the hard drive also. Refer to Figure 2-3.
Figure 2-3 - IDE & Power Cables
POSITION DRIVE
AS SHOWN HERE
IDE CABLE
POWER
CABLE
SPRING LOADED
SCREWS