NiteHAWK Internet Jukebox Installing Hard Drive & Testing
22022602 2-3
6. Rotate the housing into position and hook it into the slots on the core
computer cover and slide the housing to the right. Slide the hard drive clamp
over the spring loaded screw and secure by tightening the thumbscrew.
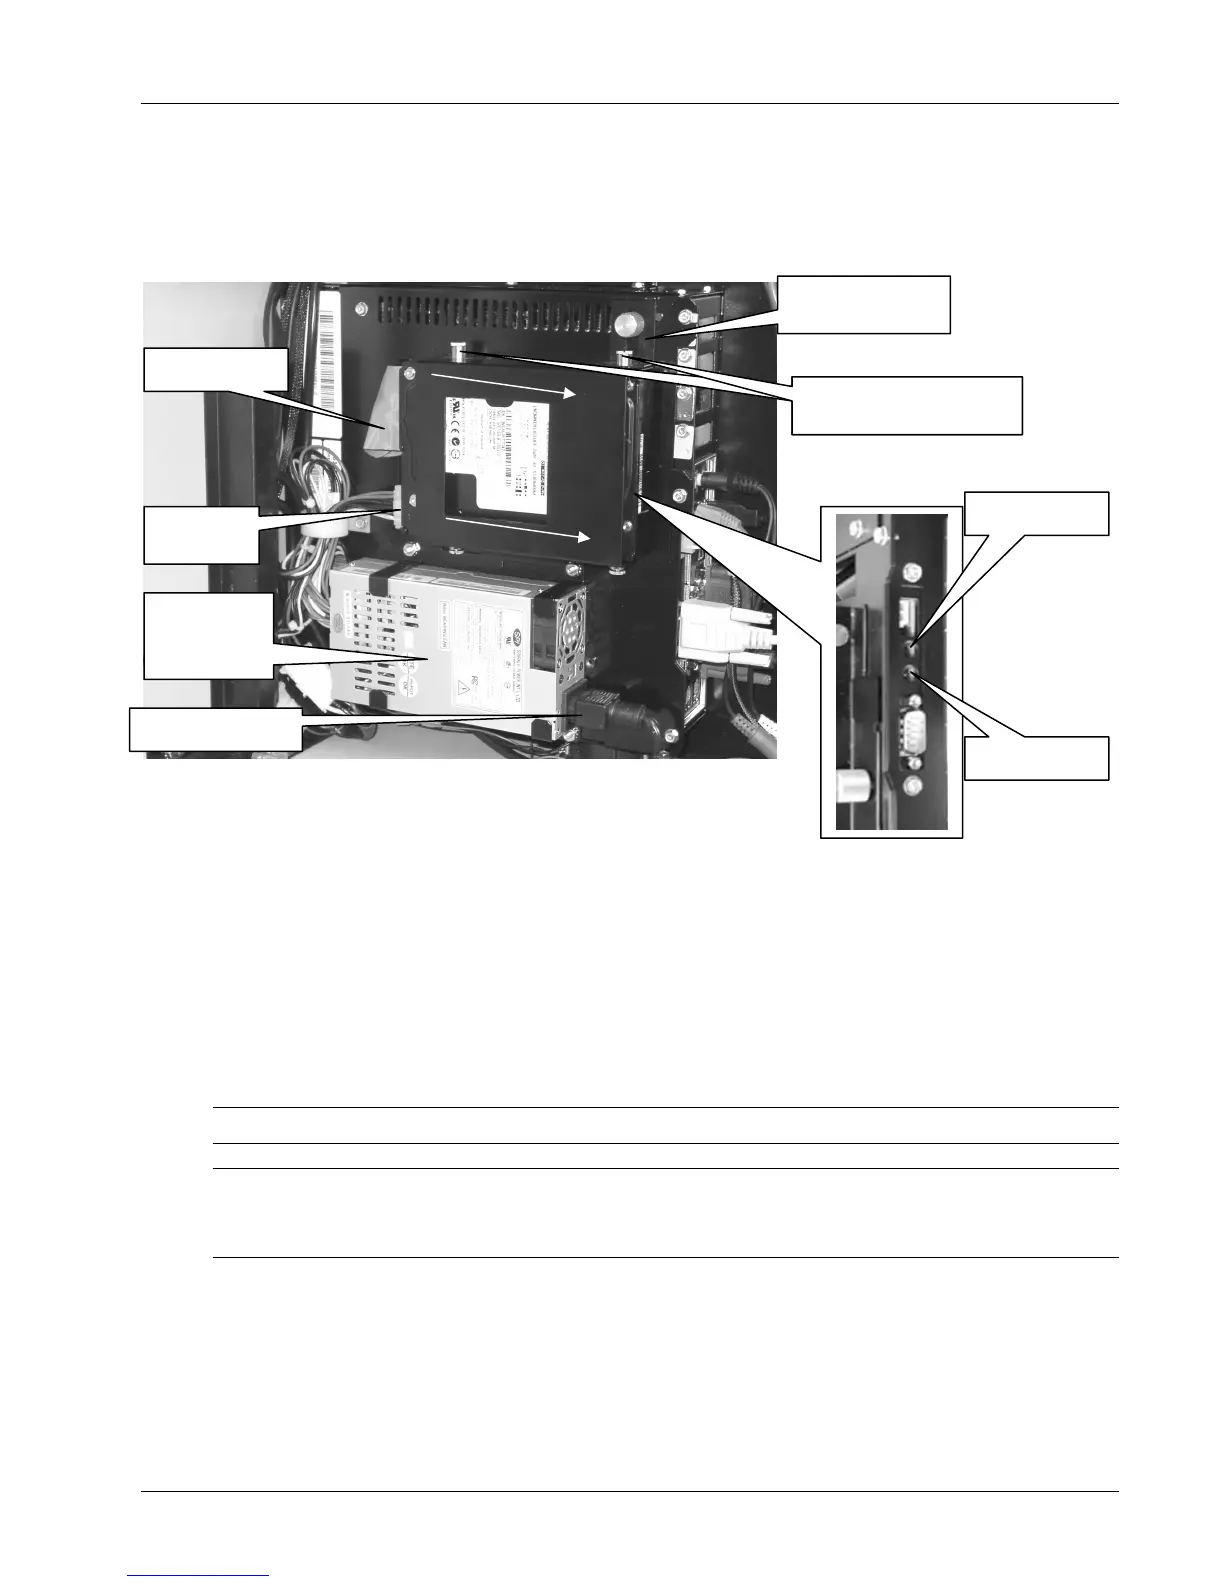
Carefully dress the IDE and Power Cables. Refer to Figure 2-4.
Figure 2-4 - Hard Drive Installed
7. Plug the power cord back into the ATX Power Supply.
8. Locate the jukebox power cord packed inside the cabinet.
9. Route the power cord out through the access hole in the back panel of the cabinet
and plug the other end of the power cord into the Power input of the surge
suppressor located on the inside left cabinet back panel.
10. Plug the AC cord into a standard grounded wall outlet.
11. Place the ON/OFF switch on the Surge Suppressor in the ON position. The
computer will automatically begin to boot up.
NOTE: This process may take a few minutes.
NOTE: The Core Computer has two LED indicators, a GREEN power indicator (lit when
power is present at the Core Computer) and a RED hard drive activity indicator (lit when the
hard drive is in operation). Refer to Figure 2-4.
Green LED
Red LED
POWER CORD
HARD DRIVE
LAMP
ATX
POWER
SUPPLY
IDE CABLE
POWER
ABLE
SPRING LOADED
REW
SPRING LOADED
REW