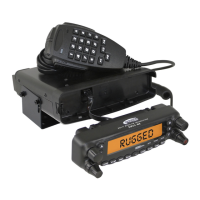
You can transfer all data stored in one transceiver to another transceiver by utilizing the
handy “Cloning” feature. This requires a user-constructed Cloning cable which connects
the
DATA
jacks on the two transceivers, as shown below.
To clone from one transceiver to another, use the following procedure:
1. Insert the Cloning Cable into the
DATA
jack of each transceiver.
2. Turn both transceivers off, then press and hold in the [
MHz
(
PRI
)] key on each radio
while turning the power on again.
3. Rotate the
DIAL
knob on each radio to select (
F-7 CLONE
), then press and hold in
the [
BAND
(
SET
)] key. The display will disappear for
a moment, then the “
CLONE
” notation will appear on
the display.
4. On the “destination” radio, press the [
LOW
(
ACC
)]
key.The “--
RX
--” indicator will appear on the dis-
play.
5. Now, on the “Source” radio, press the [
V/M
(
MW
)]
key.The “--
TX
--” indicator will appear on the dis-
play, and the cloning data transfer will immediately
begin.
6. If there is a problem during the cloning process, “
ER-
ROR
” will be displayed. Check your cable connections, and try again.
7. If cloning was successful, “
CLONE
” will reappear on both displays.
8. Turn both transceivers off, then remove the Cloning Cable. Channel and operating
data for both radios are now identical. They both may be turned on now for normal
operation.
PKS
The transceiver Set (Menu) mode, already described in parts of many previous chapters,
is easy to activate and set. It may be used for conguration of a wide variety of transceiv-
er parameters, some of which have not been detailed previously. Use the following proce-
dure to activate the Set (Menu) mode:
1. Press and hold in the [
BAND
(
SET
)] key for 1/2 second to enter the Set mode.
2. Rotate the
DIAL
knob to select the Menu Item to be
adjusted.
3. Press the [
BAND
(
SET
)] key momentarily to enable
adjustment of the selected Menu item, then rotate the
DIAL
knob to perform the actual adjustment.
4. After completing your selection and adjustment, press
the [
BAND
(
SET
)] key momentarily to save the new setting, then press and hold in
the [
BAND
(
SET
)] key for 1/2 second to exit to normal operation.
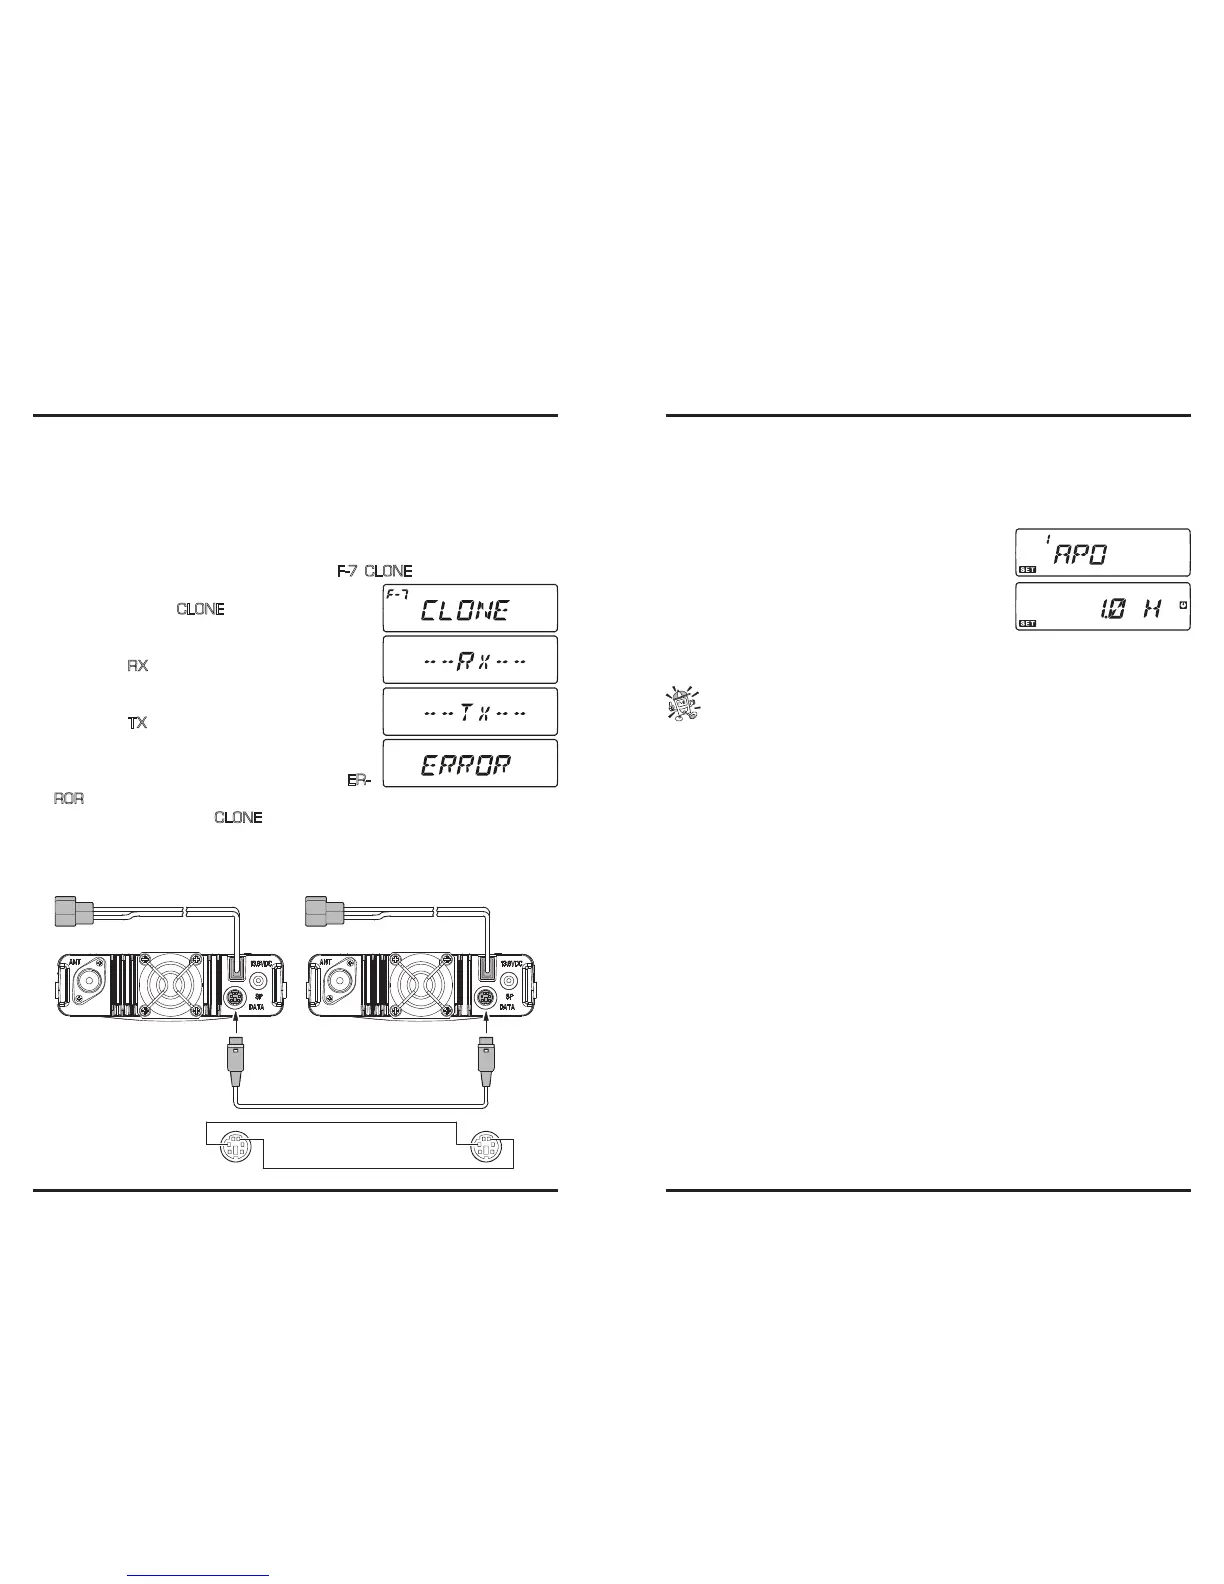
You may see the small letters “HYP” or “E CH” at the upper left-hand corner in
the display while adjusting certain Menu items. These denote special character-
istics of these particular Menu items:
1) The “HYP” character indicates that each Hyper Memory may have distinct parame-
ters assigned to it pertaining to this Menu item;
2) The “E CH” character indicates that each Operating Mode (VFO, Memory Chan-
nel,or Home Channel) may have distinct parameters assigned to it pertaining to this
Menu item.