T
URNING THE
T
RANSCEIVER
O
N AND
O
FF
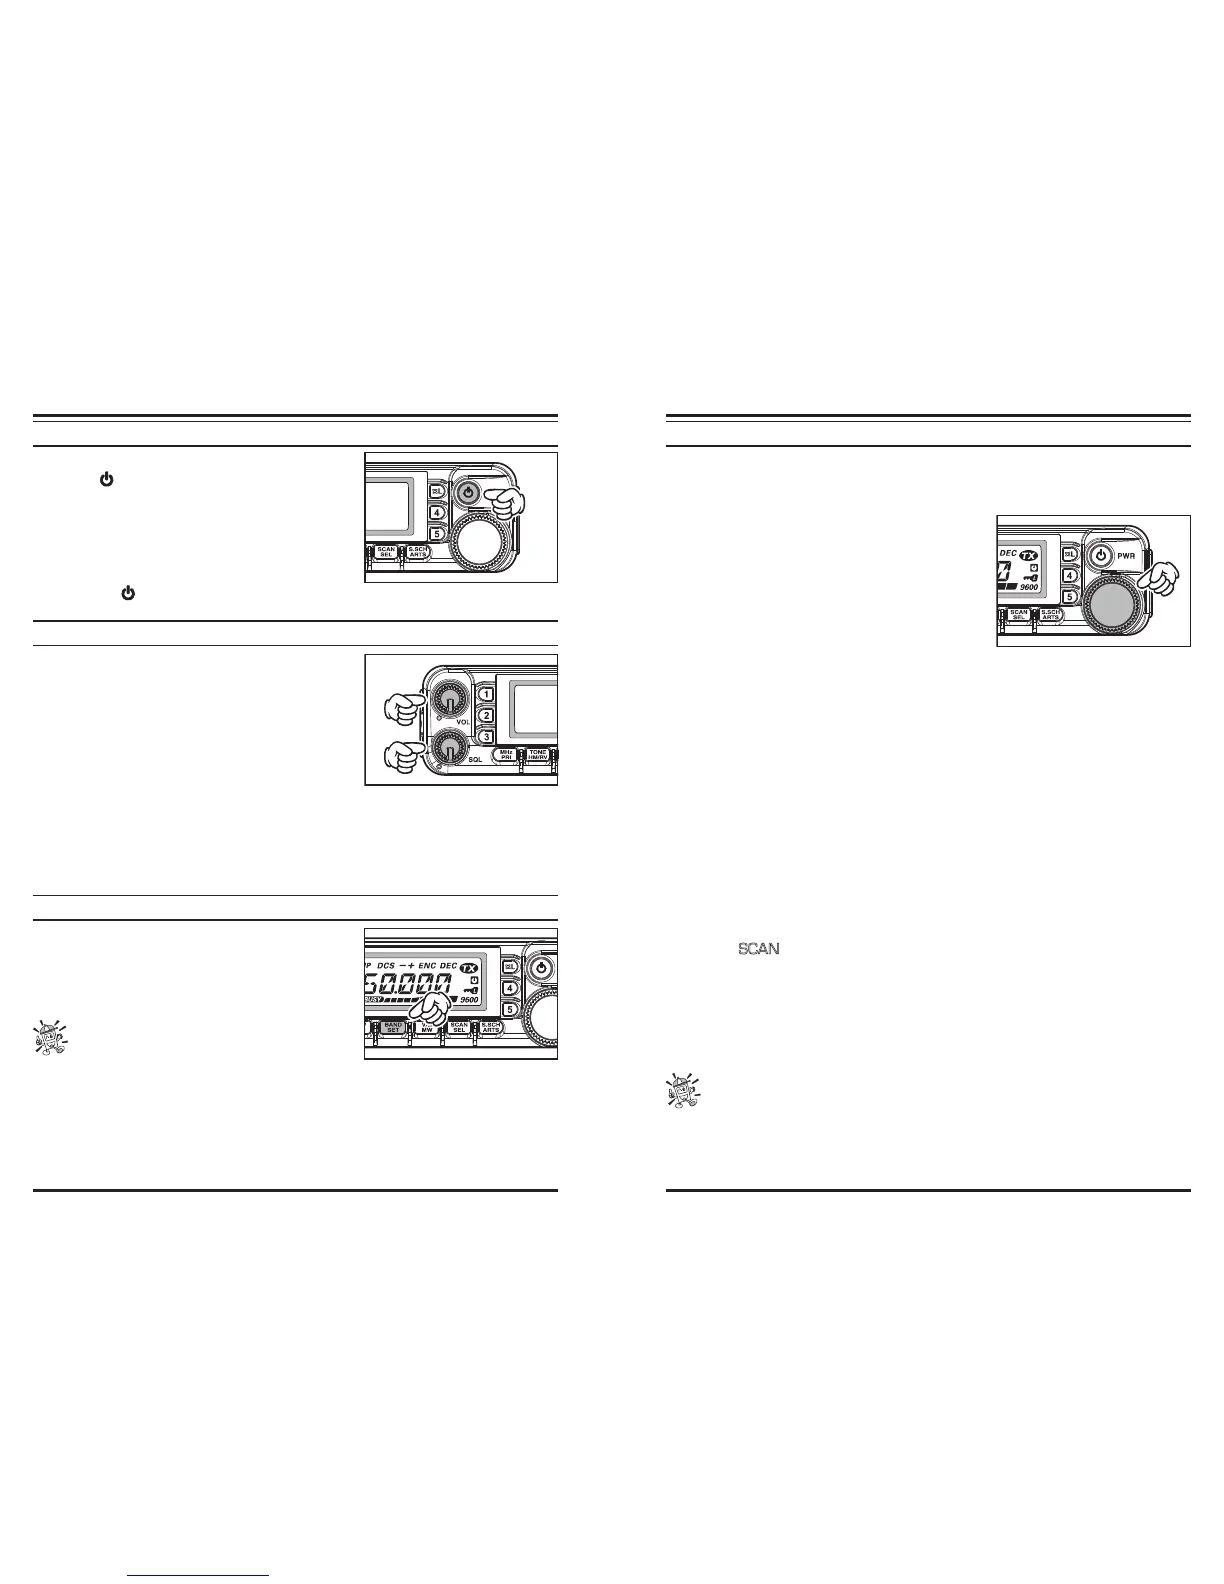
1. To turn the transceiver on, press and hold in the
PWR
(
) switch for 1/2 second.
When you turn on the transceiver, the current DC
supply voltage is indicated on the LCD for 2 sec-
onds. After this interval, the display will switch its
normal indication of the operating frequency.
2. To turn the transceiver off, again press and hold in
the
PWR
( ) switch for 1/2 second.
A
DJUSTING THE
A
UDIO
V
OLUME
L
EVEL AND
S
QUELCH
S
ETTING
At first, set the
SQL
knob fully counter-clockwise.
Now, you may rotate the
VOL
knob clockwise to ad-
just the receiver volume for a comfortable listening
level, using the background noise as a reference.
To set the squelch, turn the
SQL
knob clockwise a
slightly past the point where the background noise is
muted. This is the point of best sensitivity to weak
signals, and we recommend that you not rotate the
SQL
knob very much past the point
where the background noise is just silenced.
A special “RF Squelch” feature is provided on this radio. This feature allows you to set
the squelch so that only signals exceeding a certain S-meter level will open the squelch.
S
ELECTING
T
HE
O
PERATING
B
AND
Press the [
BAND
(
SET
)] key to move the operating
band:
144 MHz
250 MHz
350 MHz
430 MHz
850 MHz
144 MHz ......
You may select the operating band by pressing
the microphone’s [P1] key.
F
REQUENCY
N
AVAGATION
1) Tuning Dial
Rotating the
DIAL
knob allows tuning in the pre-programmed steps established for the
VFO frequency. Clockwise rotation of the
DIAL
knob causes the transceiver to be tuned
toward a higher frequency, while counter-clockwise
rotation will lower the operating frequency.
Press the [
MHz
(
PRI
)] key momentarily, then rotate
the
DIAL
knob, to change the frequency steps to 1
MHz per step. This feature is extremely useful for
making rapid frequency excursions over the wide tun-
ing range of the transceiver.
2) Direct Keypad Frequency Entry
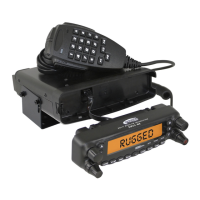
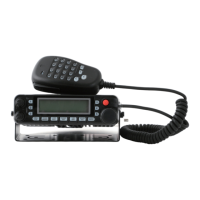
The keypad of the
MH-RM50
DTMF Microphone may be used for direct entry of the op-
erating frequency.
To enter a frequency from the
MH-RM50
keypad, just press the numbered digits in the
proper sequence. There is no “Decimal point” key on the
MH-RM50
keypad.
Examples: To enter 146.480 MHz, press [
1
]
[
4
]
[
6
]
[
4
]
[
8
]
[
0
]
To enter 433.000 MHz, press [
4
]
[
3
]
[
3
]
[
0
]
[
0
]
[
0
]
3) Scanning
From the VFO mode, press and hold in the [
SCAN
(
SEL
)] key for 1/2 second, then rotate
the
DIAL
knob to select the bandwidth for the VFO scanner. Now, press the [
SCAN
(
SEL
)]
key momentarily to initiate scanning toward a higher frequency. The transceiver will stop
when it receives a signal strong enough to break through the squelch threshold. The trans-
ceiver will then hold on that frequency according to the setting of the “Resume” mode
(Menu #37 (
SCAN
).
If you wish to reverse the direction of the scan (i.e. toward a lower frequency, instead of a
higher frequency), just rotate the
DIAL
knob one click in the counter-clockwise direction
while the transceiver is scanning. The scanning direction will be reversed. To revert to
scanning toward a higher frequency once more, rotate the
DIAL
knob one click clockwise.
Press the [
SCAN
(
SEL
)] key (or the
PTT
key) again to stop scanning.
You may also initiate the scanner by pressing and holding in the microphone’s
[UP] or [DWN] key. However, in this case, the scanner will sweep frequencies
only on the current band. If you would like the scanner not to be restricted to the cur-
rent band, you may change Menu #46 (VFO.BND) to allow the scanner to hop to the
low edge of the next-highest band when the VFO frequency reaches the high end of the
current band (or vice- versa).