D
ISPLAY
B
RIGHTNESS
The transceiver display illumination has been specially engineered to provide high visibil-
ity with minimal disruption of your “night vision” while you are driving. The brightness
of the display is manually adjustable, using the following procedure:
1. Press and hold in the [
BAND
(
SET
)] key for 1/2 second to enter the Set mode.
2. Rotate the
DIAL
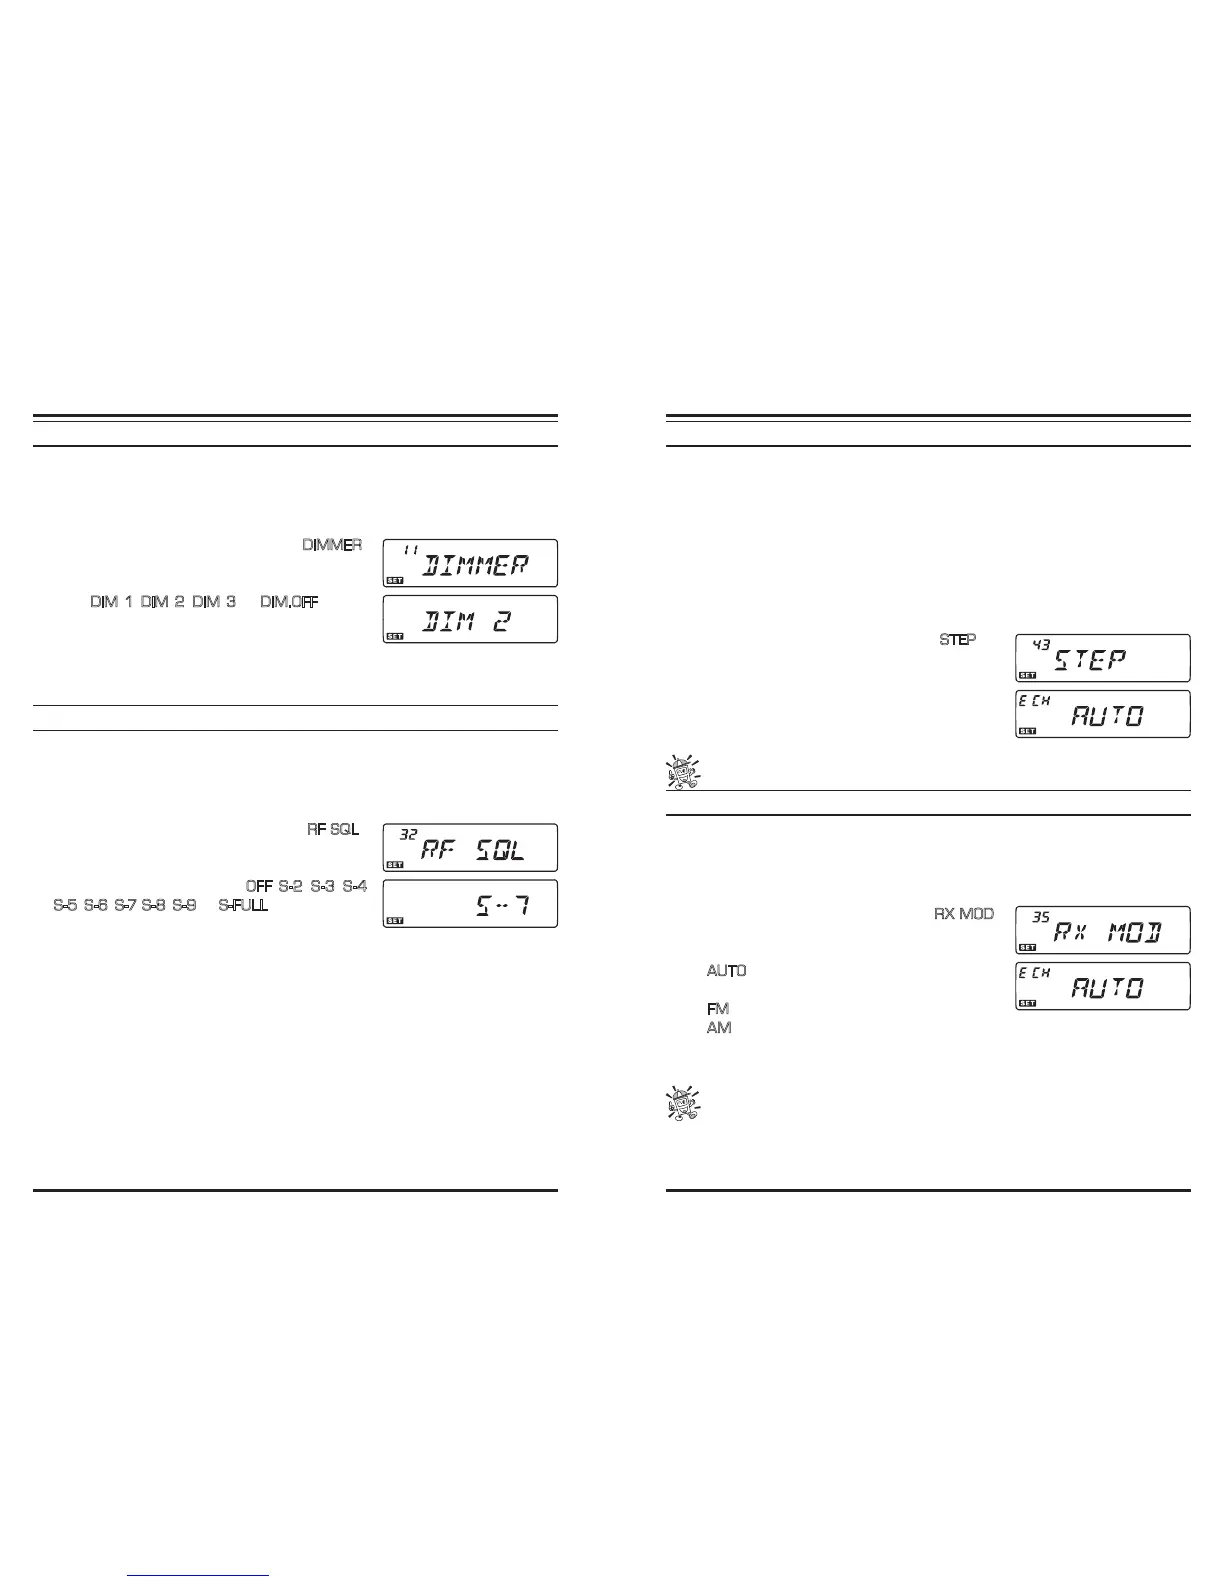
knob to select Menu #11 (
DIMMER
).
3. Press the [
BAND
(
SET
)] key momentarily, then ro-
tate the DIAL knob to select a comfortable brightness
level:
DIM 1
,
DIM 2
,
DIM 3
, or
DIM.OFF
(no illu-
mination).
4. Press the [
BAND
(
SET
)] key momentarily to save the
new setting, then press and hold in the [
BAND
(
SET
)] key for 1/2 second to exit to
normal operation.
R
F
S
QUELCH
A special “RF Squelch” feature is provided on this radio. This feature allows you to set
the squelch so that only signals exceeding a certain S-meter level will open the squelch.
To set up the RF Squelch circuit for operation, use the following procedure:
1. Press and hold in the [
BAND
(
SET
)] key for 1/2 second to enter the Set mode.
2. Rotate the
DIAL
knob to select Menu #32 (
RF SQL
).
3. Press the [
BAND
(
SET
)] key momentarily, then rotate
the
DIAL
knob to select the desired signal strength
level for the squelch threshold (
OFF
,
S-2
,
S-3
,
S-4
,
S-5
,
S-6
,
S -7
,
S-8
,
S-9
, or
S-FULL
).
4. Press the [
BAND
(
SET
)] key momentarily to save the
new setting, then press and hold in the [
BAND
(
SET
)] key for 1/2 second to exit to
normal operation.
5. Finally, rotate the
SQL
knob fully clockwise.
C
HANNEL
S
TEP
S
ELECTION
The transceiver’s synthesizer provides the option of utilizing channel steps of 5/10/12.5/
15/20/25/50/100 kHz per step, as well as an automatic step selection based on the current
operating frequency (“AUTO”), any number of which may be important to your operating
requirements. The transceiver is set up at the factory in the “AUTO” conguration, which
probably is satisfactory for most operation. However, if you need to change the channel
step increments, the procedure to do so is very easy; remember to get set up on the de-
sired band before making any changes, as different steps may be programmed for each
operating band.
1. Press and hold in the [
BAND
(
SET
)] key for 1/2 second to enter the Set mode.
2. Rotate the
DIAL
knob to select Menu #43 (
STEP
).
3. Press the [
BAND
(
SET
)] key momentarily, then rotate
the DIAL knob to select the new channel step size.
4. Press the [
BAND
(
SET
)] key momentarily to save the
new setting, then press and hold in the [
BAND
(
SET
)]
key for 1/2 second to exit to normal operation.
5 kHz and 15 kHz steps are not available for use on above 700 MHz.
R
ECEIVING
M
ODE
S
ELECTION
The transceiver provides for automatic mode change when the radio is tuned to different
operating frequencies. However, should an unusual receiving situation arise in which you
need to change to other receiving mode, the procedure to do so is very easy.
1. Press and hold in the [
BAND
(
SET
)] key for 1/2 second to enter the Set mode.
2. Rotate the
DIAL
knob to select Menu #35 (
RX MOD
).
3. Press the [
BAND
(
SET
)] key momentarily, then rotate
the
DIAL
knob to select the desired receiving mode.
AUTO
: Automatic mode setting per default values
for the selected frequency range
FM
: Frequency Modulation (Narrow FM)
AM
: Amplitude Modulation
4. Press the [
BAND
(
SET
)] key momentarily to save the new setting, then press and hold
in the [
BAND
(
SET
)] key for 1/2 second to exit to normal operation.
Unless you have a compelling reason to do so, leave the Automatic Mode Selec-
tion feature on so as to save time and trouble when changing bands. If you
make a mode change for a particular channel or station, you can always store that one
channel into memory, as the mode setting will be memorized along with the frequency
information.