T
IME-OUT
T
IMER
The “Time-Out Timer” (TOT) feature is designed to force the transceiver into the “receive”
mode after a preset time period of continuous transmission (the default is 6 minutes). This
feature prevents your transceiver from transmitting a “dead carrier” for a long period of
time in the event that the microphone
PTT
switch is accidentally locked in the “TX” con-
dition.
The Time-Out Timer’s “switch-to-receive” time may be adjusted, in one minute incre-
ments, for any period between 1 and 30 minutes.
To change the default (6 minute) time setting, use the following procedure:
1. Press and hold in the [
BAND
(
SET
)] key for 1/2 second to enter the Set mode.
2. Rotate the
DIAL
knob to select Menu #45 (
TOT
).
3. Press the [
BAND
(
SET
)] key momentarily, then rotate
the
DIAL
knob to select the desired interval (between
1 and 30 minutes), or OFF. You will hear a beep,
while rotating the
DIAL
knob, as you pass the default
six minute selection.
4. Press the [
BAND
(
SET
)] key momentarily to save the new setting, then press and hold
in the [
BAND
(
SET
)] key for 1/2 second to exit to normal operation.
When the TOT Timer reaches 10 seconds before the TOT shut-down time, a ringer sounds
to alert you to the impending shut-down.
A
UTOMATIC
P
OWER-OFF
The “Automatic Power-Off” (APO) feature will turn the radio completely off after a userde-
ned period of
PTT
switch or key/button inactivity. If you do not press any front panel keys
or buttons, rotate the
DIAL
knobs or use the microphone’s keys and buttons, or transmit, and
so long as the transceiver is not scanning or engaged in priority monitoring, the radio will
shut itself off after the specied time period. This feature is useful in minimizing battery drain
in a mobile installation if you forget to turn the transceiver off when you leave your vehicle.
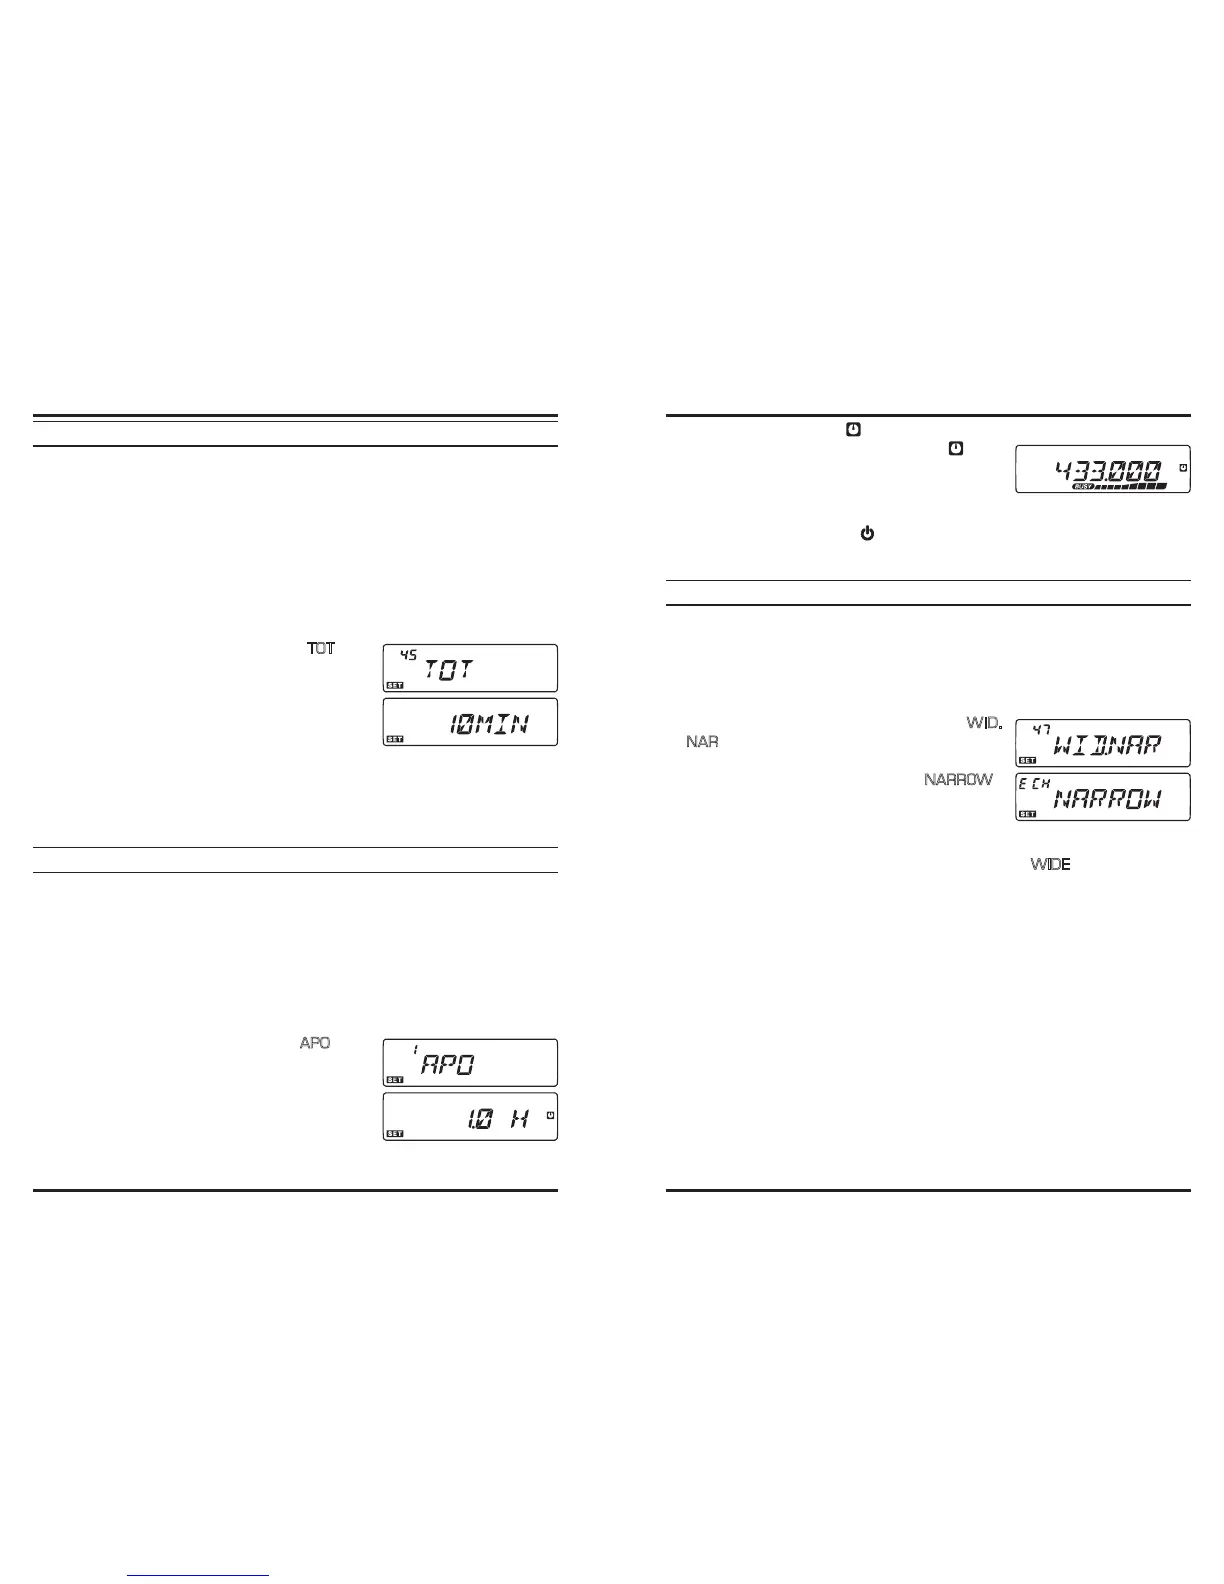
To activate the APO feature, use the following procedure:
1. Press and hold in the [
BAND
(
SET
)] key for 1/2 second to enter the Set mode.
2. Rotate the
DIAL
knob to select Menu #1 (
APO
).
3. Press the [
BAND
(
SET
)] key momentarily, then rotate
the
DIAL
knob to set the desired “switch-off” time
(between 0.5 and 12 hours in 0.5 hours increments),
or OFF (the default selection).
4. Press the [
BAND
(
SET
)] key momentarily to save the
new setting, then press and hold in the [
BAND
(
SET
)] key for 1/2 second to exit to
normal operation.
When APO is activated, the “ ” icon will appear on the LCD. If there is no action by
you within the time interval programmed, the “ ” icon
blinks and a ringer sounds 3 minutes before the APO
shut-down time; three minutes thereafter, the micropro-
cessor will shut down the radio automatically.
Just press and hold in the
PWR
(
) switch for 1/2 second to turn the transceiver back on
after an APO shutdown, as usual.
MIC
G
AIN
C
ONTROL
You can reduce the microphone input level when operating on tightly-clustered frequen-
cies (channel spacing of 12.5 or 15 kHz). This will reduce the transmitter deviation, thus
minimizing interference to other users.
To congure for the narrower bandwidth, use the following procedure:
1. Press and hold in the [
BAND
(
SET
)] key for 1/2 second to enter the Set mode.
2. Rotate the
DIAL
knob to select Menu #47 (
WID.
NAR
).
3. Press the [
BAND
(
SET
)] key momentarily, then rotate
the
DIAL
knob to change the display to “
NARROW
”.
4. Press the [
BAND
(
SET
)] key momentarily to save the
new setting, then press and hold in the [
BAND
(
SET
)]
key for 1/2 second to exit to normal operation.
To restore the normal (higher) microphone input level, select “
WIDE
” in step 3 above.