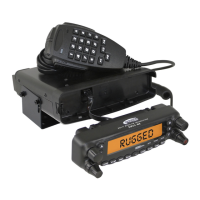
The transceiver allows you to scan just the memory channels, the entire operating band,
or a portion of that band. It will halt on signals encountered, so you can talk to the sta-
tion(s) on that frequency, if you like.
Scanning operation is basically the same in each of the above modes. Before you begin,
take a moment to select the way in which you would like the scanner to resume scanning
after it halts on a signal.
Setting the Scan-Resume Technique
Three options for the Scan-Resume mode are available:
BUSY
: In this mode, the scanner will halt on a signal it encounters. Two seconds after
the carrier has dropped because the other station(s) ceased transmission, the scan-
ner will resume.
TIME
: In this mode, the scanner will halt on a signal it encounters, and will hold there
for ve seconds. If you do not take action to disable the scanner within ve sec-
onds, the scanner will resume even if the stations are still active.
HOLD
: In this mode, the scanner will halt on a signal it encounters. It will not restart au-
tomatically; rotate the
DIAL
knob to re-initiate scanning if you wish to resume.
To set the Scan-Resume mode:
1. Press and hold in the [
BAND
(
SET
)] key for 1/2 second to enter the Set mode.
2. Rotate the
DIAL
knob to select Menu #37 (
SCAN
).
3. Press the [
BAND
(
SET
)] key momentarily, then ro-
tate the DIAL knob to select the desired scan-resume
mode.
4. Press the [
BAND
(
SET
)] key momentarily to save the
new setting, then press and hold in the [
BAND
(
SET
)]
key for 1/2 second to exit to normal operation.
Note: The default condition for this Menu Item is “BUSY.”
V
FO
S
CANNING
This mode allows you to scan the entire current operating band.
1. Select the VFO mode by pressing the [
V/M
(
MW
)] key, if necessary.
2. Press and hold in the [
SCAN
(
SEL
)] key for 1/2
second, then rotate the
DIAL
knob to select the band-
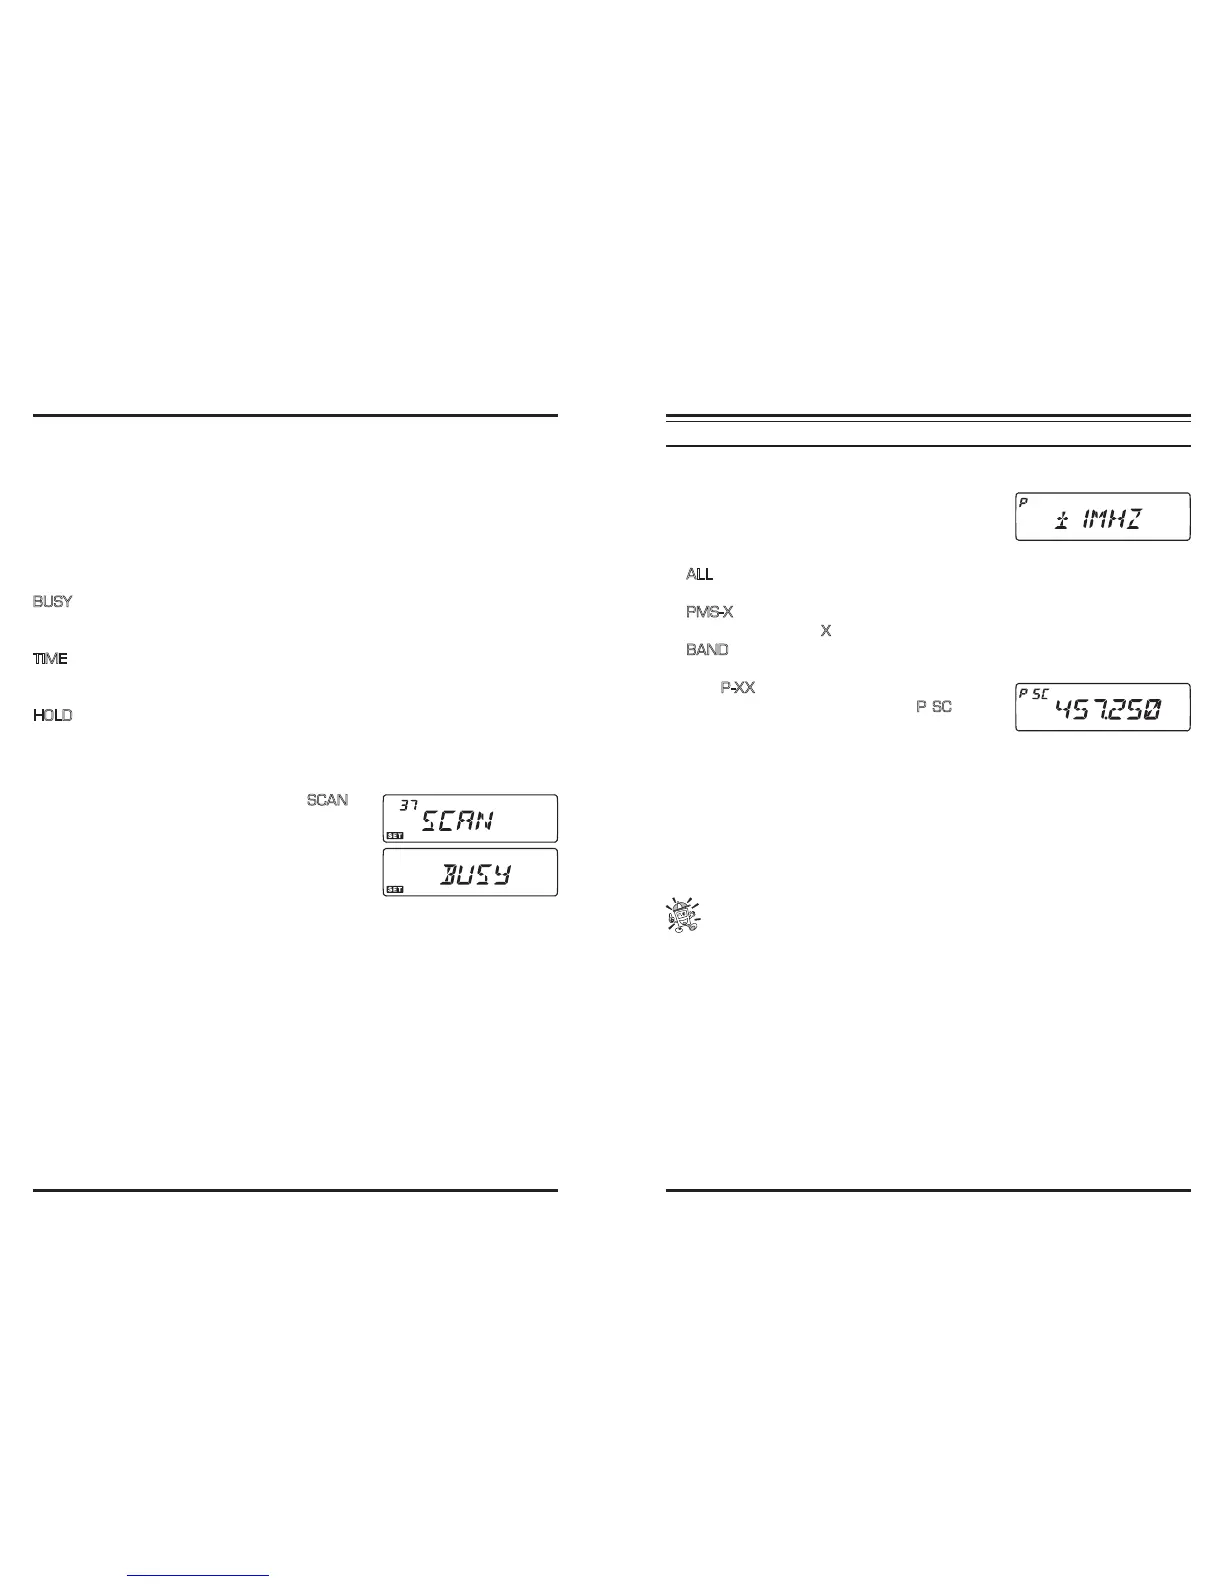
width for the VFO scanner. Available selections are
±1 MHz, ±2 MHz, ±5 MHz, ALL, PMS-X, and BAND.
ALL
: The scanner will sweep all frequencies between 108 - 520 MHz and 700
-999.990 MHz.
PMS-X
: The scanner will sweep frequencies within the currently-selected PMS fre-
quency pair (
X
is PMS memory channel number).
BAND
: The scanner will sweep frequencies only on the current band.
3. Press the [
SCAN
(
SEL
)] key momentarily to start scanning.
4. The “
P-XX
” indication will appear on the display if
you engage PMS scanning, while the “
P SC
” indica-
tion will appear on the display when other scanning
modes are engaged.
5. If and when the scanner encounters a signal strong enough to open the squelch, the
scanner will halt temporarily; the decimal point of the frequency display will blink
during this “Pause” condition.
6. The scanner will then resume according to the Scan-Resume mode selected in the pre-
vious section.
7. To cancel scanning, press the [
SCAN
(
SEL
)] key momentarily again (or press the mi-
crophone’s
PTT
key).
1) When you start scanning, the transceiver will be changing frequency in the
upward direction. If you want to change direction of the scan while it is under-
way, rotate the DIAL knob one click in the opposite direction (in this case, one click
counterclockwise). You’ll see the scanner turn around and change frequency down-
ward!
2) Pressing and holding in the microphone’s [UP] or [DWN] key will cause the scan-
ner to sweep frequencies only on the current band. If you would like the scanner not
to be restricted to the current band, you may change Menu #46 (VFO.BND) to allow
the scanner to hop to the low edge of the next-highest band when the VFO frequency
reaches the high end of the current band (or vice- versa).