15
Pos: 13.16 /In nent eil/Pfl ege un d Wart ung des M ähers/ 1.1 Aus wec hseln d es M esserb alkens @ 3\mod_1157368508411_1521.doc @ 18733
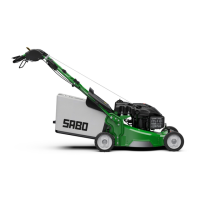
Replacing the blade
Pos: 13.17 /In nent eil/Pfl ege un d Wart ung des M ähers/ Ausw echs eln des M esserb alke ns H inwei s Benzi n neu @ 19 \mod_1346311701802_1521.doc @ 153192
WARNING
The cutting blade bar must always be replaced by an authorised workshop. A wrongly assembled cutting blade
coupling or a blade screw that is tightened too tightly or too loosely can allow the cutting blade bar to become loose
and cause severe injuries.
Pos: 13 .18 / Inn ent eil/ Pfl ege und War tung de s M äher s/ Ausw echs el n d es M ess erbal ke ns T ext Ele ktr o+Be nzi n n eu @ 21\ mod_1351068532063_1521.doc @ 160267
– Only use original blades for replacement purposes.
– Blades must be indelibly marked with name and/or trademark of the manufacturer or supplier and with the parts number.
Pos: 13.19 /In nent eil/Pfl ege un d Wart ung des M ähers/ 1. 1 War tu ng d er Vor derr äder @ 0 \mod_1115366416156_1521.doc @ 1820
Servicing the front wheels
Pos: 13 .20 / Inn ent eil/ Pfl ege und War tung de s M äher s/ Wart ung der R ä der T ext JX 80 @ 21\ mod_1352880149869_1521.doc @ 164013
Oil the bearings of the wheels once a year or every 50 operating hours.
– Loosen the hexagon head nuts using a socket wrench and remove the wheels.
– After oiling the bearings, push the wheels on and tighten them again so that they still turn easily but without any play.
Pos: 13 .21 / Inn ent eil/ Pfl ege und War tung de s M äher s/ 1.1 War tung des Hi nter rada ntri ebs (A bbil du ng R ) @ 0\mod_1115366513750_1521.doc @ 1822
Servicing the rear wheel drive (Illustration R )
Pos: 13.22 /In nent eil/Pfl ege un d Wart ung des M ähers/ Wart ung des Hint erra dantri ebs -1- Text 52er Pr ofi @ 0\mod_1115366540484_1521.doc @ 1855
– Remove the drive wheels after loosening the nut and removing the wheel cap from the wheel axle.
– Remove the wheel cover paying attention to the friction washer.
– Remove dirt and any grease from the wheel cover, from the free wheel pinion on the gear shaft and the drive pinion on
the inside of the wheel.
Pos: 13.23 /In nent eil/Pfl ege un d Wart ung des M ähers/ Wart ung des Hint erra dantri ebs -2- Hinweis @ 0\mod_1115366592203_1521.doc @ 1856
NOTE
Do not remove the free wheel pinion from the gear shaft!
Pos: 13.24 /In nent eil/Pfl ege un d Wart ung des M ähers/ Wart ung des Hint erra dantri ebs -3- Text 52er Profi @ 0\mod_1115366614687_1521.doc @ 1858
– Grease the pinion pair (free wheel pinion and drive pinion in the wheel) with the roller bearing grease “KAJO LZR 2
lubricating grease”, so that the toothed intermediate spaces are completely filled. Also apply a little grease to the
corresponding wheel cover apertures.
– Position the wheel cover and push the friction washer onto the wheel axle. When pushing on the drive wheel make sure
that the pinions engage; it may be necessary to turn the wheel on the axle slightly.
Pos: 13.25 /In nent eil/Pfl ege un d Wart ung des M ähers/ 1.1 War tung d es Antr iebs @ 2\ mod_1144334243564_1521.doc @ 11951
Servicing the drive
Pos: 13 .26 / Inn ent eil/ Pfl ege und War tung de s M äher s/ Wart ung des Antr ie bs T ext Fahr an tri eb-B owd enzug wi rd ei ng ehäg t @ 6\mod_1191336079800_1521.doc @ 40235
– It is absolutely essential that the Bowden cable runs easily for switching on and off, so that the control drive works
perfectly.
Pos: 13 .27 / Inn ent eil/ Pfl ege und War tung de s M äher s/ 1.1 N ach sp ann en u nd A usw echs eln des An tri ebkei lri em ens @ 0\ mod_1115367205593_1521.doc @ 1816
Tensioning and changing the drive V-belt
Pos: 13.28 /In nent eil/Pfl ege un d Wart ung des M ähers/ Nac hspann en und Aus wec hseln d es Antr iebs keilri emens T ext @ 0\mod_1115367223875_1521.doc @ 1843
The drive V-belt must be tensioned and replaced by a specialist workshop.
Pos: 14 .1 /---------- 1 Le erzei le ---------- @ 0\ mod_1114611787140_1521.doc @ 2070
Pos: 14 .2 /I nne nt eil/ Wart ung des Mot ors/ 1 WARTU N G DE S MO TOR S @ 0\mod_1115367976453_1521.doc @ 1864
16 SERVICING THE ENGINE
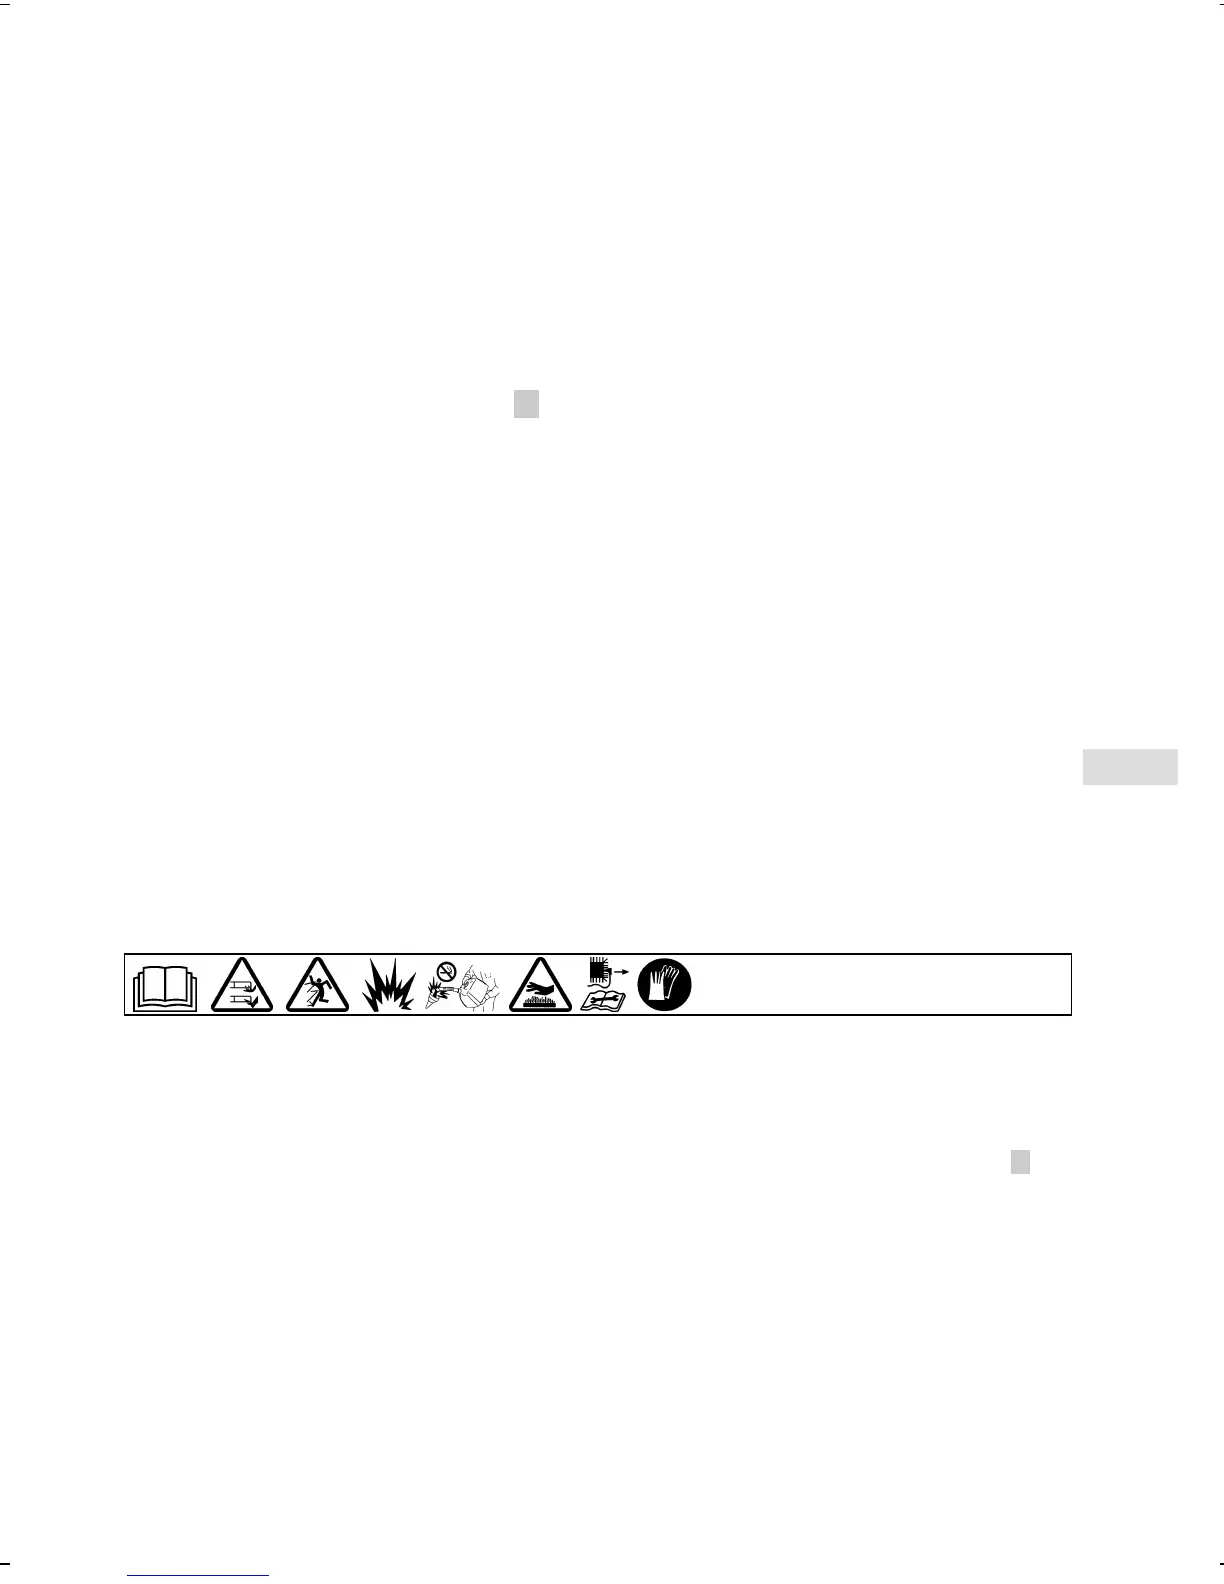
Pos: 14.3 /Inn ent eil/Sic herh eitshi nwei se/Sic herhei tshi nwei s: Lese n, Mess er, Stei n, Expl osi on, B e nzin , H eiss, Zü nd kerze , Ha ndsc hu he @ 4 \mod_1159169796358_1521.doc @ 20793
Safety instruction!
See table for explanation of symbols page 3
Pos: 14.4 /Inn ent eil/War tung d es Mot ors/M otora bgase Hi nweis @ 4\mod_1159167170397_1521.doc @ 20753
WARNING
Avoid injury! Engine exhaust fumes contain carbon monoxide and can cause serious illness or death.
Do not run an engine in an enclosed area, such as a garage, even with doors and windows open.
Move the machine to an outside area before starting the engine.
Pos: 14.5 /Inn ent eil/War tung d es Mot ors/Al lgemei ner Hi nweis vorne hoc hki ppen W1 4 S @ 10\mod_1251377911498_1521.doc @ 89990
IMPORTANT
To clean the engine and for maintenance work do not place the engine or mower on its side but tilt forwards O
(spark plug upwards) because otherwise there may be problems starting the engine. Secure the mower in the raised
position!
Pos: 14 .6 /I nne nt eil/ Wart ung des Mot ors/ War tu ng d es M otor s T ext @ 1 3\mod_1280232716232_1521.doc @ 110201
ATTENTION
When tilting or placing the mower on its side, ensure that no oil or fuel comes out of the machine. Fire hazard!
The regular implementation of the prescribed maintenance and care work are the prerequisite for a permanent and fault-free
functionality of the motor and also the basic requirement for any guarantee claims.
The motor should be kept clean, particularly on the outside, and the silencer and cylinder area must always be kept free from
foreign bodies (e.g. grass residue). The exhaust and motor reach very high temperatures when in use. Flammable foreign
bodies such as foliage, grass etc. may catch fire.
Perfect cooling can also only ensured when cylinder ribs are always clean.