3-14
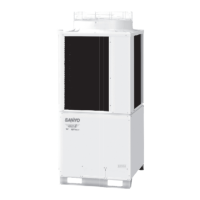
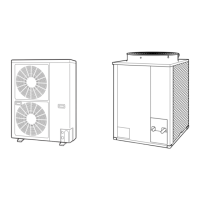
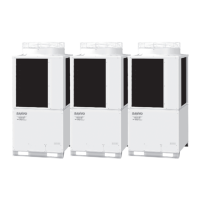
Control of 3-WAY ECO-i SYSTEM
1
2
3
4
5
6
7
8
2. Wireless Remote Controller
RCS-SH80BG.WL
2-4. Accessories
2-5. Installing the Receiver Unit
No. Accessories Quantity
1
Receiver 1
2
Remote Controller 1
3
Remote Control Holder 1
No. Accessories Quantity
4
AAA alkaline batteries 2
5
Users Manual 1
6
Truss Self-Tapping Screw s
4 X 16
2
7
Cable clamp 1
8
Clamp fixing screw 4 X 12 1
The receiver can only be installed on the corner indicated in Fig. 3-1, so consider how the panel will face when it is
installed on the indoor unit.
(1) Remove the air inlet grill.
(2) Remove the screw holding the adjustable corner cap, slide the cap to the side and remove it. (Fig. 3-2)
Receiver installation
Location
Box with Indoor
Unit’s Electrical
Parts
Ceiling PanelAdjustable Corner Cap
Adjustable Corner Cap
Screw
(3) A packing is stuffed into the square hole through which the panel wiring passes; temporarily remove the sponge
packing and pass the wire sticking out from the wireless receiver through the grill. Hold the wire in place with
the enclosed clamp by tightening the screw, then stuff the sponge back in place. (Fig. 3-3)
If this packing is not put back, condensation may form on the wire, so it is absolutely necessary to put the
sponge packing back in place before continuing with the installation.
(4) After wiring according to the directions in Wiring the Receiver Unit on the next page, leave enough wiring so
the receiver’s adjustable corner cap can be removed and fasten the cable clamp with its screw. (Fig. 3-3)
(5) Install the panel on the receiver. When doing so, slide the panel so its tabs fit into their 3 places. Also, take care
so the wire does not get pinched. (Fig. 3-4)
Refer to the Installation Manual packed with the panel.
(1) If the wiring for the receiver is bundled with other wires, such as the incoming line, it may cause a malfunction,
so avoid putting them together.
(2) If something causes the unit’s power source to make noise it will be necessary to resolve the problem, such as
by installing a noise filter.
For more information about wiring or test operation, refer to Wiring the Receiver Unit and Test Operation on the
next page.
Remove the sponge packing, fasten the wire
with the cable clamp and put the sponge
packing back in place.
NOTE
Fig. 3-1
Fig. 3-2
Fig. 3-3
Fig. 3-4
TD831143-00W-3WAY.indb14TD831143-00W-3WAY.indb14 2008/12/0110:26:232008/12/0110:26:23
 Loading...