4 Checking and Performing Printer Adjustments
45
CL4NX/CL6NX Service Manual
First, adjust the “Low” level (voltage) of the I-mark sensor.
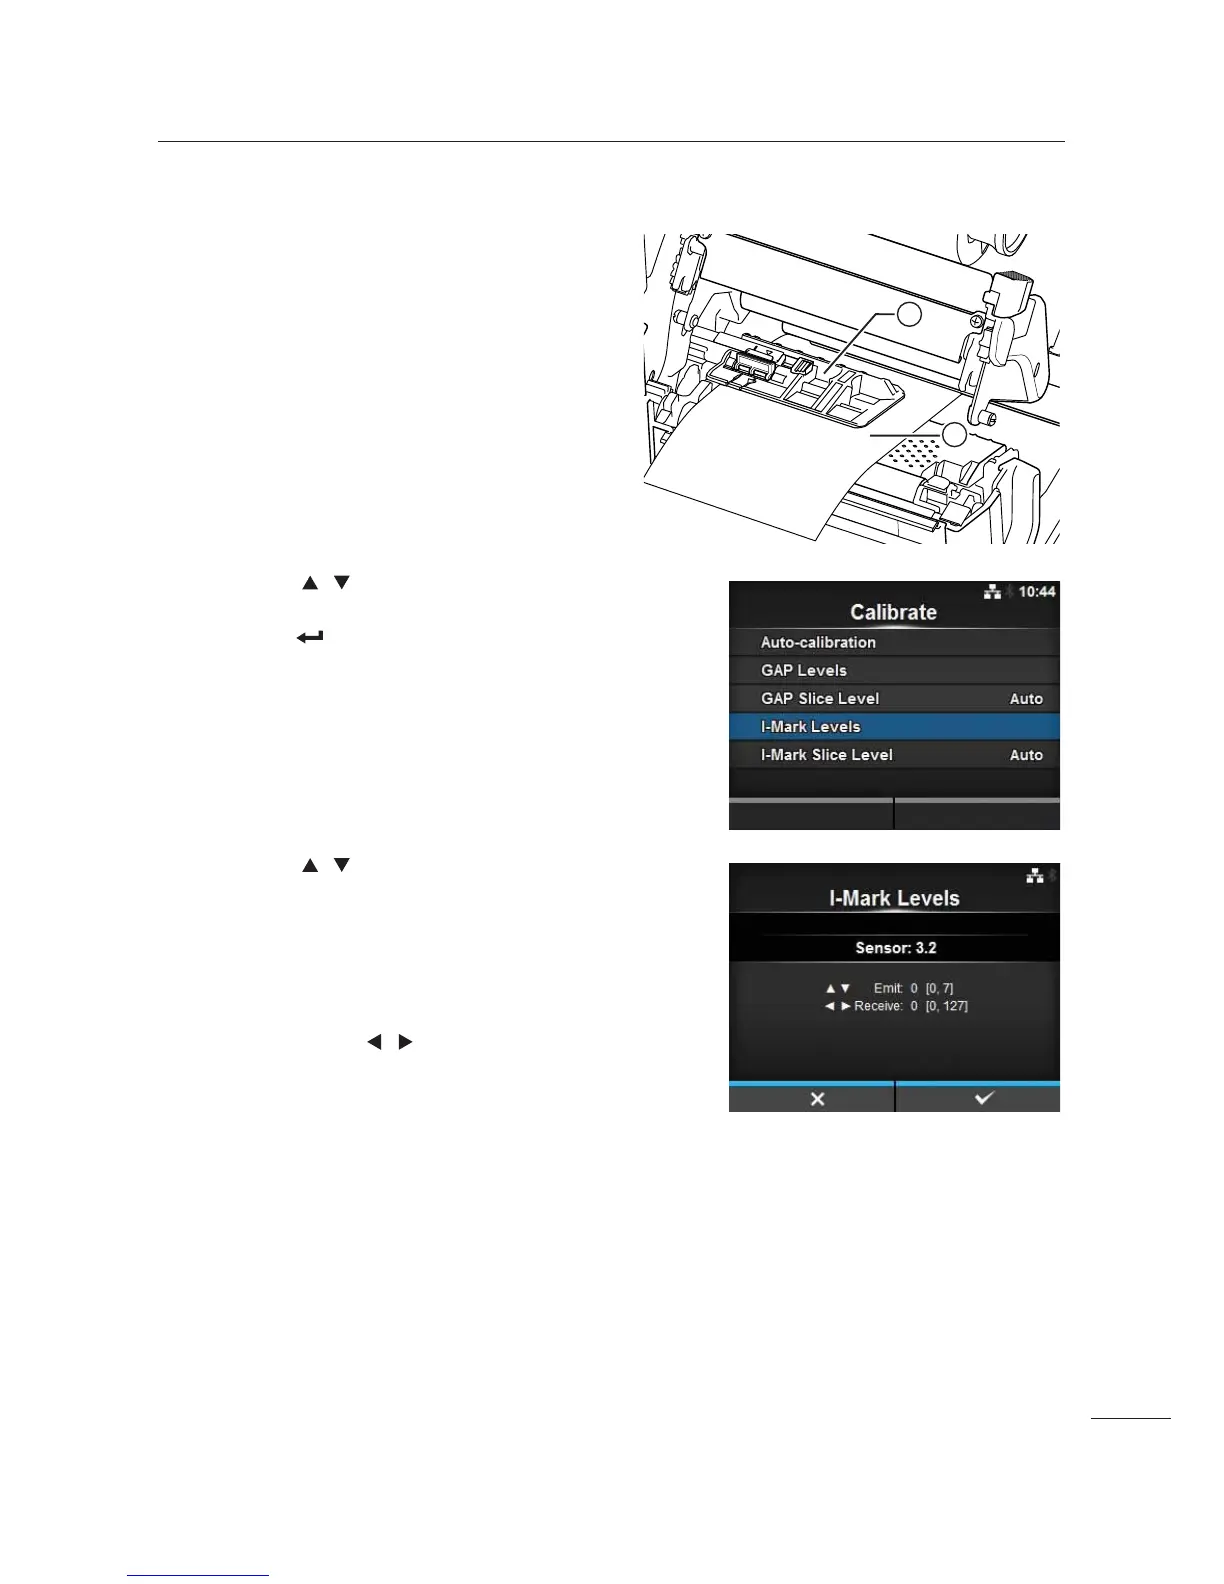
2 Pass the media . (if label, attached with
liner) below the media sensor guide 3.
Align it so that the media sensor does not sense the
I-mark (black mark).
3 Close the print head.
To get the correct adjustment result, adjust after you
have closed the print head.
4 Press the / buttons to select the
I-Mark Levels in the Calibrate menu and
press the
button.
5 Press the / buttons to change the
Emit value until the Sensor value is below
0.5 (V). Set the Emit value as low as
possible.
6 If the Sensor value does not decrease
below 0.5 after you changed the Emit
value, press the / buttons to change
the Receive value.
7 Take a note of the Sensor value from the
above procedure. This is the “Low” level
value for the I-mark sensor.
2
1

 Loading...


