4 Checking and Performing Printer Adjustments
64
CL4NX/CL6NX Service Manual
4.14
Adjusting the Timing Belt Tension of the
Optional Liner Rewinder
CL4NX Printer
Required tool:
• Phillips screwdriver (JIS #2 or equivalent)
1 Make sure that the printer is in power off mode, then disconnect the power cord from
the AC outlet.
2 Remove the gearbox of the liner rewinder from the printer.
Refer to Section 5.16 Replacing the Timing Belt for Liner Rewinder (Optional) for details.
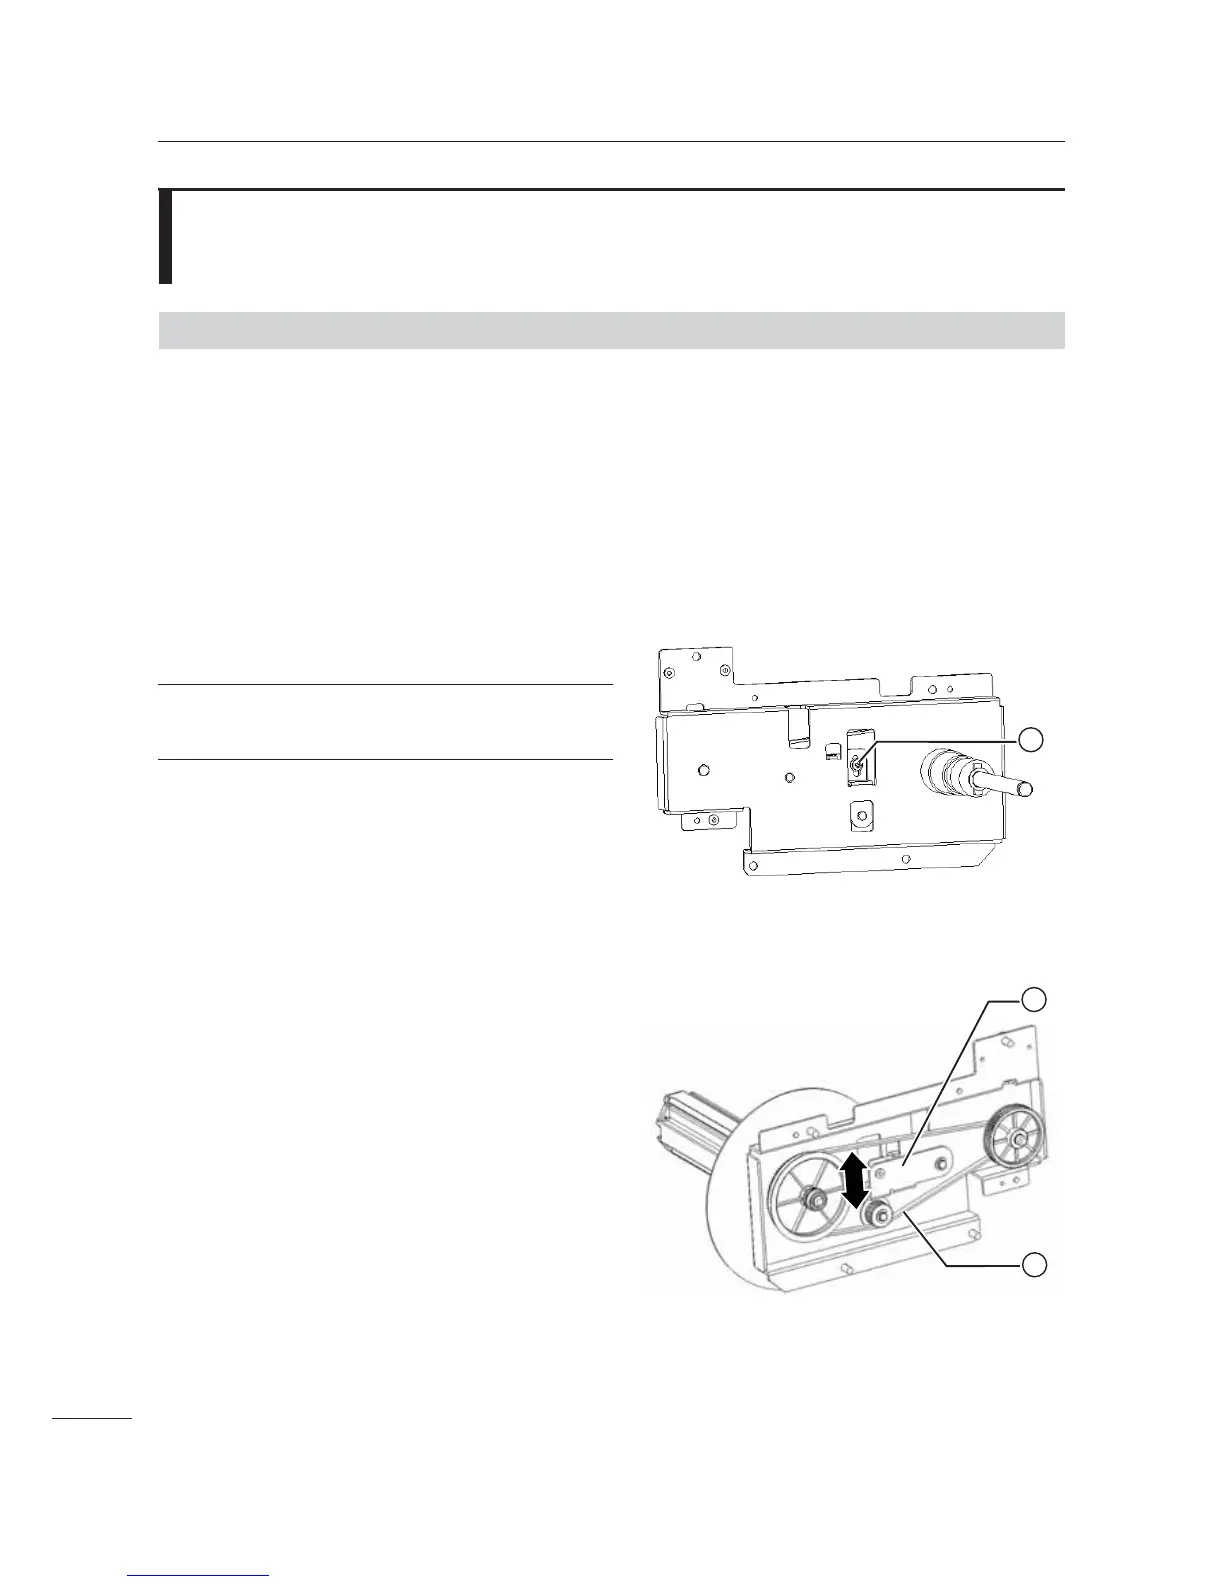
3 Loosen the screw . of the tension
bracket 3.
Note
Do not remove the screw.
4 Turn over to the inner side of the gearbox
and then check the condition of the timing
belt $.
Make sure that there is tension on the timing belt.
5 Tighten the screw . of the tension
bracket.
6 If the tension of the timing belt is not
enough, replace the timing belt.
Refer to Section 5.16 Replacing the Timing Belt
for Liner Rewinder (Optional) for details.
7 Perform the assembly with the reverse
procedure.

 Loading...


