5 Replacement
84
CL4NX/CL6NX Service Manual
5.8
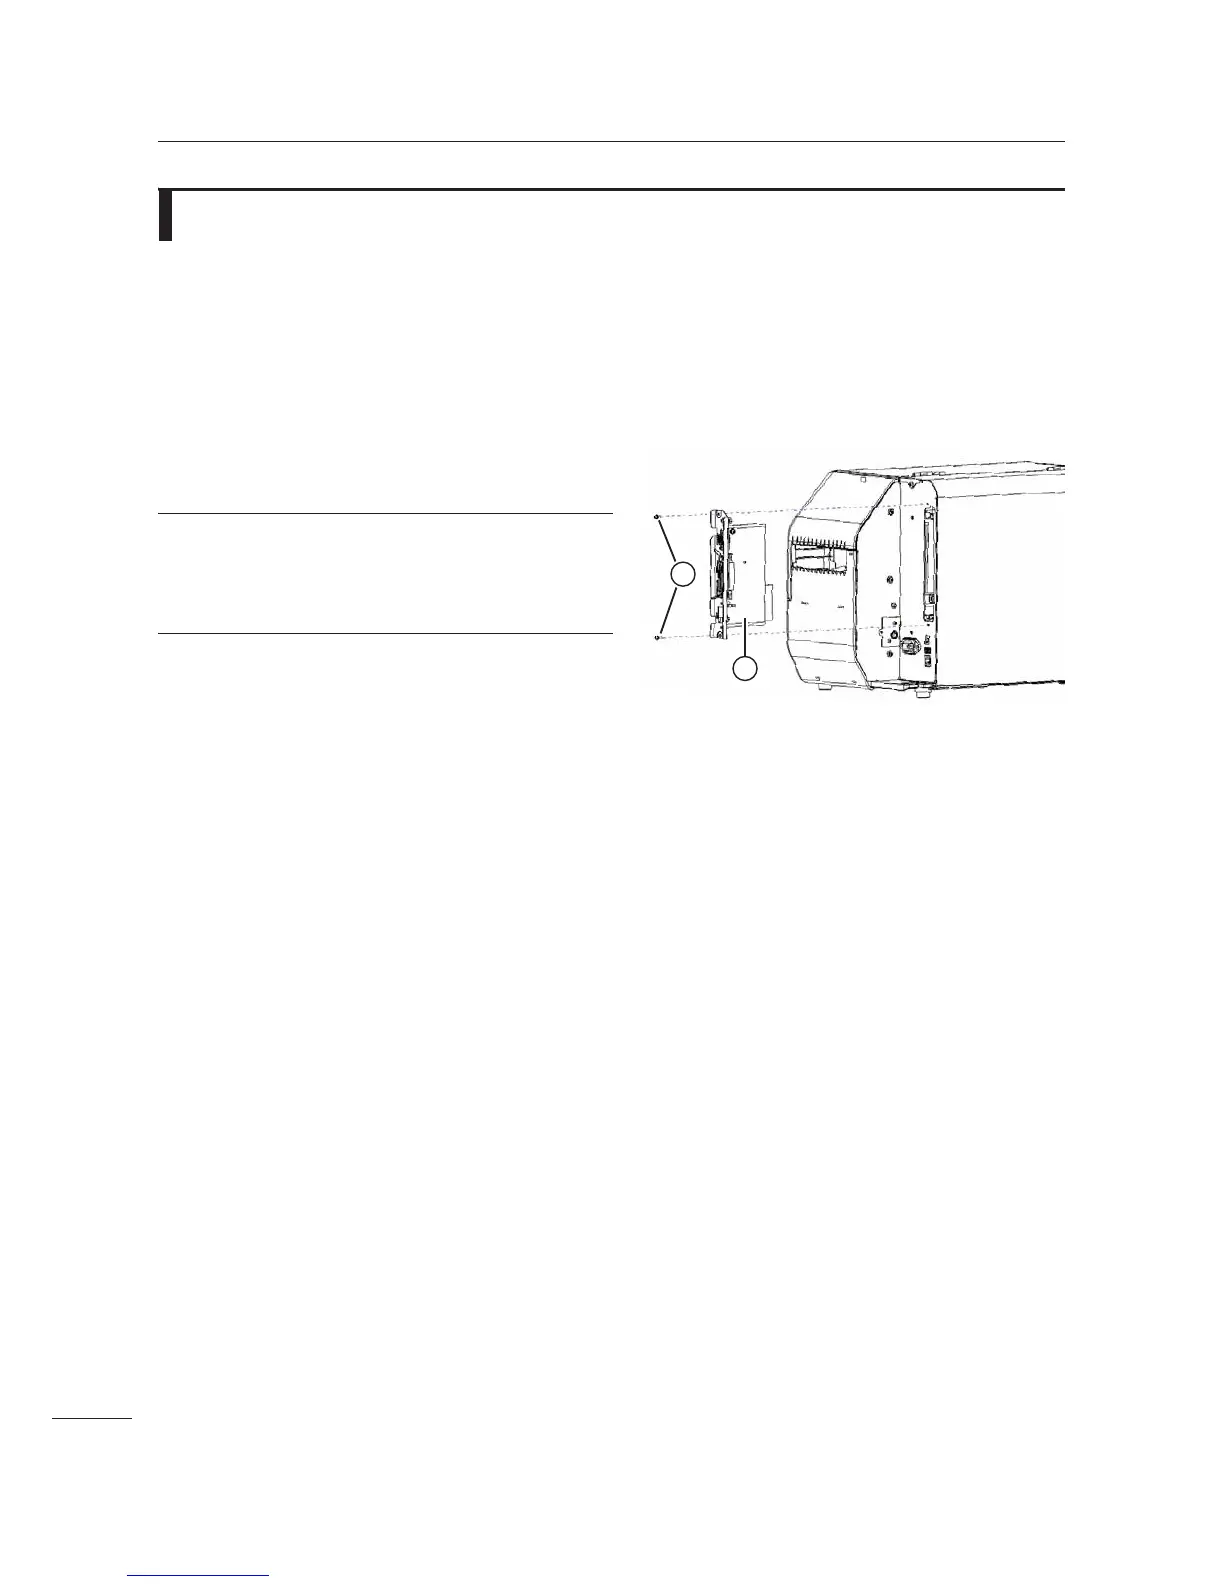
Replacing the Interface Board
Required tool:
• Phillips screwdriver (JIS #2 or equivalent)
1 Make sure that the printer is in power off mode, then disconnect the power cord from
the AC outlet.
Remove the interface cable if applicable.
2 Remove two screws ., then replace the
interface board
3.
Note
Make sure that the interface board is aligned and
inserted into the slot. So as not to scrape the board
against the top metal catches inflicting damage.
3 Tighten two screws ..
1
2

 Loading...


