5 Replacement
83
CL4NX/CL6NX Service Manual
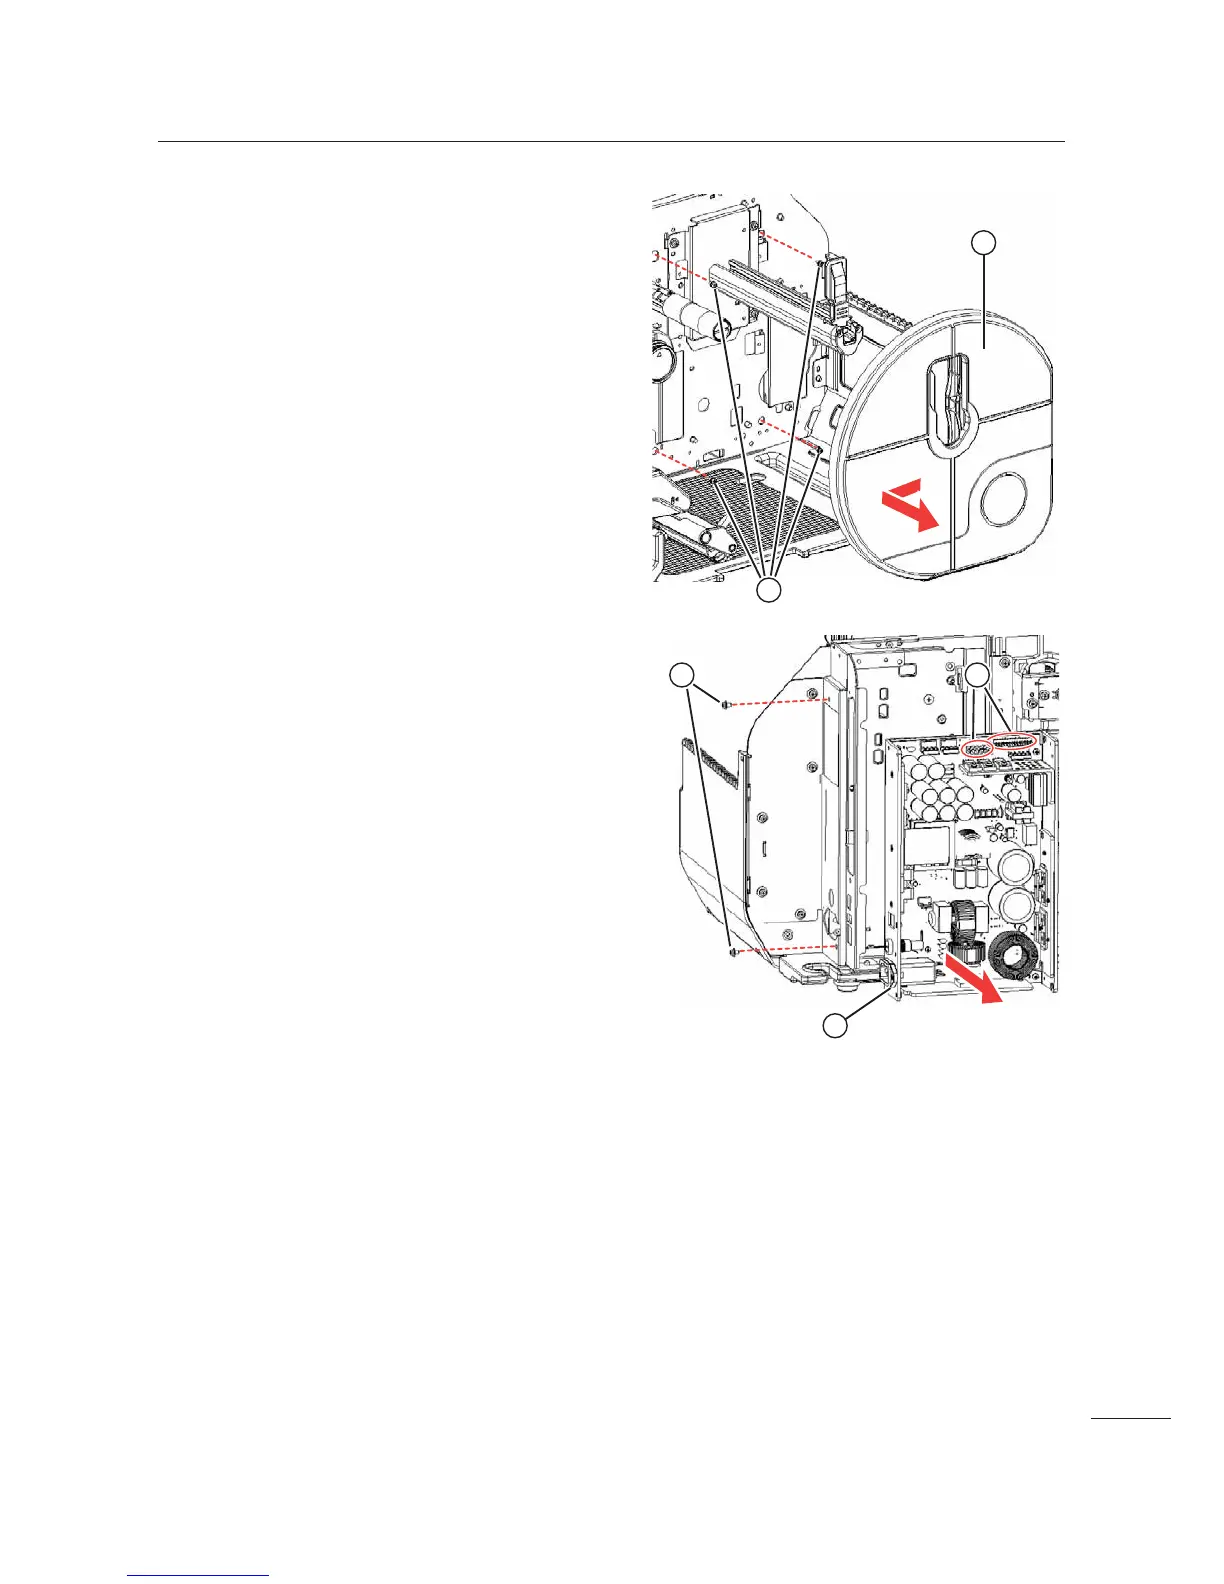
7 Slide in the arrow direction to remove the
media holder plate
/.
8 Remove four screws 1 attaching the
power supply unit
4 to the printer
center frame.
9 Remove two screws 2 attaching the
power supply unit
4 to the printer rear.
10
Disconnect the cables from two
connectors ( on the power supply
unit
4.
11
Remove the defective power supply
unit
4 and replace with the new
power supply unit
4.
12
Perform the assembly with the reverse
procedure.
After the replacement
• Power on the printer, check that the printer operates correctly.

 Loading...


