4 Checking and Performing Printer Adjustments
44
CL4NX/CL6NX Service Manual
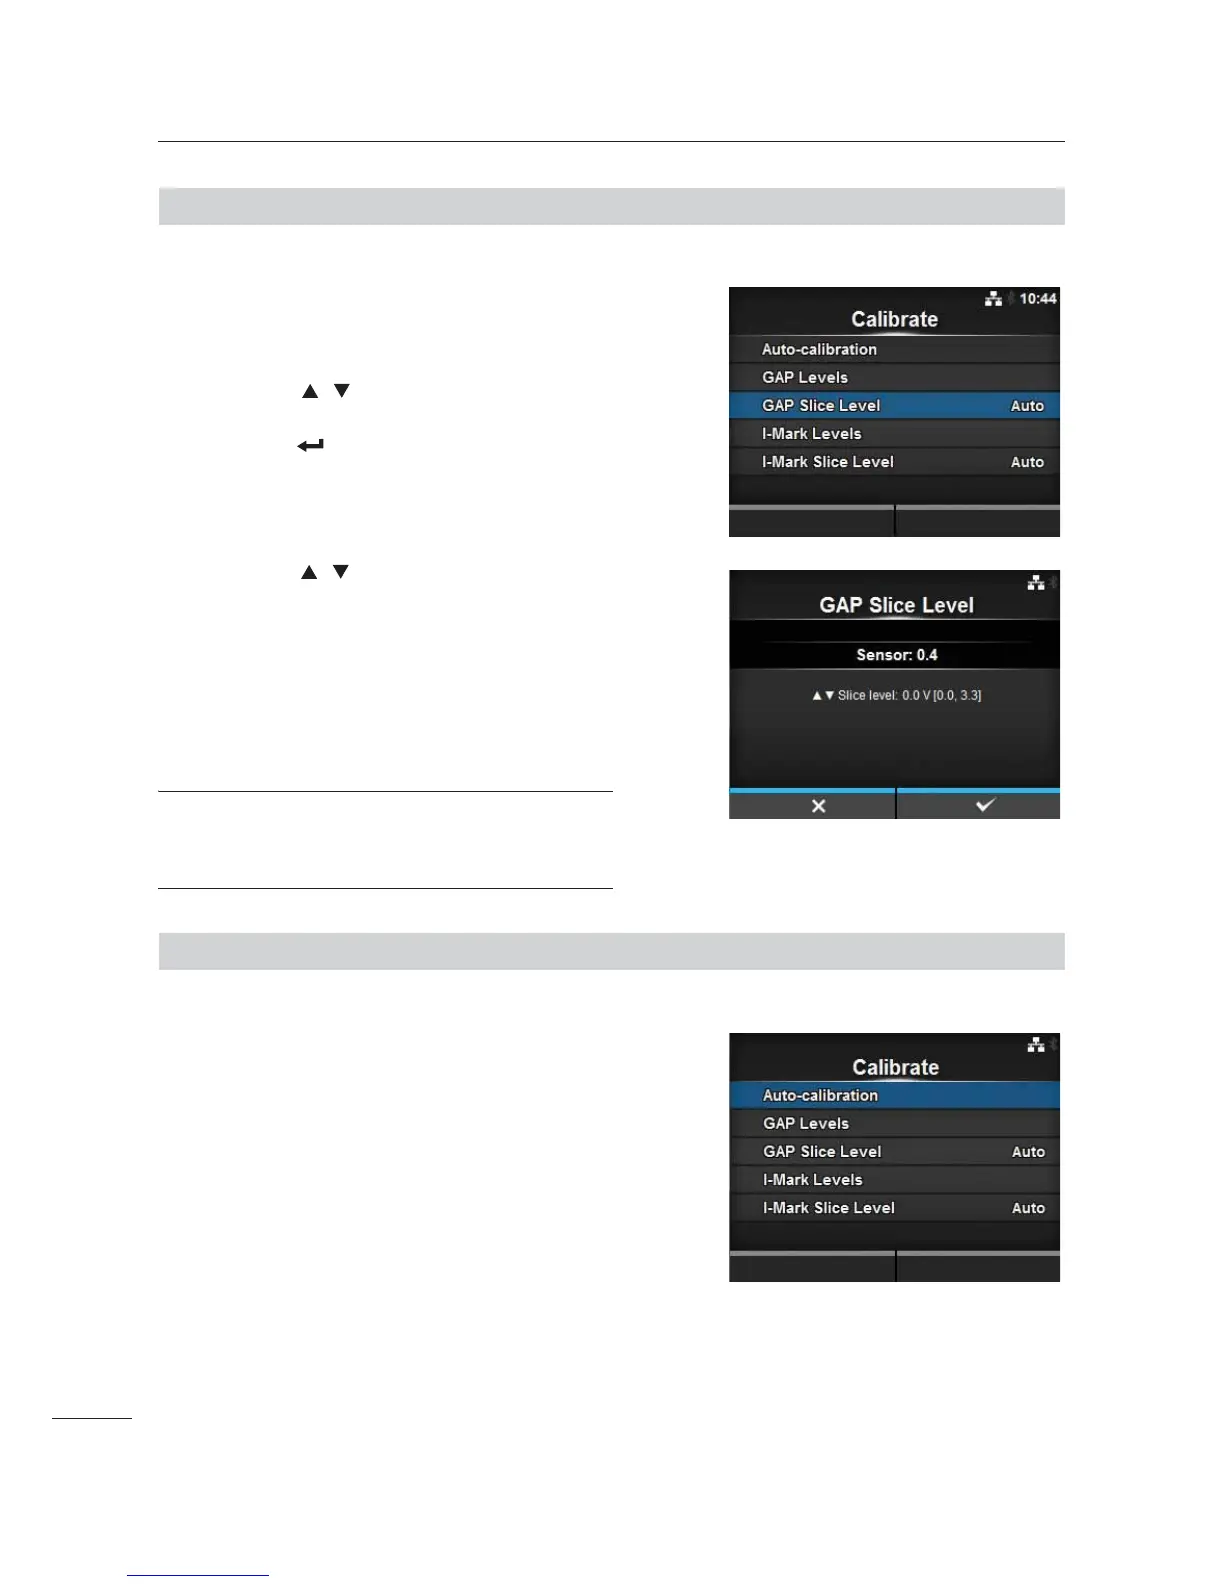
4.3.3
Adjusting the Gap Sensor Slice Level
Set the Gap sensor slice level.
1 Perform steps 1 through 6 of Section 4.3.1
Auto-calibration.
The Calibrate screen shows.
2 Press the / buttons to select the GAP
Slice Level in the Calibrate menu and
press the button.
3 Press the / buttons to change the
Slice level value. Set the Slice level to the
level calculated from the following formula.
[(High level - Low level) x 0.3 + Low level = slice
level]
4 Press the right soft button to confirm the
value.
Note
If you set the Slice Level to 0.0 (V), the printer sets the
slice level automatically.
4.3.4
Adjusting the I-mark Sensor Sensitivity
Manually set the I-mark sensor level.
1 Perform steps 1 through 6 of Section 4.3.1
Auto-calibration.
The Calibrate screen shows.

 Loading...


