5 Replacement
71
CL4NX/CL6NX Service Manual
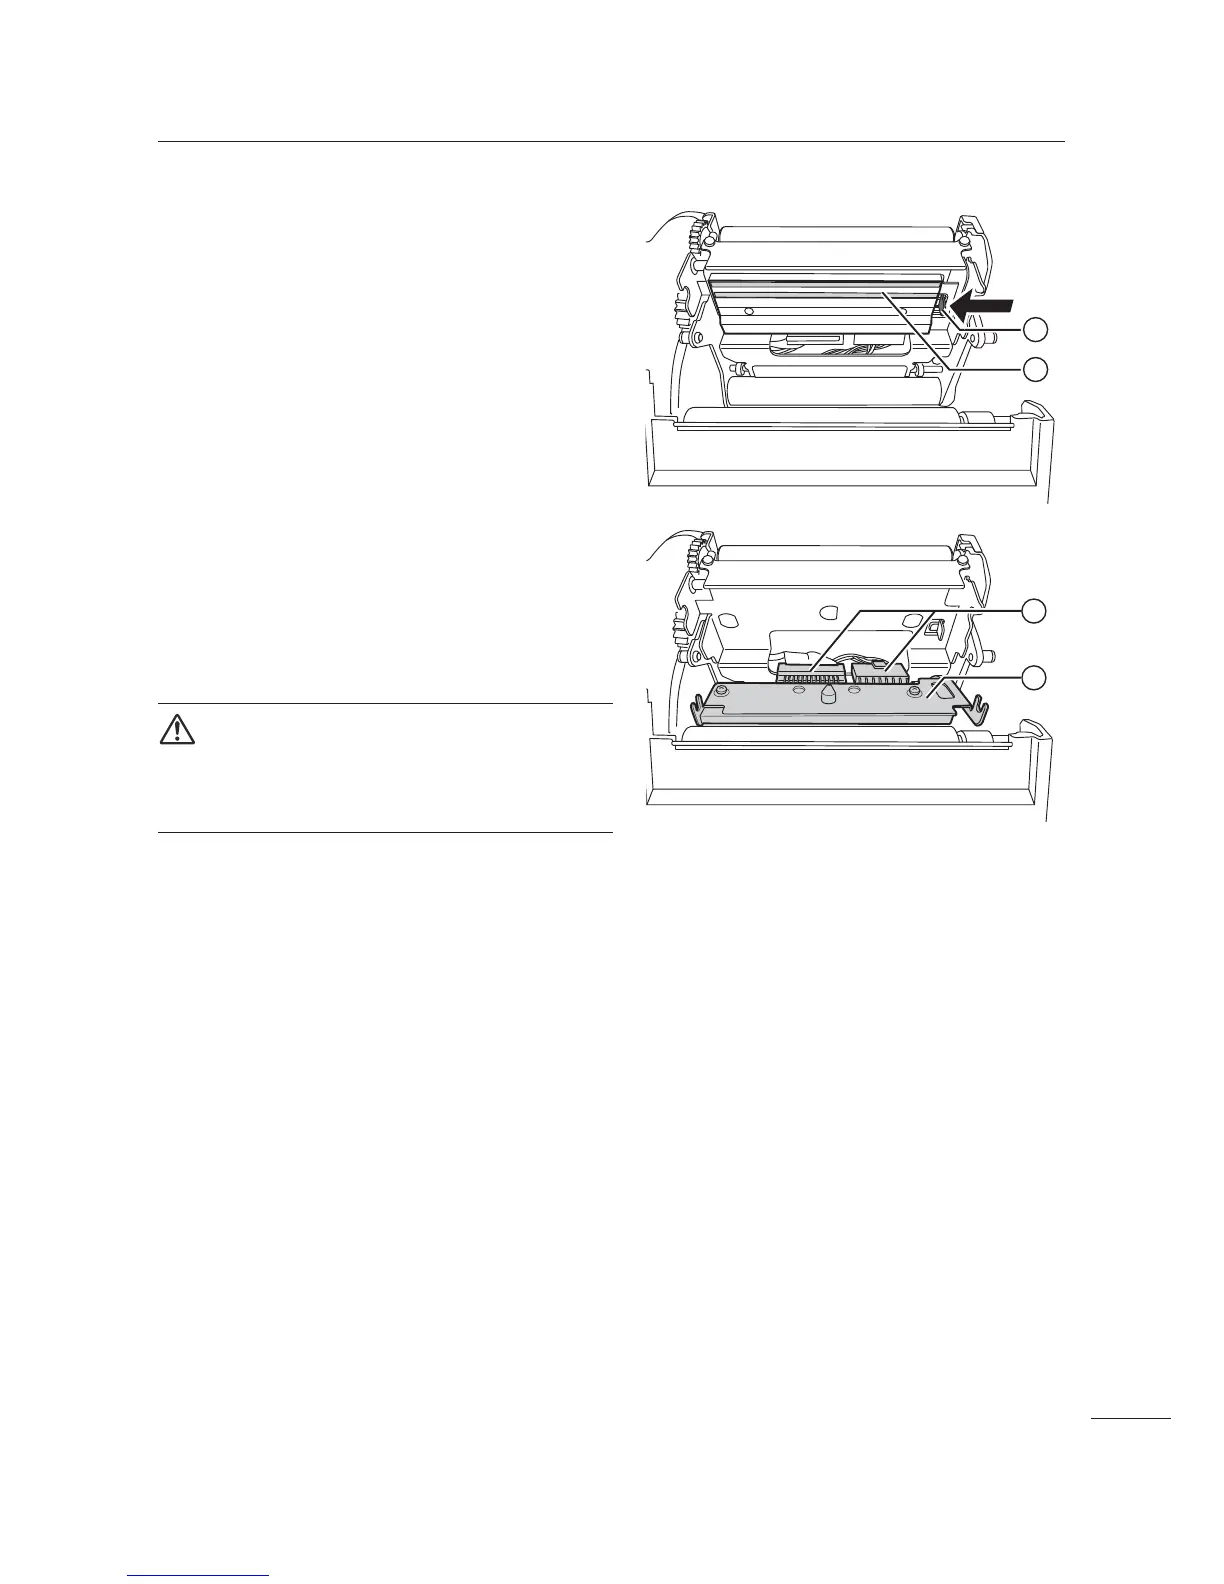
5 Press the lever 3 to remove the print
head $.
6 Disconnect all the connectors / from the
defective print head $.
In total, there are two connectors for CL4NX and
three connectors for CL6NX.
7 Connect all the connectors /to the new
print head.
CAUTION
Handle the print head with care.
Do not contaminate or scratch the sensitive print head
surface.
8 Install the new print head.
Install the print head so that it is locked with a click
sound.
9 Load the media and ribbon back if you remove them in step 4.
After the replacement
• Clear the head counter value.
Refer to Section 4.2 Counter Clear Mode
• Check the print darkness.
Refer to Section 4.5 Adjusting the Print Darkness

 Loading...


