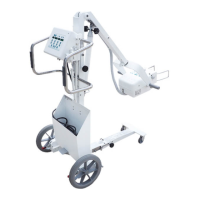
Portable X-ray Units
Service Manual
SM-1076R2
36
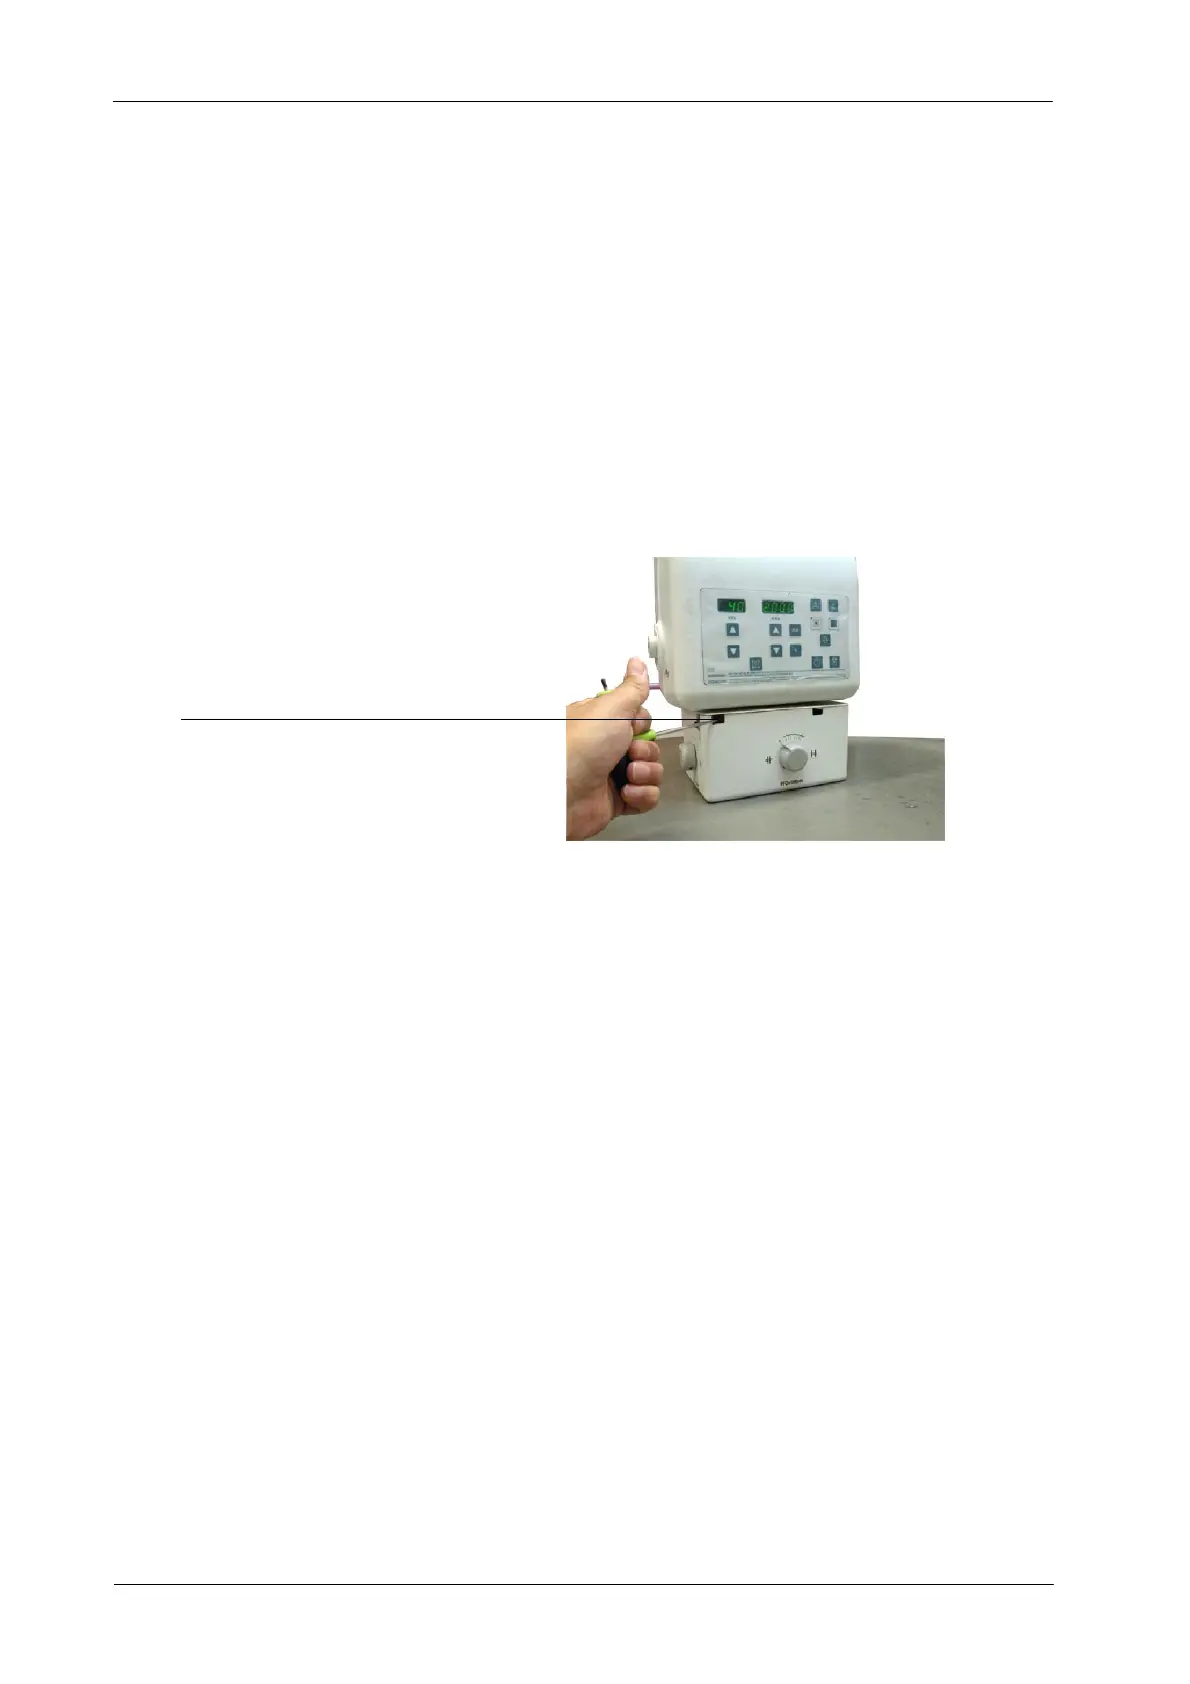
7. Do not remove the Collimator Test Tool from its original position and
adjust the Light Field by moving the Collimator Unit and/or the Collimator
Light.
a. Collimator Light must be ON during Light Field adjustment.
b. Modify Collimator position by carefully unscrewing and screwing
the four Centering Adjustment and Security Screws (Allen) until
the Light Field coincides with the axes reference imaged (numbers
and dots) on the processed film.
Illustration 4-2
Collimator Screws
CENTERING ADJUSTMENT AND SECURITY SCREWS
c. If adjustment is still necessary, modify position of Collimator Light
(refer to Collimator Manual).
8. Repeat exposure and procedure until the result is satisfactory. The
maximum misalignment allowed is 2 % of SID (for SID 1m = 2 cm of
tolerance).
4.2 FIELD SIZE INDICATOR TEST
Before starting with the Field Size Indicator Test, the Alignment of
X-Ray Beam Test and the Alignment of Light Field with X-Ray Field
Test should be performed.
1. Place the Portable Unit in vertical position. The Unit has to be perfectly
aligned with a Cassette Film for a Cassette of 35 x 43 cm. Check with a
level correct horizontal position of both parts.
2. Position SID at 1 meter (use the SID Metric Tape of the Unit).
Note .
 Loading...