Portable X-ray Units
Service Manual
SM-1076R2
81
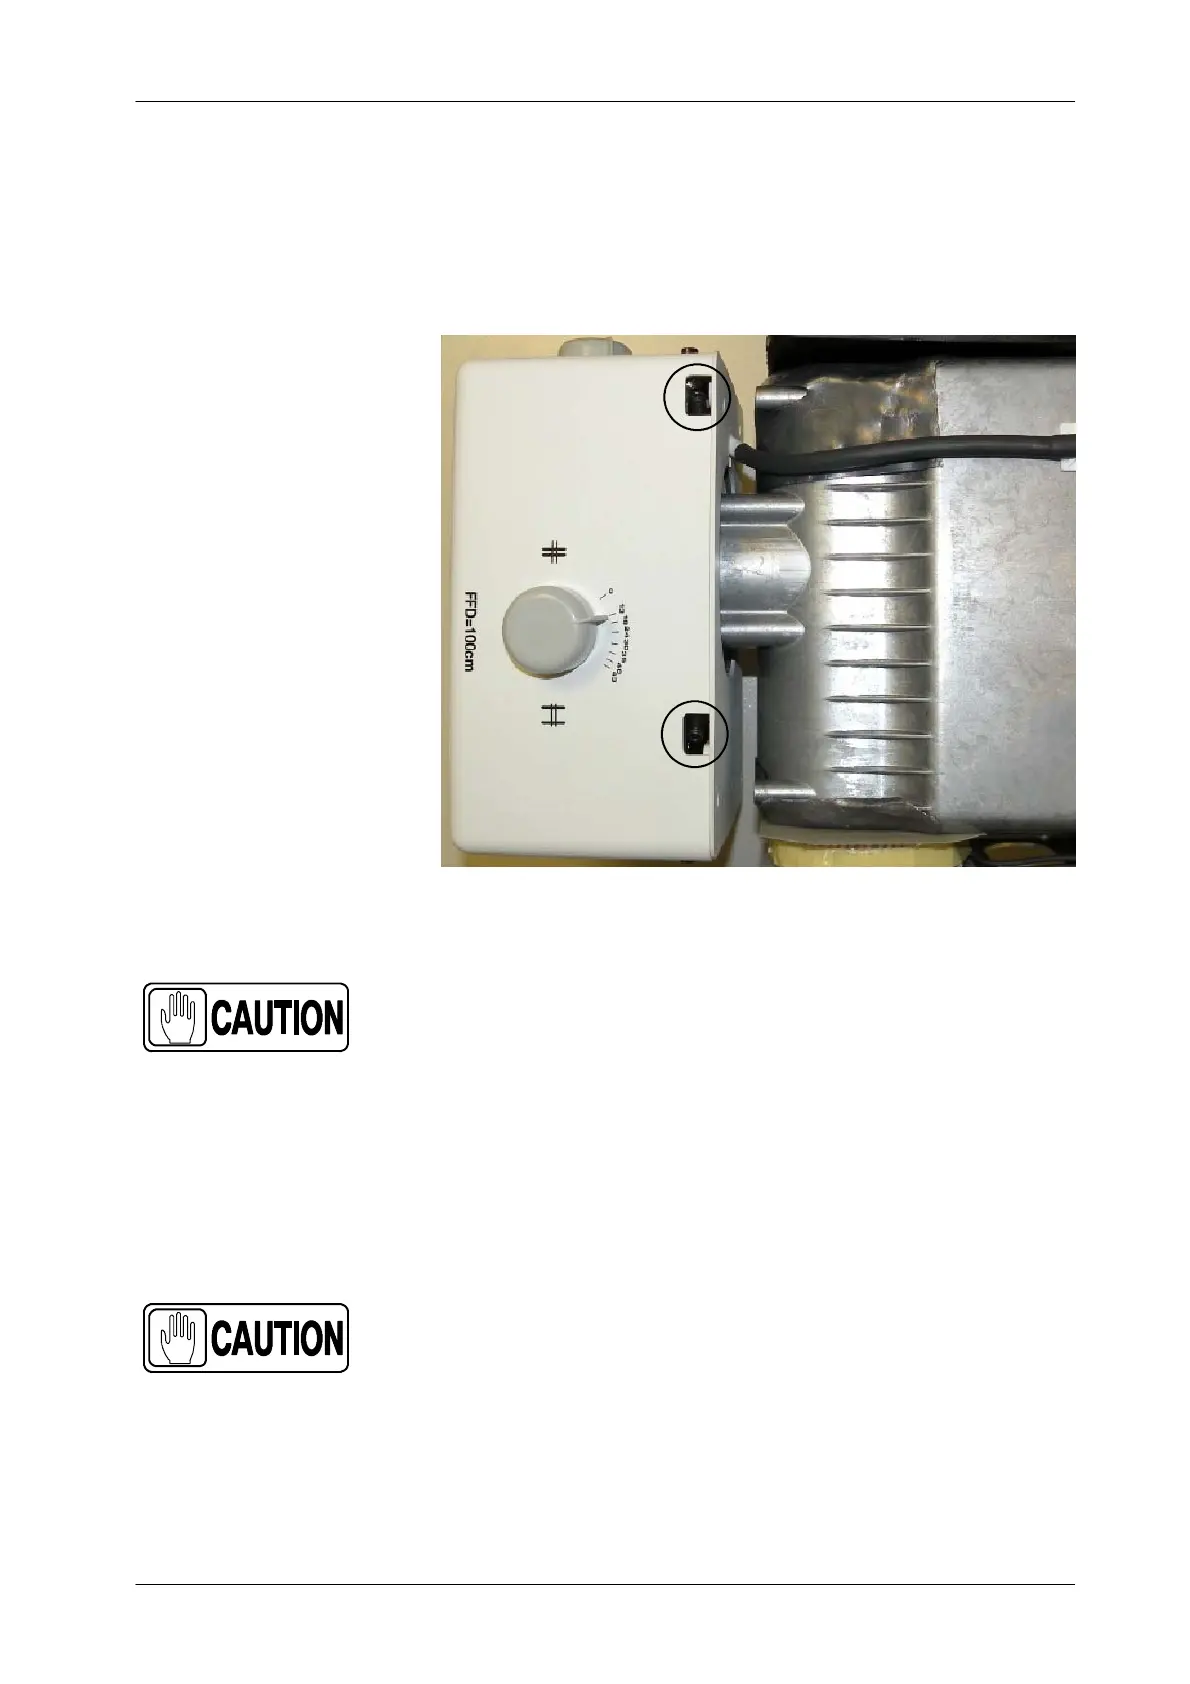
8. Fully unscrew the four (4) Collimator Adjusting Screws and carefully
remove the Collimator.
9. Install the new Collimator.
Collimator replacement will affect centering of Collimator
light. Screwing may modify position of Collimator and it
must be manually centered while tightening the Safety
Screws. It is recommended 5 turns to each screw, check
parallelism between the Collimator and Unit Chassis, correct
position if necessary and finally tighten each Safety Screw
with the same number of turns (one by one).
10. Reconnect and assemble in reverse order.
Once the Collimator is replaced, the Unit fully assembled and
ready for operation, perform the Adjustments described in
Section 4.
 Loading...