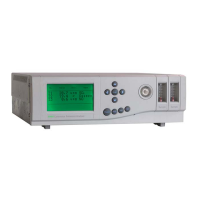
2.9
Plug PL5 provides the electrical connections for the analogue inputs, the autocalibrate
initiate input and the range change input. The connection details for PL5 are
summarised in Table 2.4.
Each analogue input signal consists of an analogue current input ( for example pins 1
and 2 on PL5 for analogue input 1 ) plus a digital status input ( for example pins 9 and
10 on PL5 for analogue input 1). The status input defines the validity of the analogue
input signal. A high input, or open circuit, on the digital signal indicates that the data
is invalid. A low input on the digital signal indicates that the data is valid. Connection
in this way ensures that disconnection of the analogue input source or removal of the
connector from PL5 will result in an invalid measurement indication. If no suitable
status indication is available from the source of the analogue input signal then the
status input pin should be shorted to the neighbouring ground pin within the PL5
connector.
NOTE
If the analogue input status signal is not connected then the digital
line will be pulled high internally. This indicates that the data is
invalid and no reading will be measured.
The external autocalibrate initiate input is located at pins 11 and 12 of connector PL5
( see table 2.4 ). The autocalibration facility is started by shorting these two pins
together or by providing a digital low signal to pin 12. The signal should be applied for
a minimum of two seconds.
NOTE
The external autocalibration initiate signal should be applied to pins
11 and 12 of connector PL5 for at least 2 seconds to ensure that the
input has been recognised.
The external range change input is located at pins 13 and 14 of connector PL5 ( see
table 2.4 ). The second analogue output range for all outputs is obtained by shorting
these two pins together or by providing a digital low signal to pin 14.