4.15
4.12 Aborting an auto calibration in progress
Aborting an autocalibration is accomplished by pressing any key during the
autocalibration process. The procedure is shown in table 4.9.
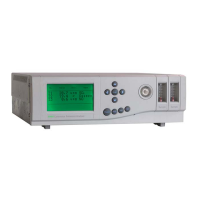
Table 4.9 Aborting auto cal or auto check
L ANY KEY to obtain the following screen
AUTO CAL IN PROG
TERMINATE YES/NO
L ENTER to abort the auto cal or auto check
L < ENTER to continue auto cal or auto
check
On aborting the auto calibration or auto check then a post flush with sample gas will
be performed with the relevant icon ( G in figure 4.1 ) displayed on the measurement
screen. If it is required to abort the post flush then the procedure given in table 4.9
may be repeated.
NOTE
Once an autocalibration abort is activated, the only way to avoid the abort is
to use the L < ENTER sequence. Hitting any other key ( including the QUIT
key ) whilst in the abort screen will only act to initiate a post flush.
Using the QUIT key will not cancel an autocalibration abort.
4.13 Disabling auto calibration and autocheck
To disable auto calibration or auto check it is necessary to:-
i) Set PERIOD DAYS = 0 and PERIOD HOURS = 0
ii) QUIT without entering a start time
See Table 4.7 setting up auto calibration and auto check for the procedure.
NOTE
If a start time that has already passed is set this will also disable the
internal timer.
4.14 Restarting auto calibration or auto check after disabling
To re-enable auto calibration or auto check it is necessary to:-
i) Set PERIOD to a non zero time (either hours or days).
ii) Enter a valid start time. Here ’valid’ means later than the current
time/date.
See Table 4.7 setting up auto calibration and auto check for the procedure.