: Feb. 6 2004
1
AR-M550/M620/M700 DETAILS OF EACH SECTION 6 - 155
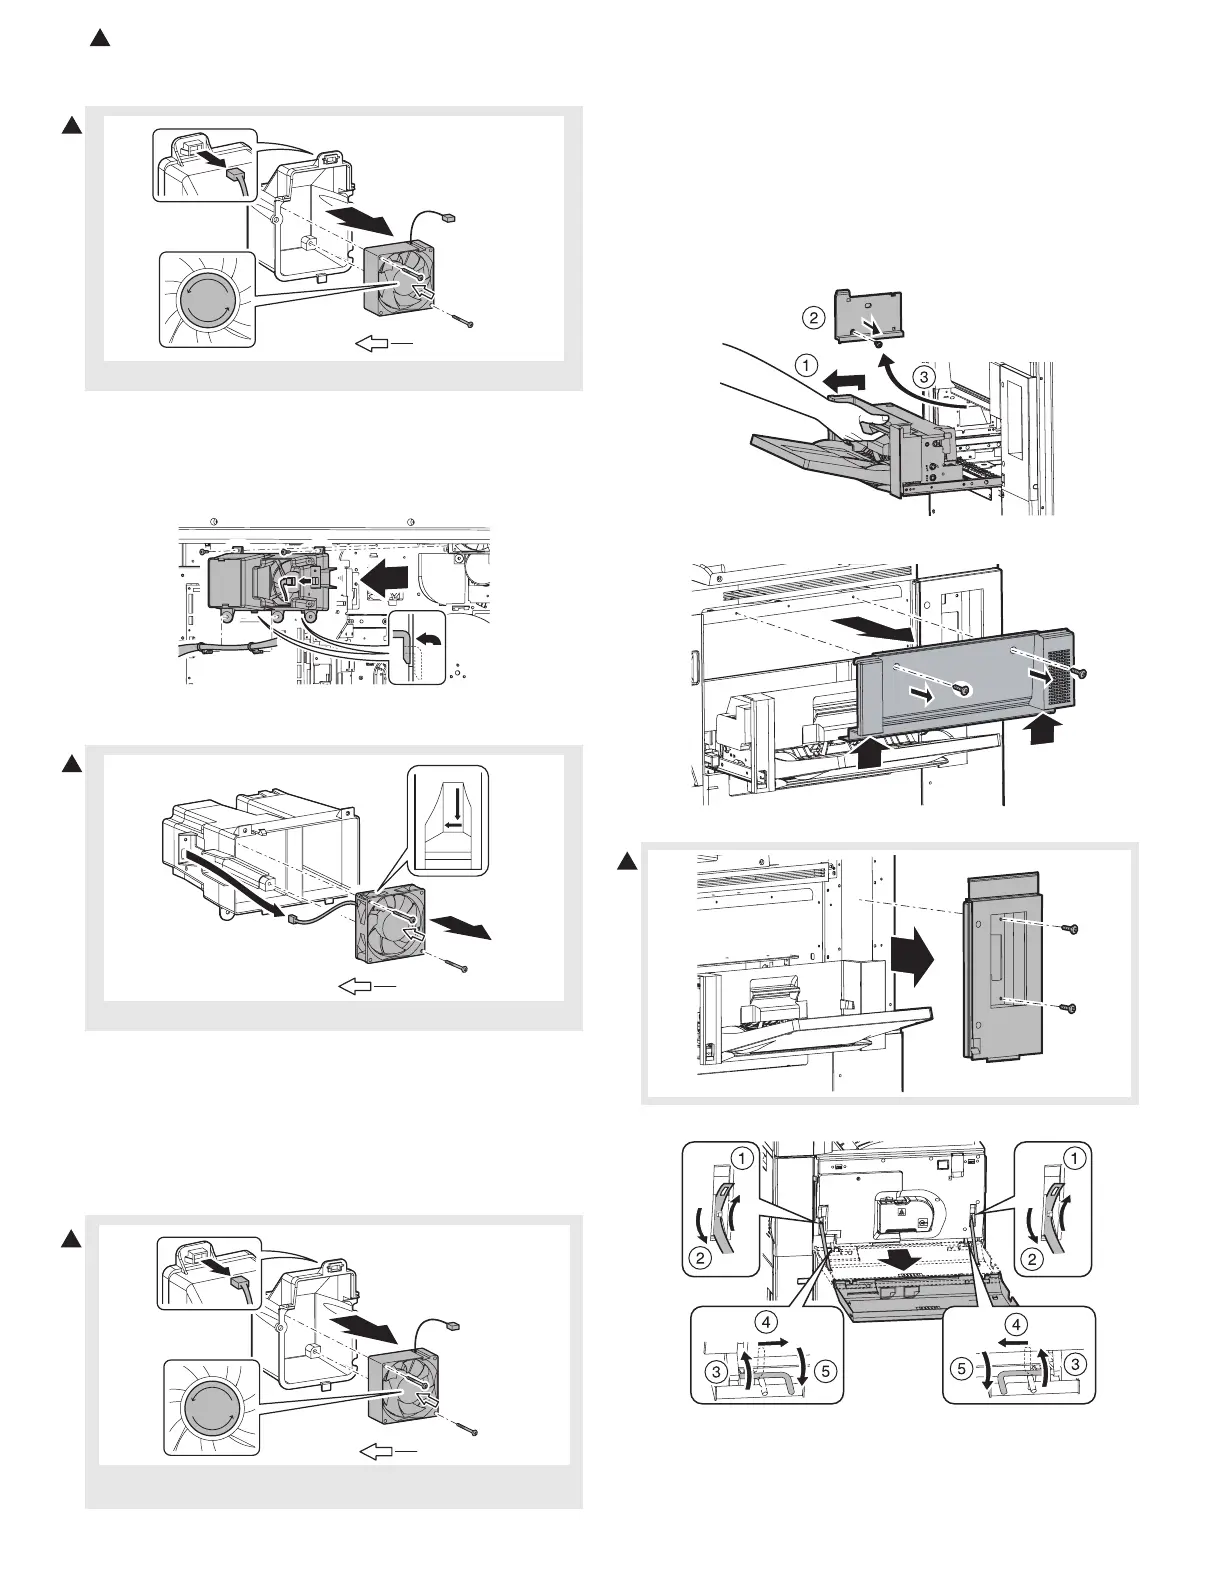
7) Disconnect the connector, and remove the fusing cooling fan
motor.
a-4. Process exhaust fan motor 5
1) Remove the rear cabinet. (See “a-1. Developing cooling fan motor”
in this section)
2) Disconnect the connector and remove the harness clamp. Remove
the sub duct unit.
3) Disconnect the connector and remove the process exhaust fan
motor 5.
a-5. Process exhaust fan motor 4
1) Remove the rear cabinet. (See “a-1. Developing cooling fan motor”
in this section)
2) Disconnect the connector and remove the harness clamp. Remove
the sub duct unit. (See “a-4. Process exhaust fan motor 5” in this
section)
3) Disconnect the connector and remove the process exhaust fan
motor 4.
a-6. Process exhaust fan motor 1
a-7. Process exhaust fan motor 2
a-8. Process exhaust fan motor 3
1) Remove the SPF unit. (See “6. Fusing section” in the “a. SPF unit”)
2) Remove the scanner unit. (See “a. Scanner unit” in the “5. Scanner
section”)
3) Pull out the multi paper feed tray unit, and remove the manual
paper feed cover F.
4) Remove the right cabinet middle.
5) Remove the right cabinet upper.
6) Remove the front cabinet band, and remove the3 front cabinet.
NOTE: Be careful of the direction of the fan.
NOTE: Be careful of the direction of the fan.
NOTE: When assembling, fit the mark with the fan rotating direction
(label on the back surface).
Fan blowing direction
REVERSE
1
Fan blowing direction
1
1
Fan blowing direction
REVERSE
1