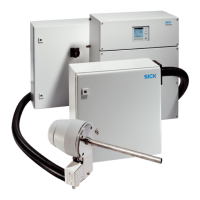
Assembly on the sampling probe
ATTENTION
Do not damage the core of the sample gas line.
b
A hose cutter must be used to cut off the core.
•
Shorten the PTFE core of the heated sample gas line to the length of the cap nut
of the screw fitting.
•
Assembly on the sampling probe: see "Installing the sampling probe", page 21.
Assembly on the sample conditioning
1. Clamp the cable bushing on the corrugated hose approx. 10 cm behind the start
of the corrugated hose.
The groove on the cable bushing must point away from the hose end.
1
Corrugated hose
2
Cable bushing
3
Groove in cable bushing
4
2 clamping screws (from below or above)
5
4 frame screws
6
Frame
7
Groove in frame
2. Push the frame with 2 clamping screws over the cable bushing and fasten lightly.
The groove of the frame must point towards the hose end (in the direction of the
enclosure side).
3. Insert the line in the enclosure.
4. Preassemble the frame on the enclosure.
5. Align the sample gas line so that the electric line points upwards.
°
The line marked red (sample gas) must continually lead downwards (danger
of clogging by condensate).
6. Connect the lines:
w
The line marked red on the cooler inlet (cooler is system-specific).
w
The line marked blue on the solenoid valve KK10, connection “A”.
INSTALLATION
2
8017324/15A2/V6-0/2019-10 | SICK T E C H N I C A L I N F O R M A T I O N | MARSIC200
23
Subject to change without notice

 Loading...