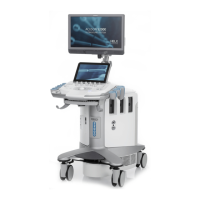
4 Examination Fundamentals
Instructions for Use 4 - 15
Begin a new study during an
examination
1. Display the patient registration form.
● Press PATIENT on the control panel.
○ For systems without a touch screen, press Patient Registration on the
keyboard. Or, click Patient Registration.
The system displays the patient registration form for the current patient.
2. Click New Study.
3. If necessary, update the Study and Transducer entries.
4. Select a protocol from the Protocol drop-down list.
5. Click Start Study.
The system ends the study in progress, begins the new study, and displays the
image menu for the current patient.
Select a pre-defined workflow
protocol during an
examination
Note: You must register a patient to select a workflow protocol on the image menu.
1. Select the required protocol.
● Select More, select eSieScan™ Protocols, and then select a protocol name.
○ For systems without a touch screen, select a protocol name from the image
menu.
Note: The image menu displays eSieScan™ Workflow Protocols when a
workflow protocol has not been selected.
2. Select the required protocol from the list of available workflow protocols.
The system activates the first view of the protocol.
Skip the current view in a
protocol
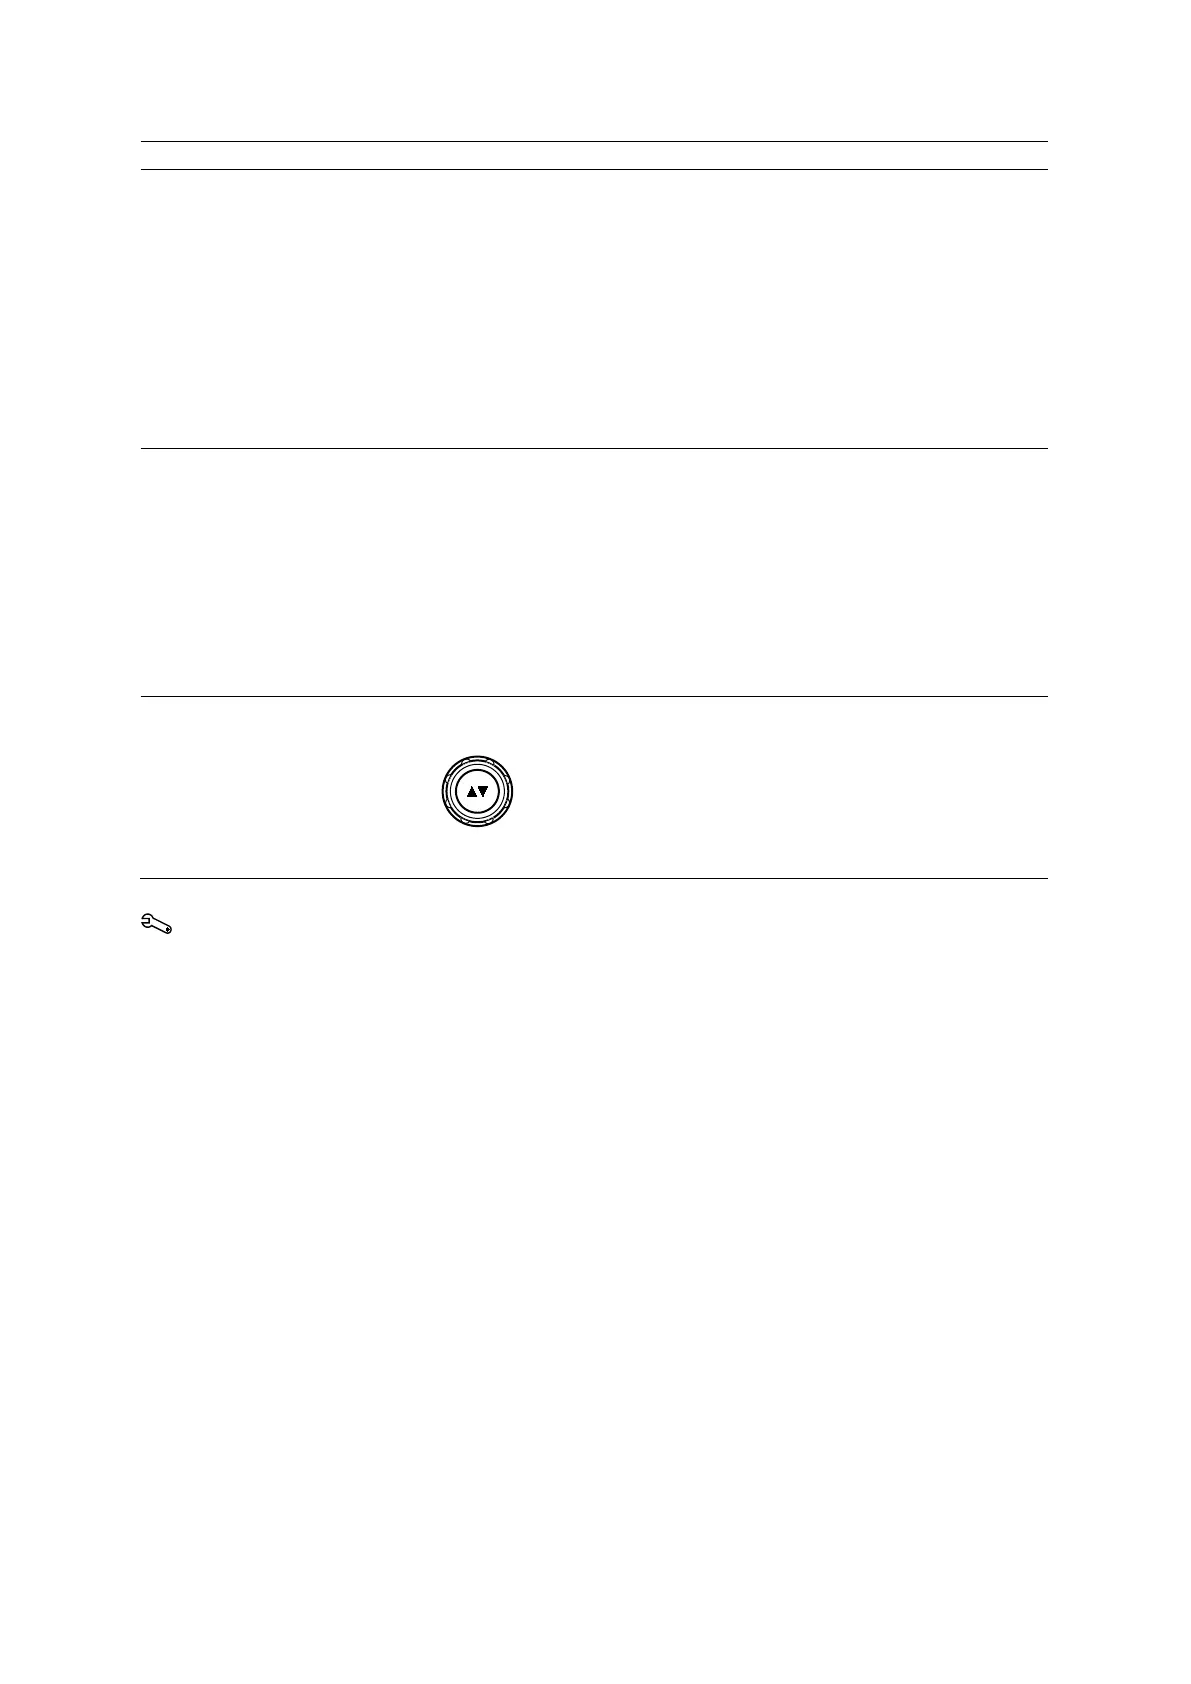
Display the next view or the previous view.
● Rotate the FORWARD/BACKWARD control.
○ For systems without a touch screen, click the Next or Previous arrow on the
image screen.
Use the system configuration menu to customize workflow protocols.
System Config > eSieScan™ Protocols
 Loading...