Control During Operation
7-30 7SA6 Manual
C53000-G1176-C156-2
Item 4 displays the normal condition; that is, the time is synchronized cyclically accord-
ing to the type of operation.
Item 5 is displayed if the transmitted time value from the synchronization via the sys-
tem interface is marked as “invalid”.
Changing the Time The time can be changed
− By setting the time manually, using the integrated control panel or DIGSI
®
4;
− By adjusting the settings for time control.
The date and time can be manually set during operation, provided that the device al-
lows this and password N° 5 (individual settings) was entered. A precondition is that
the appropriate type of operation for time control must be selected (see Section 5.7).
When the source of time synchronisation is “internal” or “pulse via binary input” the
date and time can be manually set during operation at any instant. The annunciations
“time error ON” and “time error OFF” appear in the annunciation log to indicate time
synchronization and loss of time synchronization, respectively.
In the other operating modes, manual adjustments are only accepted if the synchroni-
zation is momentarily lost. The messages “time error ON” and “time error OFF” are giv-
en when manually changing the year in the IRIG B mode.
Without healthy or external time synchronisation the free running date and time can
also be relatively
adjusted (+/– 23:59:59) using the entry field Diff.–time.
This input possibility is not to be confused with the parameter
Offset (see Section
5.7), which affects the specific general offset to the received synchronization time of
the radio clock receiver (e.g. local time vs. GMT time).
Setting Date and
Time
Please take note that in a Distance Protection system with 7SA6 the internal clock
continues working without supply voltage for a maximum time period of 24 hours.
Once this time period has expired, date and time must be set again.
From the
DeviceFront
With a device ready for operation, first press the key. The MAIN MENU appears.
Select
Settings,andinthesub-menuSETUP/EXTRAS.Tosetthedateandtime
manually, choose the selection
Date/Time and move to the DATE/TIME display us-
ing the key. See Figure 7-28.
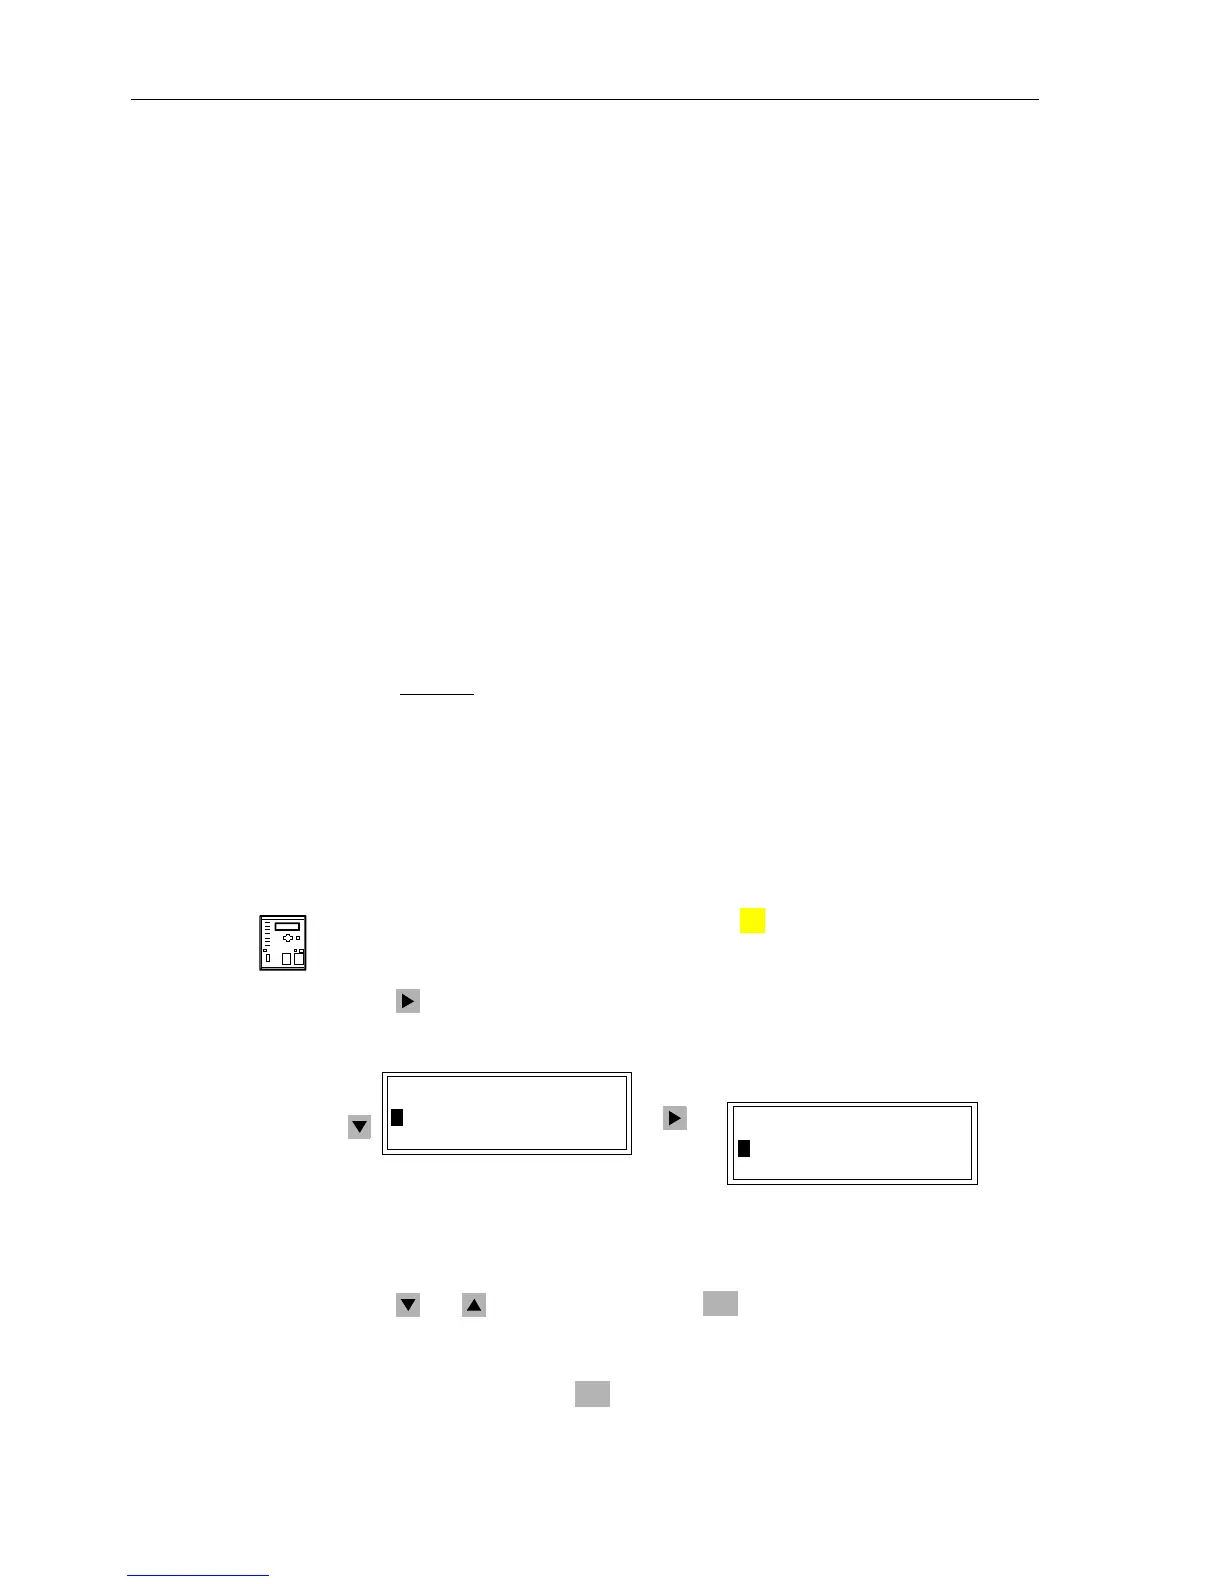
Figure 7-28 Manual date and time adjustment from the front panel
To change one of the previous settings (date, time, differential time), mark the item us-
ing the and keys, and then press the key.
The actual setting appears in a frame with a blinking cursor. Overwrite this setting with
the desired new one using the number keys. Be careful to enter the format properly.
Confirm the change with the key.
MENU
SETUP/EXTRAS 01/06
--------------------
>Date/Time –> 1
>Clock Setup –> 2
DATE/TIME
Status: -- -- --
>06/24/1999 21:07:32
Diff.–time: --------
ENTER
ENTER

 Loading...


