6-4
Setting System Time and Date
Procedure Follow these steps to set the time and date used by the 4010ES FACP. Ensuring that the current time
and date are correct on the system is important. In particular, the accuracy of historical logs and
reports depends on the system time.
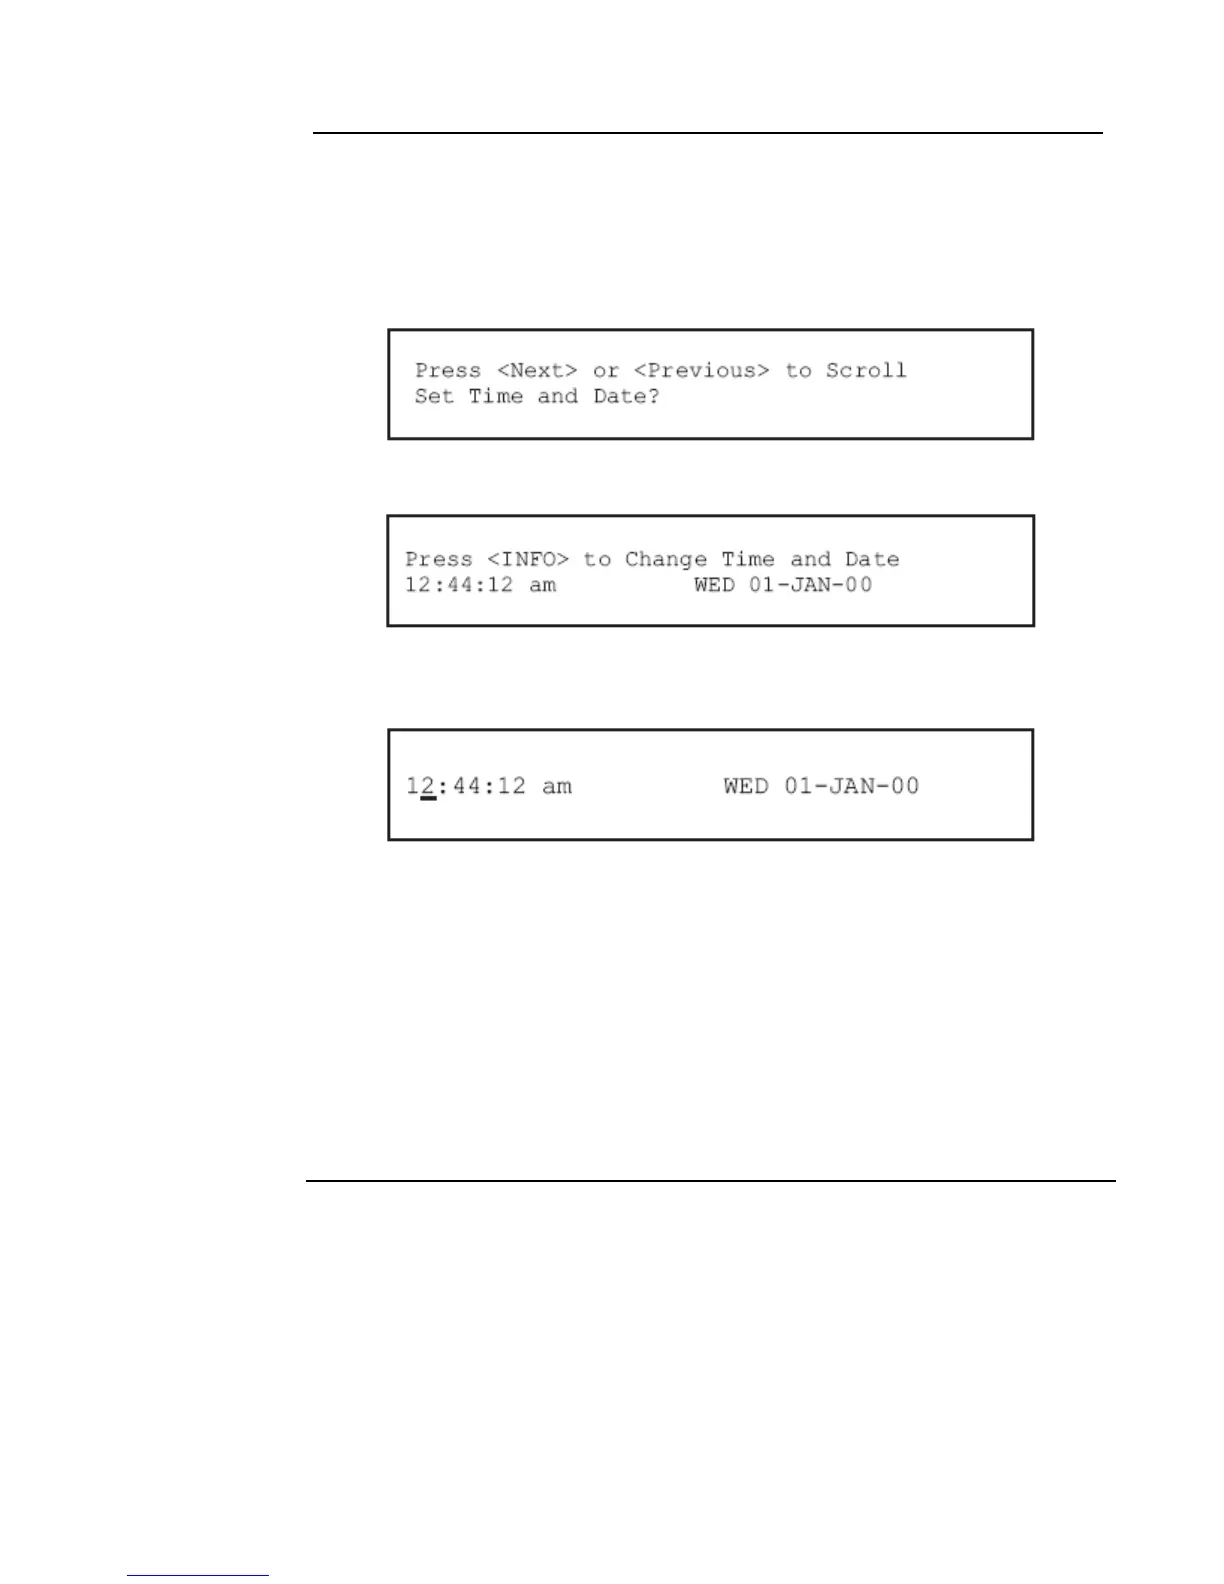
1. Press the Menu key. Press the Next or Previous key until the display shows the option for setting
time and date.
2. Press the ENTER key. The system responds as follows:
3. Press the More Info key. The display shows the time and date and places an underline character
under the hour, meaning it is the part of the time and date that can be changed.
4. Set the time and date as follows:
• Time. Use the < and > keys to move the underline character between hours and minutes.
Use the Next and Previous keys to increment or decrement the value. For example, to
change the minutes, first use the < and > keys to move the highlight under the minutes field.
Then use the Next and Previous keys to change the value of the minutes field.
• Date. Use the < and > keys to move the underline character between the components of the
date field. Use the Next and Previous keys to increment or decrement the value of the field
until it is correct.
5. When the date and time are correct, press the ENTER key.