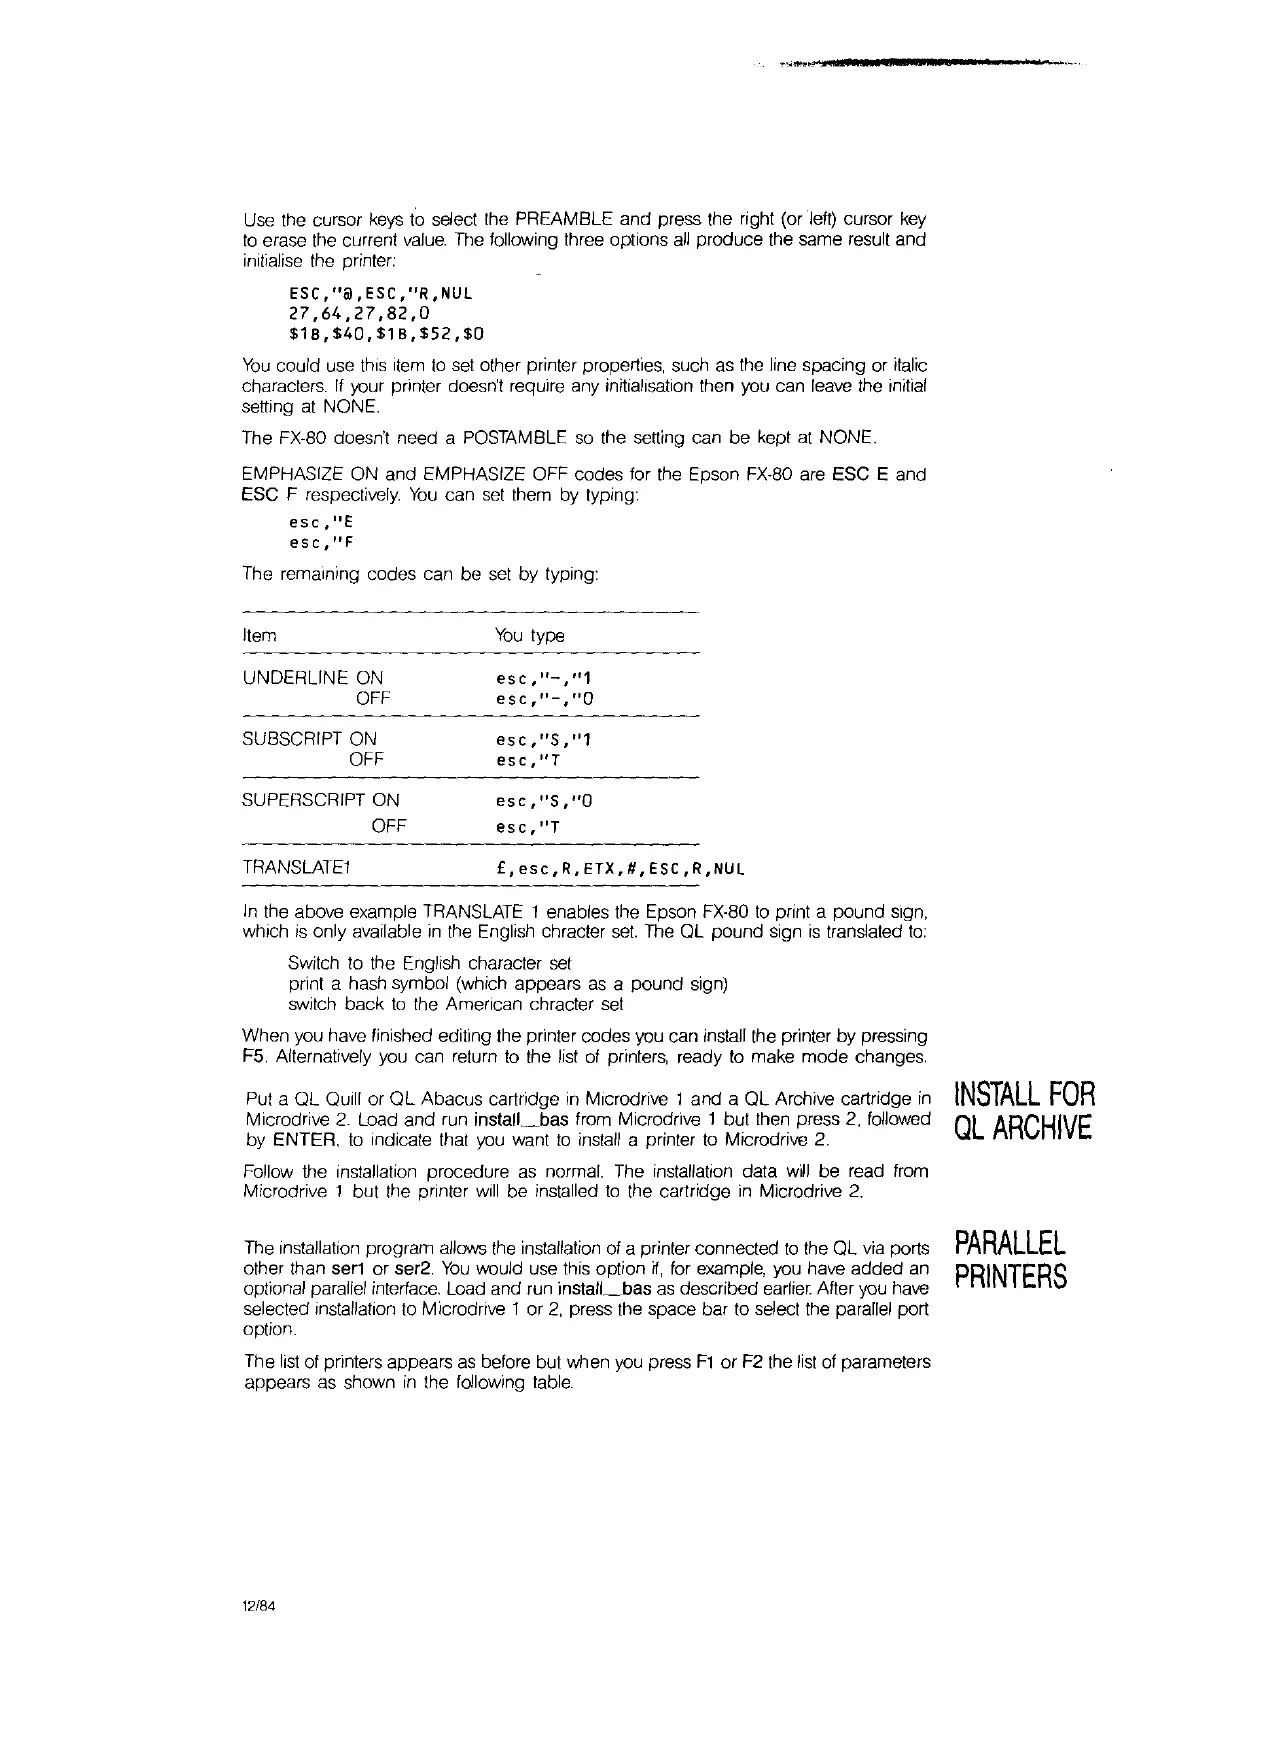
Use
the cursor
keys
to select the PREAMBLE and press the right (or
lett)
cursor
key
to
erase the current
value.
The
following three options
all
produce the same result and
inilialise the printer:
ESC,"@,ESC,"R,NUl
27,64,27,82,0
$18,$40,$18,$52,$0
You
could use
thiS
Item
to
set
other printer properties, such as the line spacing or italic
characters.
If
your printer doesn't require any initialisation then you can leave the initial
setting
at
NONE.
The FX·80 doesn't need a POSTAMBLE
so
the setting can be kept
at
NONE.
EMPHASIZE ON and EMPHASIZE OFF codes for the Epson FX·80
are
ESC E and
ESC F respectively.
You
can
set
them by typing:
esc,"E
esc,"F
The remaining codes can be
set
by typing:
Item
UNDERLINE ON
OFF
SUBSCRIPT ON
OFF
SUPERSCRIPT ON
OFF
TRANSLATE1
You
type
esc
,
Il
-,"1
esc,"_
,
"O
esc,"S,"1
esc,"T
esc,"S,"O
esc,"T
£,esc,R,ETX,#,ESC,R,NUL
In
the above example TRANSLATE 1 enables the Epson FX·80
to
print a pound sign,
which
is
only available
in
the English chracter
set.
The
QL pound sign
is
translated
to:
Switch to the English character
set
prinl a hash symbol (which appears
as
a pound sign)
switch back
to
the Amencan chracter
set
When you have finished editing the printer codes you can install the printer by pressing
F5. Alternatively you can return
to
the list
of
printers, ready
to
make mode changes.
Put a QL
QUill
or
QL
Abacus cartridge
in
M,crodrive 1 and a QL Archive cartridge
in
Mlcrodrive
2.
Load and run
install_bas
from Microdrive 1 but then press
2,
followed
by ENTER,
to
Indicate that
you
want
to
install a printer
to
Microdrive
2.
Follow the installation procedure
as
normal. The installation data
will
be read from
Microdrive 1 but the printer
Will
be installed
to
the cartridge
in
Microdrive
2.
The installation program allows the installation
of
a printer connected
to
the QL
via
ports
other than
ser1
or ser2.
You
would use this option
if,
for example, you have added
an
optional parallel interface. Load and run
install_bas
as
described earlier Atter you
have
selected installation
to
Microdrive 1 or
2,
press the space bar to select the parallel port
option.
The
list
of printers appears
as
before but when you press
F1
or
F2 the
list
of
parameters
appears as shown
in
the following
table.
12/84
INSTALL
FOR
QL
ARCHIVE
PARALLEL
PRINTERS
 Loading...