CHAPTER 3
USING YOUR DOCUMENT CAMERA
28 smarttech.com/kb/171225
Setting your document camera to Computer Pass-Through mode
To set your document camera to Computer Pass-Through mode
1. Connect your document camera to your computer with the USB cable.
2. Connect your computer with the HDMI cable to your document camera’s HDMI IN receptacle.
3. Connect your display device with another HDMI cable to your document camera’s HDMI OUT
receptacle.
4. Press the CAMERA/PC button on the control panel or remote control.
OR
Press the PC 1/2 button on the remote control.
Setting your document camera to Playback mode
To set your document camera to Playback mode
1. Disconnect the USB cable from the rear connection panel.
2. Connect your document camera to a projector or a monitor with the HDMI cable or to a TV
with the composite video adapter cable.
3. Press the PLAYBACK button on the control panel or remote control.
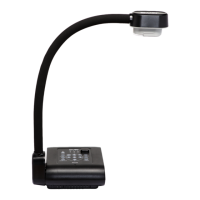
Displaying printed documents
When you set your document camera to Camera mode, you can display printed documents. Use
the anti-glare sheet to reduce glare and optimize image quality.
Displaying printed documents
To display printed documents
1. Place your documents on the table.
2. Adjust the document camera, and then aim its lens at your documents.
3.
Press the button on the control panel to adjust the focus.
or
Press the AUTO FOCUS button on the remote control to adjust the focus.