CHAPTER 2
GETTING STARTED
21 smarttech.com/kb/171225
To optimize microscope images
1. Press the MENU button in the control panel, and then select the Image tab.
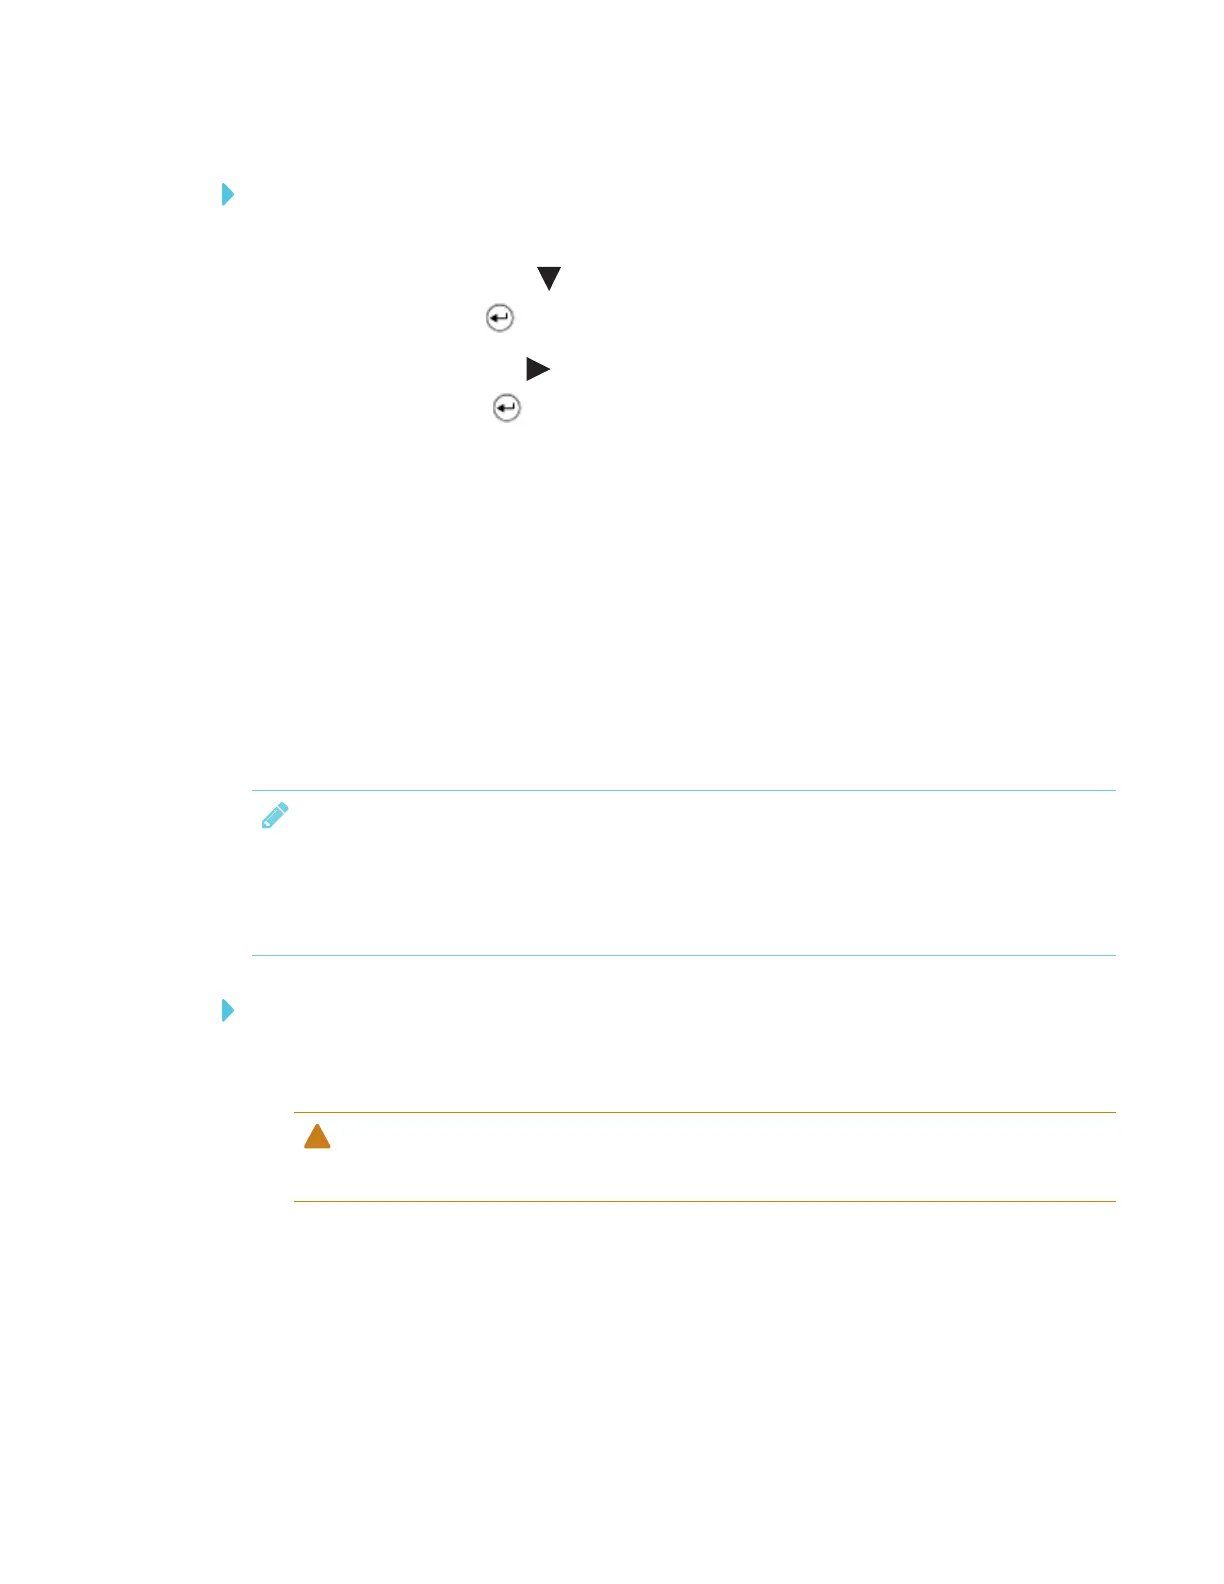
2.
Use the down arrow button on the control panel or remote control to select the Mode sub-
menu, and then press .
3.
Use the right arrow button on the control panel or remote control to select the microscope
option, and then press .
4. Adjust and aim the camera head at the furthest point, and then press the AUTO FOCUS button
on the control panel or remote control.
5. Adjust the focus of the microscope.
6. Connect the other end of the HDMI cable to the HDMI IN connector on your projector or
display.
7. Set the TV/RGB switch on the right-side connection panel to RGB.
Connecting your document camera to a microphone
You can connect an external microphone to your document camera.
NOTES
l The built-in microphone on the control panel is disabled when an external microphone is
connected.
l The audio is in monophonic sound.
To connect speakers
Connect the microphone's cable to the microphone on your document camera's left-side
connection panel.
CAUTION
Turn the volume down to prevent hearing damage when using earphones.
Connecting your document camera to speakers
You can connect speakers to your document camera. Only audio from the video playback is
supported.