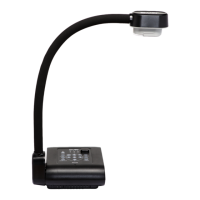
CHAPTER 4
USING YOUR DOCUMENT CAMERA IN CAMERA MODE
44 smarttech.com/kb/171225
To transfer images to your computer
1. Use the OSD menu to set your document camera USB to PC mode and select STORAGE.
2. Connect your document camera to your computer with the USB cable. See Page13.
3. Adjust the camera settings using the Camera mode’s OSD menu. See Page33.
NOTE
Your computer recognizes your document camera and the external storage device as a
removal disk.
4. Browse to the removable disk on your computer, and then transfer the images to your
computer.
Using a microscope
You can view the microscope stage through the document camera using additional attachments.
See Connecting to external devices on page19.
To display a microscope slide
1. Place a slide or object on the stage of the microscope.
2. Focus the microscope so that the subject is sharp.
3. Position the microscope under your document camera so the camera lens is aligned with the
microscope eyepiece.
CAUTION
Ensure you do not hit your document camera lens with the microscope. This could damage
your document camera’s lens.
4. Press the CAMERA/PC button on the control panel.
Or
Press the CAMERA button on the remote control.
5. Press the MENU button on the control panel or remote control.
The OSD menu appears.
6.
Press the button on the control panel or remote control to navigate to the Image tab.
7.
Press the button on the control panel or remote control to navigate to the Mode sub-menu,
and then press the button on the control panel or remote control.