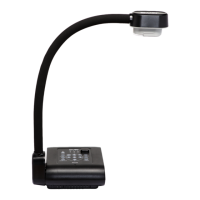
CHAPTER 4
USING YOUR DOCUMENT CAMERA IN CAMERA MODE
33 smarttech.com/kb/171225
To stop recording a video
Press the FREEZE/STOP button on the control panel or remote control to stop recording.
Using the on-screen display menu in Camera
mode
Use the OSD menu to adjust settings for your document camera in Camera mode.
The following OSD menu options are available when your document camera is in Camera mode.
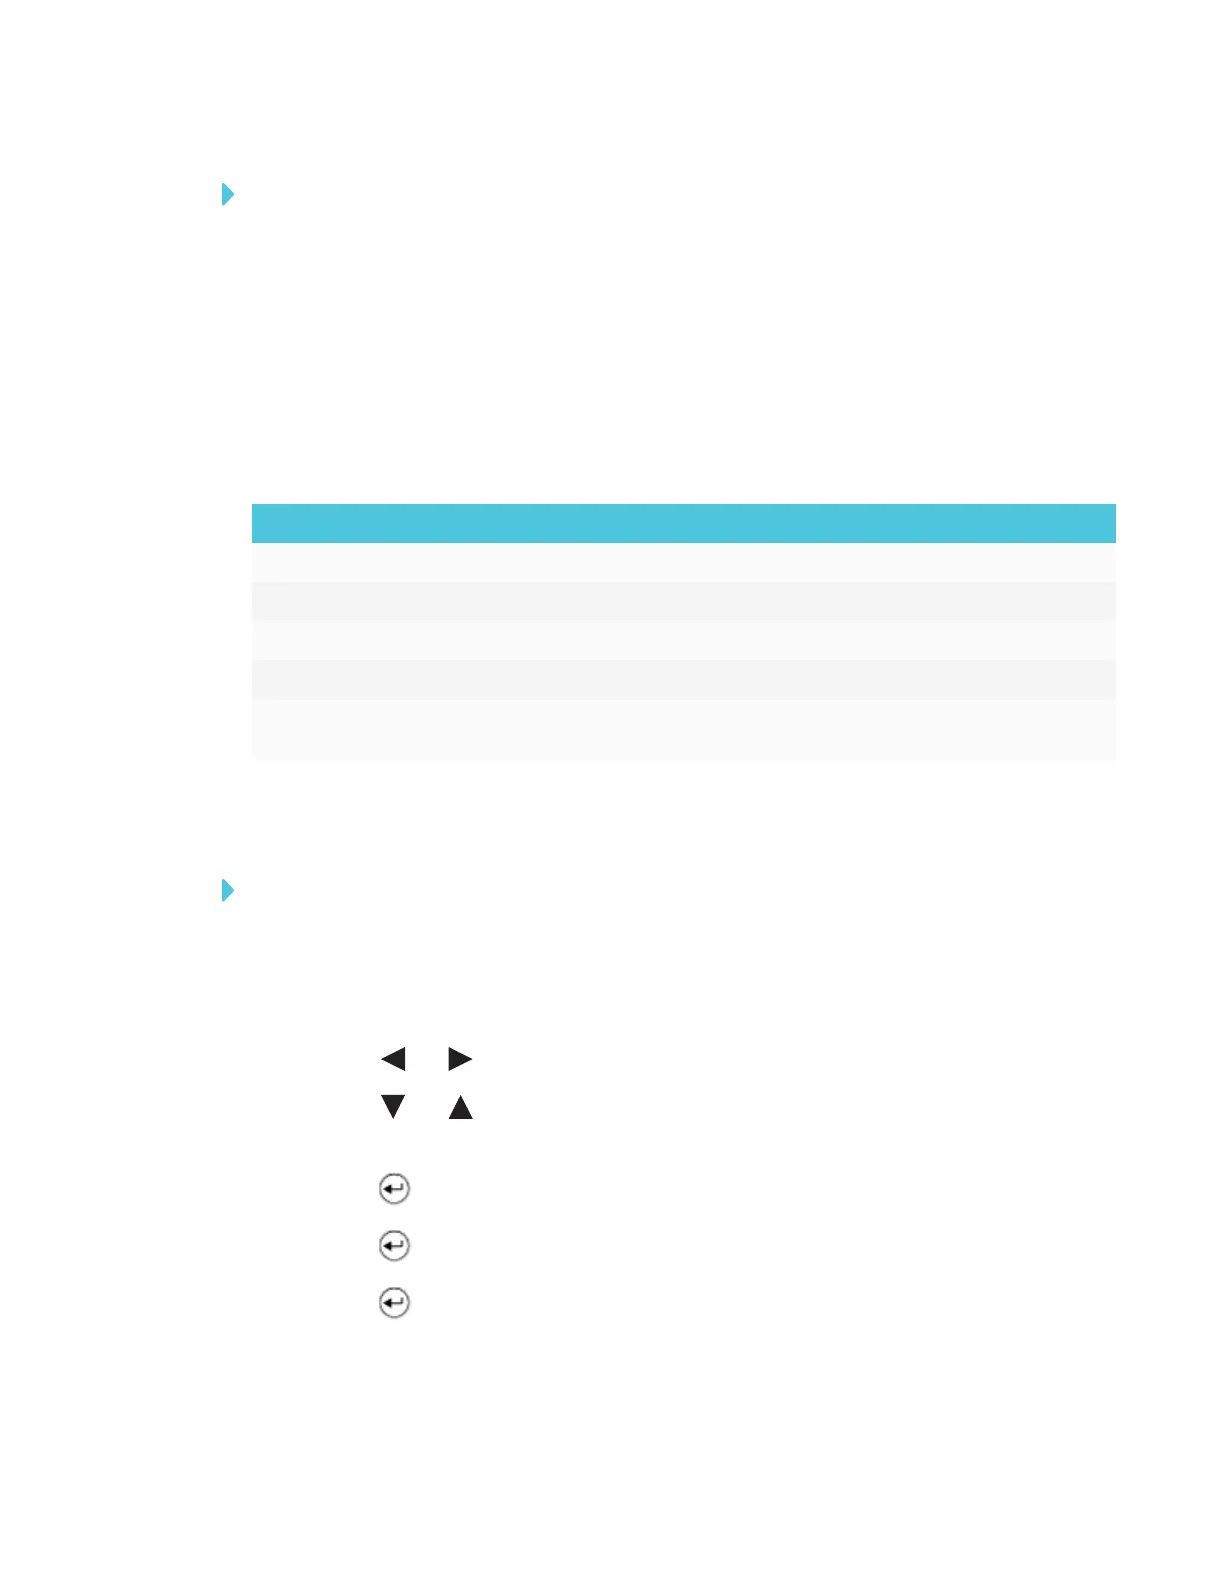
Tab Options
Image Brightness, Contrast, Mode, Effect, Mirror, Advance, Focus
Presentation Spotlight, Visor, Split Screen, Picture in Picture (PIP), Timer, Miracast
Setting Capture, Storage, Format, USB to PC, Flicker, Saturation, Date/Time
WiFi AP, WiFi Setup
System Language, Output Display, Backup, Save Setting, Recall Setting, Information,
Default
Navigating to the OSD menus and sub-menus in Camera mode
To navigate to the OSD menu and sub-menus in Camera mode
1. Set your document camera to Camera mode.
2. Press the MENU button on the control panel or remote control.
The OSD menu appears.
3.
Press the and buttons on the control panel or remote control to toggle between tabs.
4.
Press the and buttons on the control panel or remote control to choose a selection in
the menu list.
5.
Press the button on the control panel or remote control to make a selection.
6.
Press the button on the control panel or remote control to enter a sub-menu.
7.
Press the button on the control panel or remote control to return to the previous menu
level.
8. Press the MENU button on the control panel or remote control to exit the menu.