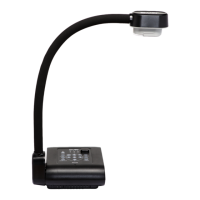
CHAPTER 2
GETTING STARTED
15 smarttech.com/kb/171225
To connect your document camera to a computer with a USB cable
1. Connect the USB cable to the USB port on the rear connection panel.
2. Locate the USB connector on the computer, and connect the USB cable.
See the Troubleshooting and extending USB 2.0 and USB 3.0 connection knowledge base
article for more information.
To connect your document camera to computer with an HDMI cable
1. Connect the HDMI cable to the HDMI IN port on the rear connection panel.
2. Locate the HDMI OUT port on the computer, and connect the HDMI cable.
NOTES
o
Ensure the TV/RGB switch is set to RGB.
o
Use the control panel to switch the video signal to a computer, press the Camera/PC
button.
o
Use the remote control to switch the video signal to a computer, press the PC 1/2
button.
Connecting to different displays
After you complete the basic connections, you are ready to connect your document camera to an
external display, which enables you to use the Camera and Playback modes and to access the on-
screen display menu for these modes.
You can connect your document camera directly to an external display to enable the following
functions:
l Use Camera mode to view a full-screen camera image on the external display.
l Use Playback mode to view a full-screen slide show on the external display.
IMPORTANT
l To switch between NTSC and PAL video systems ensure your document camera is
connected to the display using the HDMI connection. For more information on how to switch
between the video systems see Accessing the System menu on page41.
l To use your document camera with SMART Notebook software ensure your document
camera is connected to a computer.