CHAPTER 6
USING YOUR DOCUMENT CAMERA WITH SMART SOFTWARE
54 smarttech.com/kb/171225
4. Select Insert from the main menu and then select SMART Document Camera Viewer.
The SMART Document Camera window appears.
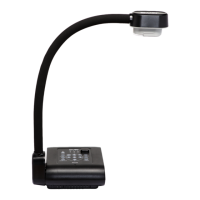
5. Place the object you want to display under the camera.
Navigating SMART Notebook’s Document
Camera Viewer menu options
Once the SMART Document Camera Viewer is launched in SMART Notebook, you can easily
capture images with the document camera and then adjust them in SMART Notebook's SMART
Document Camera window.
The following options are available in the SMARTDocument Camera window.
Option Description
Mixed Reality
NOTE
The Mixed Reality feature is only compatible with SMART Document
Camera 450 and earlier models.
Capture and
close
Insert a screen capture on the current Notebook page and then close the
window.
Capture to new
page
Capture an image and insert it on a new Notebook page while keeping the
current window open.
Capture with
time-lapse
Capture a series of screen captures.
Zoom out Decrease the image magnification.
Zoom in Increase the image magnification.
Decrease
brightness
Decrease the level of brightness when capturing images.
Increase
brightness
Increase the level of brightness when capturing images.
Auto focus Automatically adjust focus.
Focus out Focus out manually.
Focus in Focus in manually.