78
Scope Multimeter Operations Navigation
at the bottom of the slope column is used to set the trigger, selecting it opens the trigger setup
dialog box (see
Trigger Controls on page 83 for details).
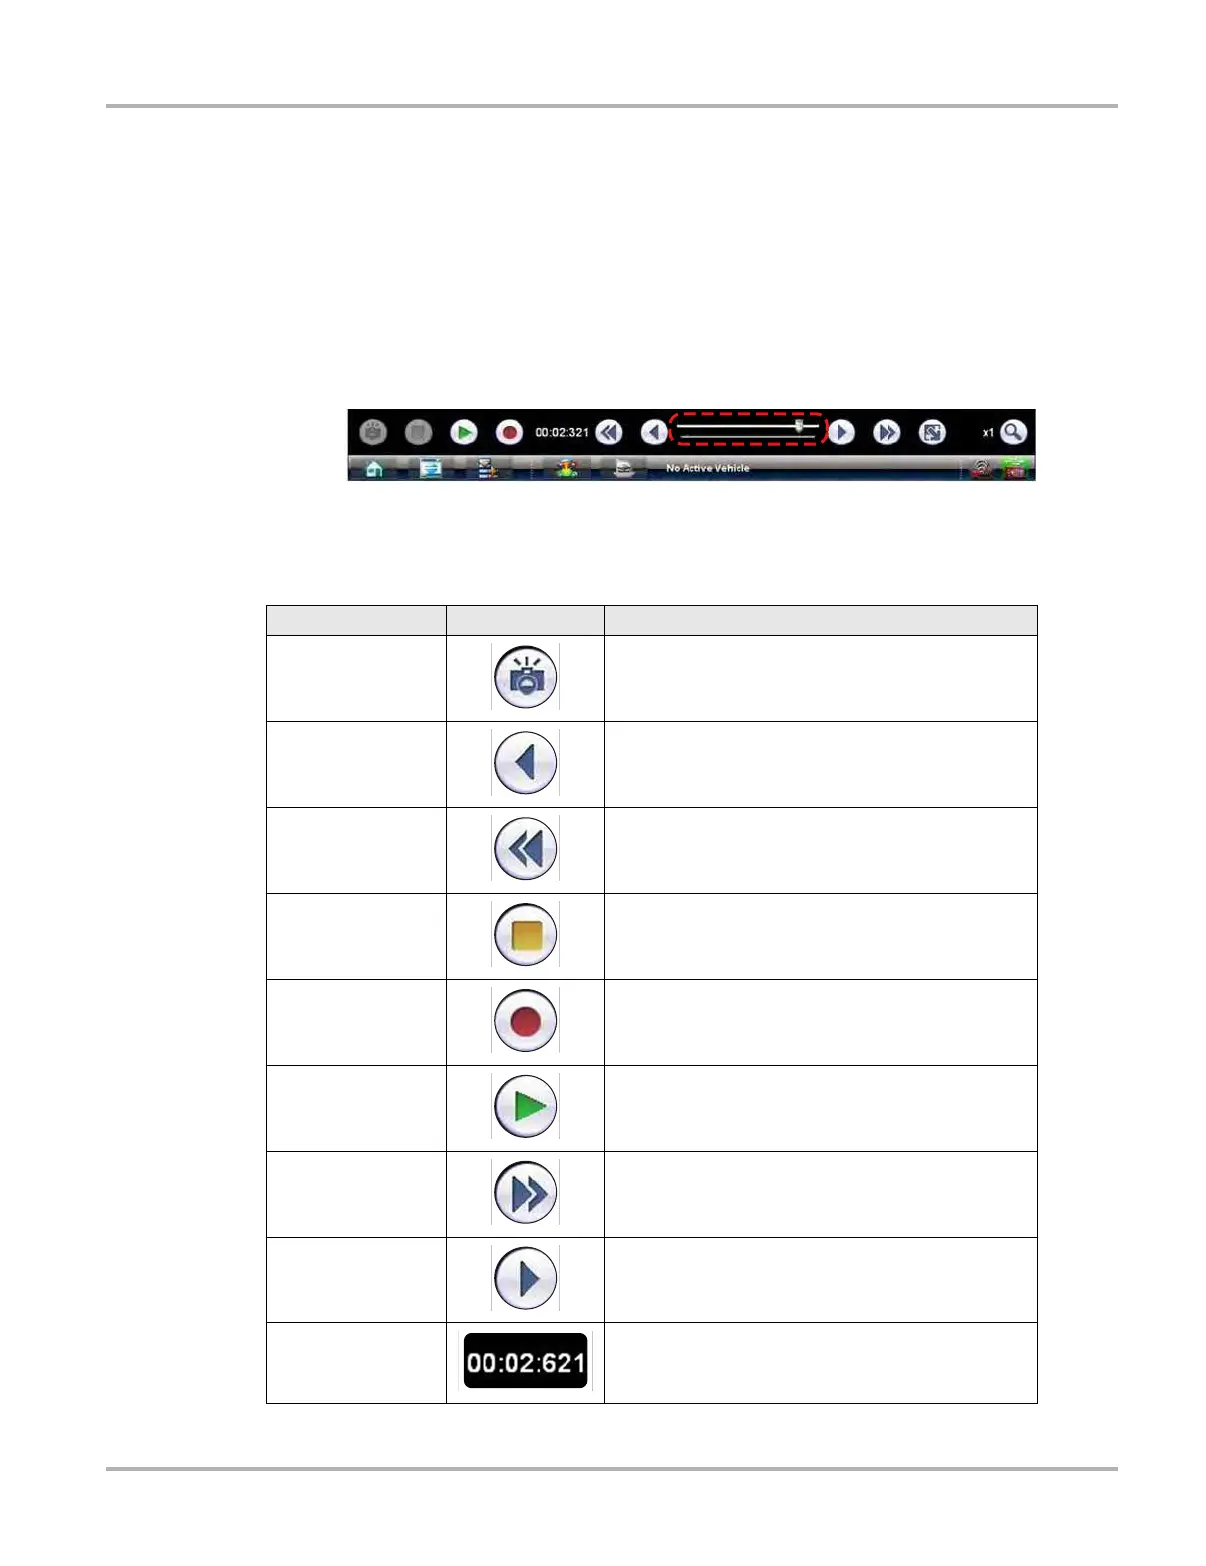
Record/Playback Control Toolbar
The record/playback control toolbar at the base of the screen is used for recording data and for
reviewing paused data. Use the stylus or your finger tip to activate the buttons. A position counter
in the toolbar
displays a numerical value of where the current screen is in relation to the entire recorded file.
Use the slider in the middle of the toolbar to quickly move through paused data.
Figure 8-16 Sample data buffer slider
Use the toolbar buttons (
Table 8-5) to more precisely navigate the data.
Table 8-5 Data buffer toolbar buttons (part 1 of 2)
Name
Button
Description
Snapshot
Arms the software to take a snapshot of the sampled
data
Step Back Moves to the previous point in the recorded data
Back 1Frame Moves to the previous frame in the recorded buffer
Stop Stops recording data
Record Begins recording data
Play Recording
Plays the data recording in a continuous loop at
actual speed
Forward 1 Frame Moves to the next frame in the recorded data
Step Forward Moves to the next point in the recorded data
Position Indicator
Indicates the position of the buffered data currently
displayed. Values are minutes:seconds:milliseconds
of elapsed time