52
Maintenance Fan Filters
Figure 6-3 Fuse location
If undamaged, the fuse should never need replacing.
Follow the precautions below to avoid fuse damage.
• Do not connect the Scanner™ Plug-in data cable to a car and connect a positive signal from
the test vehicle to the common (ground) terminal of the Lab Scope Plug-in.
• Do not reverse the polarity of the auxiliary power connection to a car battery and use the Lab
Scope Plug-in.
• Do not replace the 5-amp fuse with a higher rated fuse.
z To replace the fuse:
1. Turn the MODIS™ unit off.
2. Unplug the power cord and remove the battery pack from the unit.
3. Using needle nose pliers, carefully grasp the fuse and remove it from the unit.
4. Using needle nose pliers, carefully but firmly grasp the new 5-amp fuse and insert it into its
proper slot in the MODIS™ unit.
IMPORTANT:
When inserting a new fuse, do not let it fall into the housing.
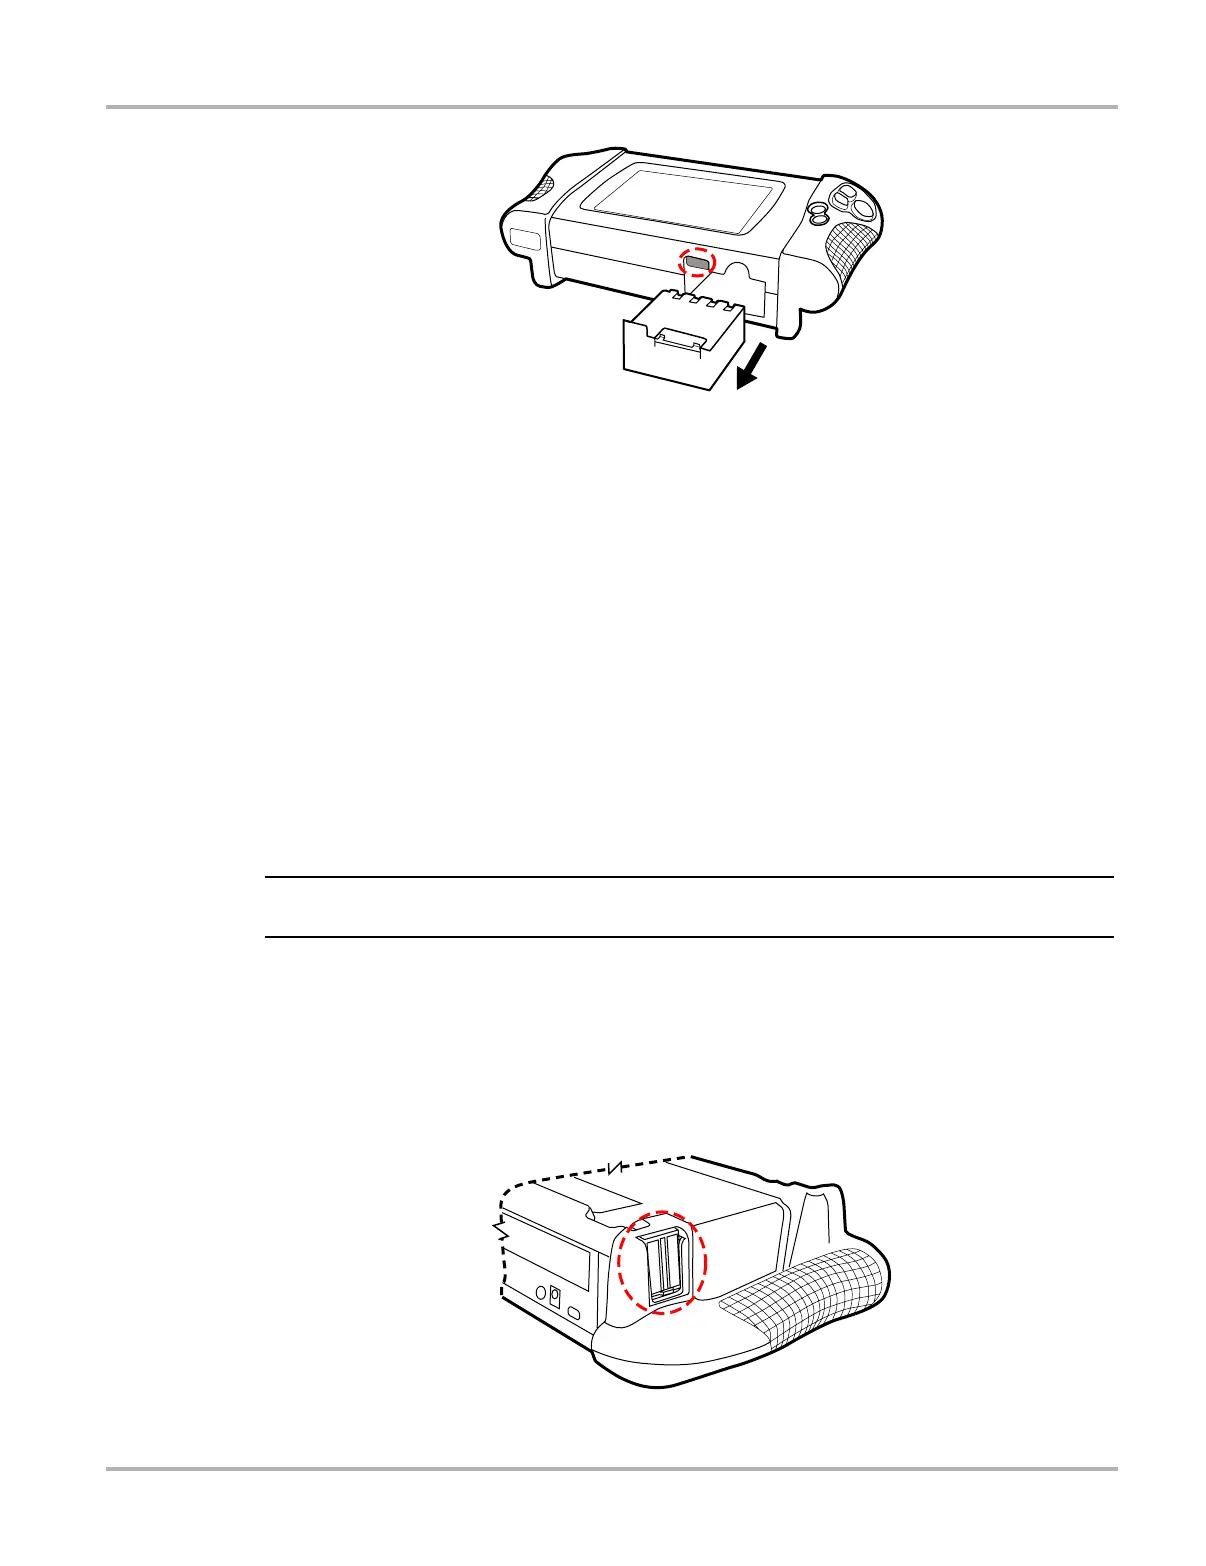
6.6 Fan Filters
The MODIS™ unit uses a filter to reduce dust buildup inside the unit that can reduce screen clarity.
The fan filter is located on the back of the unit near the right handgrip (Figure 6-4).
Figure 6-4
Filter location