114
System Settings Operations Synchronizing Wireless Communications
8. Tap to select the SCAN MODULE from the search results list.
A search in progress message displays during the pairing procedure (Figure 12-3), the Paired
Devices screen (Figure 12-1) displays once the procedure completes.
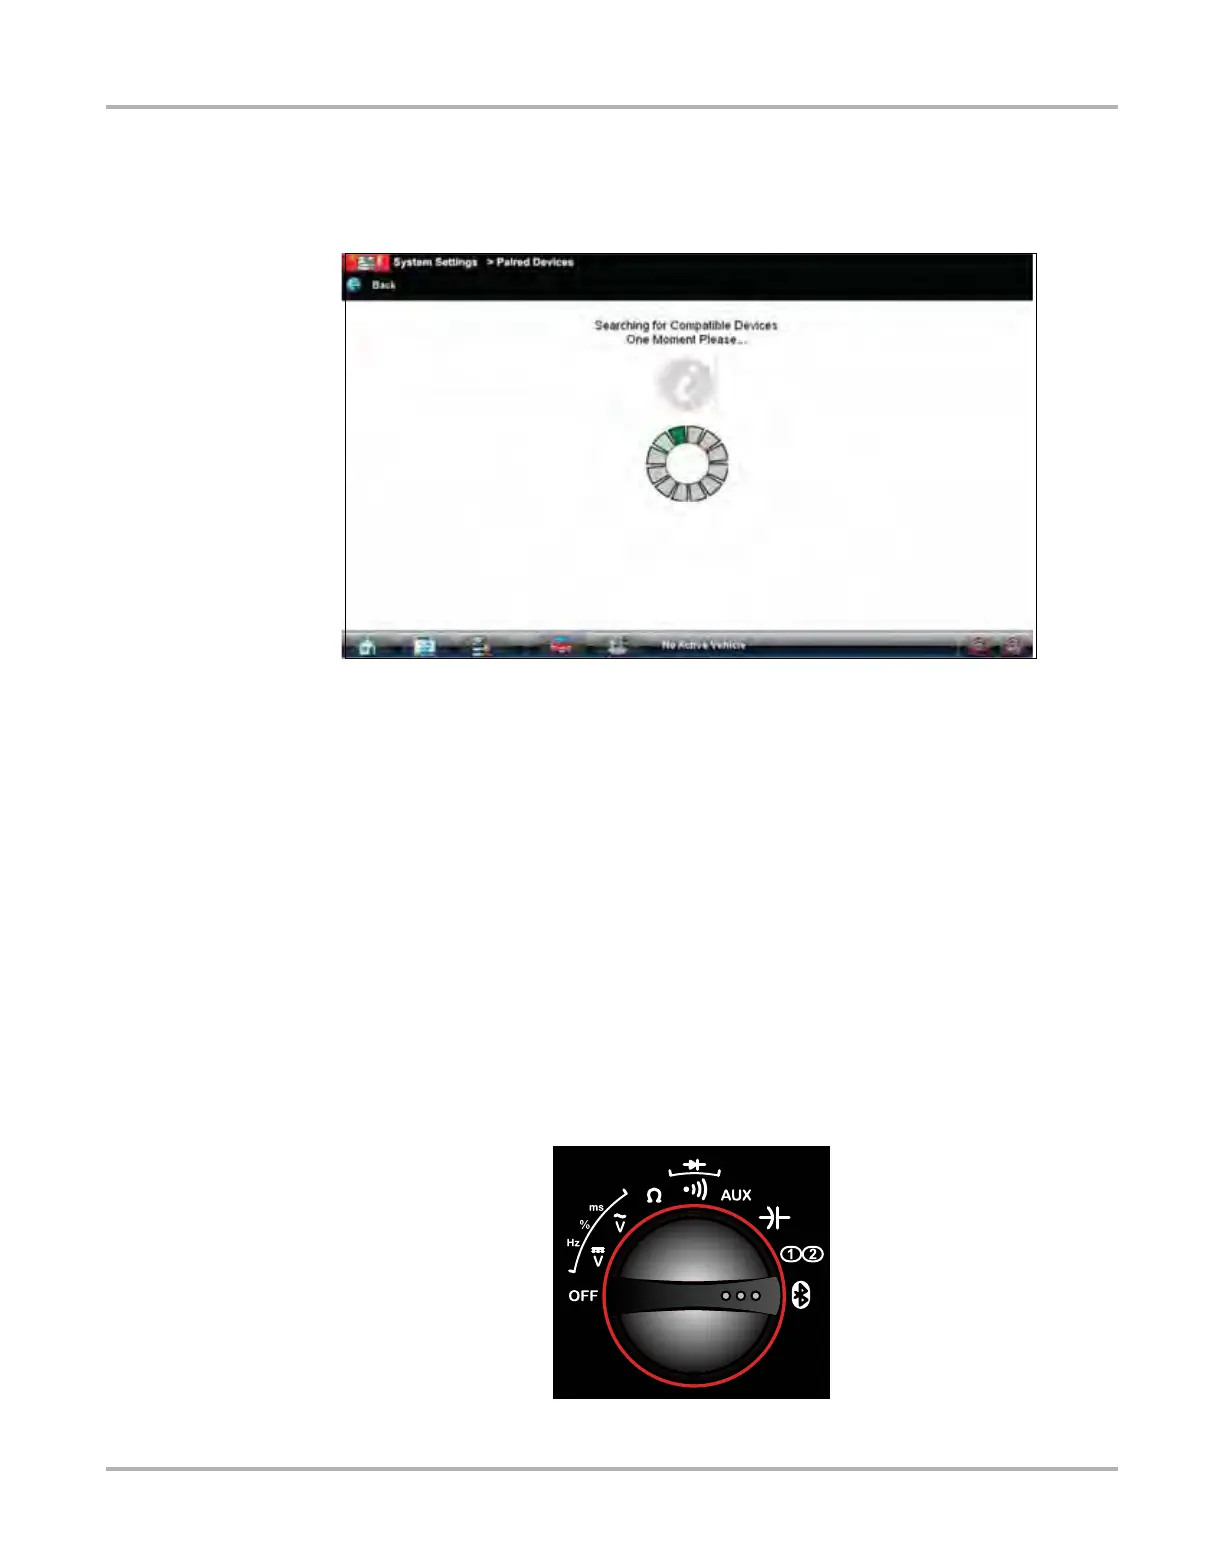
Figure 12-3 Sample pairing in progress message
9. Tap the Home button on the VERDICT toolbar to return to the Home screen.
10. Disconnect the data cable from the vehicle.
The Scanner and Display devices are now synchronized for wireless communication and should
automatically recognize each other when both are powered up.
12.1.2 Pairing the M2 Data Acquisition Device
Make sure the M2 Data Acquisition Device and the D7 Display Device have charged batteries, or
are connected to an AC power supply.
z To pair the Data Acquisition Device with the Display Device:
1. Power on the VERDICT Display Device.
2. Set the M2 rotary switch to the Remote Functions position (Figure 12-4).
Figure 12-4 Rotary switch Remote functions setting

 Loading...


