55
Electrical Connection
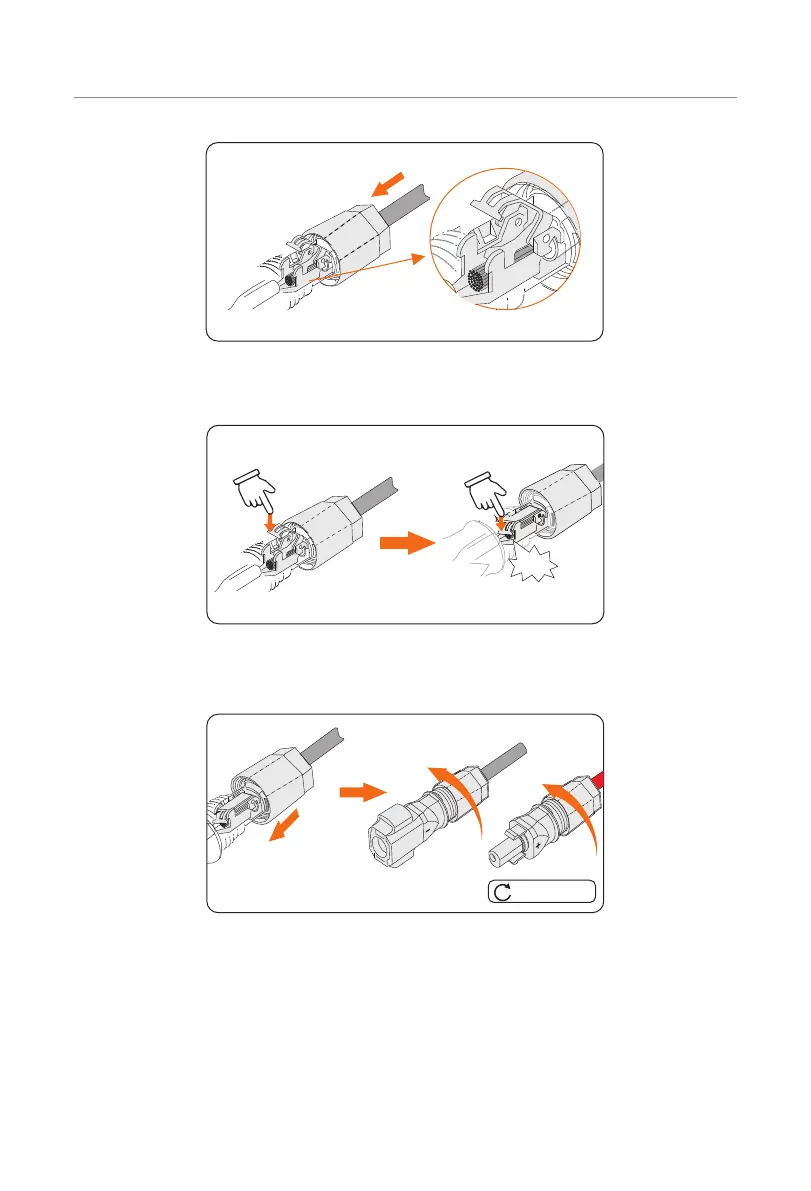
Figure 7-27 Threading the battery cable
Step 3: Close the spring until a "Click" is heard. Make sure that the spring is snapped in.
Click!
Figure 7-28 Press down on the Spring
Step 4: Push the insert into the sleeve. Tighten the cable gland to 2.0 ± 0.1 Nm.
2.0± 0.1 N·m
Figure 7-29 Tighten the cable gland
Step 5: Remove the battery terminal caps and connect the assembled battery connectors
to corresponding terminals until there is an audible "Click".

 Loading...


