4 Making Measurements
4-3
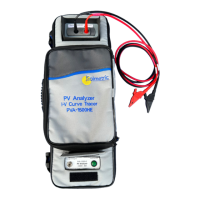
Place the I-V Unit near the PV circuits to be measured
Locate the I-V Unit at the combiner box or inverter.
It is ok to place the I-V Unit on the ground, or leaning against a post, or on top of a
fiberglass enclosure. If you place the I-V Unit on an extended metal surface like a metal
roof or HVAC unit, it may reduce the wireless range.
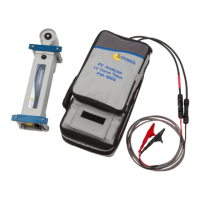
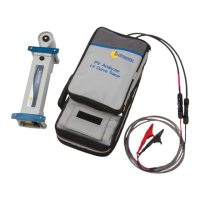
Connect the test leads to the PVA
Connect the PVA test leads to the connector-saver PV jumpers that are already attached
to the I-V Unit’s main leads, red to red (positive polarity) and black to black (negative
polarity). Do not remove these jumpers except to replace them after approximately every
100 connections. This will greatly extend the life of the main lead connectors. Also, keep
all PV connectors out of the dirt.
Connect the alligator clips to the ends of the test leads. Be sure to use only the Staubli
Dolphin Clips supplied by Solmetric d with your PVA.
Launch the PVA software
Double click the PVA icon and the software will start.
Make sure that you are running the most recently available version of software. To check
your current software version, click About in the Help menu. Compare it with the most
recently available version, which you’ll find at www.Solmetric.com under Support,
Downloads, PV Analyzer Software and Documentation. You’ll see a link to download
the current software, and the current version number. All models of the PVA that use
SolSensor use version 4.x software. The PVA-600, which uses the earlier Wireless
Sensor Kit, requires version 2.2.6851 software.
Load your Project
Select your Project from the File menu in the PVA software. This Project must have been
created specifically for this PV installation.
Insert the wireless USB adapter (PVA-1000S and PVA-600+)
Insert the USB adapter in a COM port. This is not needed for the PVA-1500xx and
SolSensor 300xx because they communicate by Wi-Fi.
Make sure you insert the USB adapter in the COM port that’s selected in the Utility menu
in the PVA software.
 Loading...