3 Software Overview
3-4
Export Meg Test Data
Exports the Meg test data as a .csv file, for the currently loaded project.
New Project
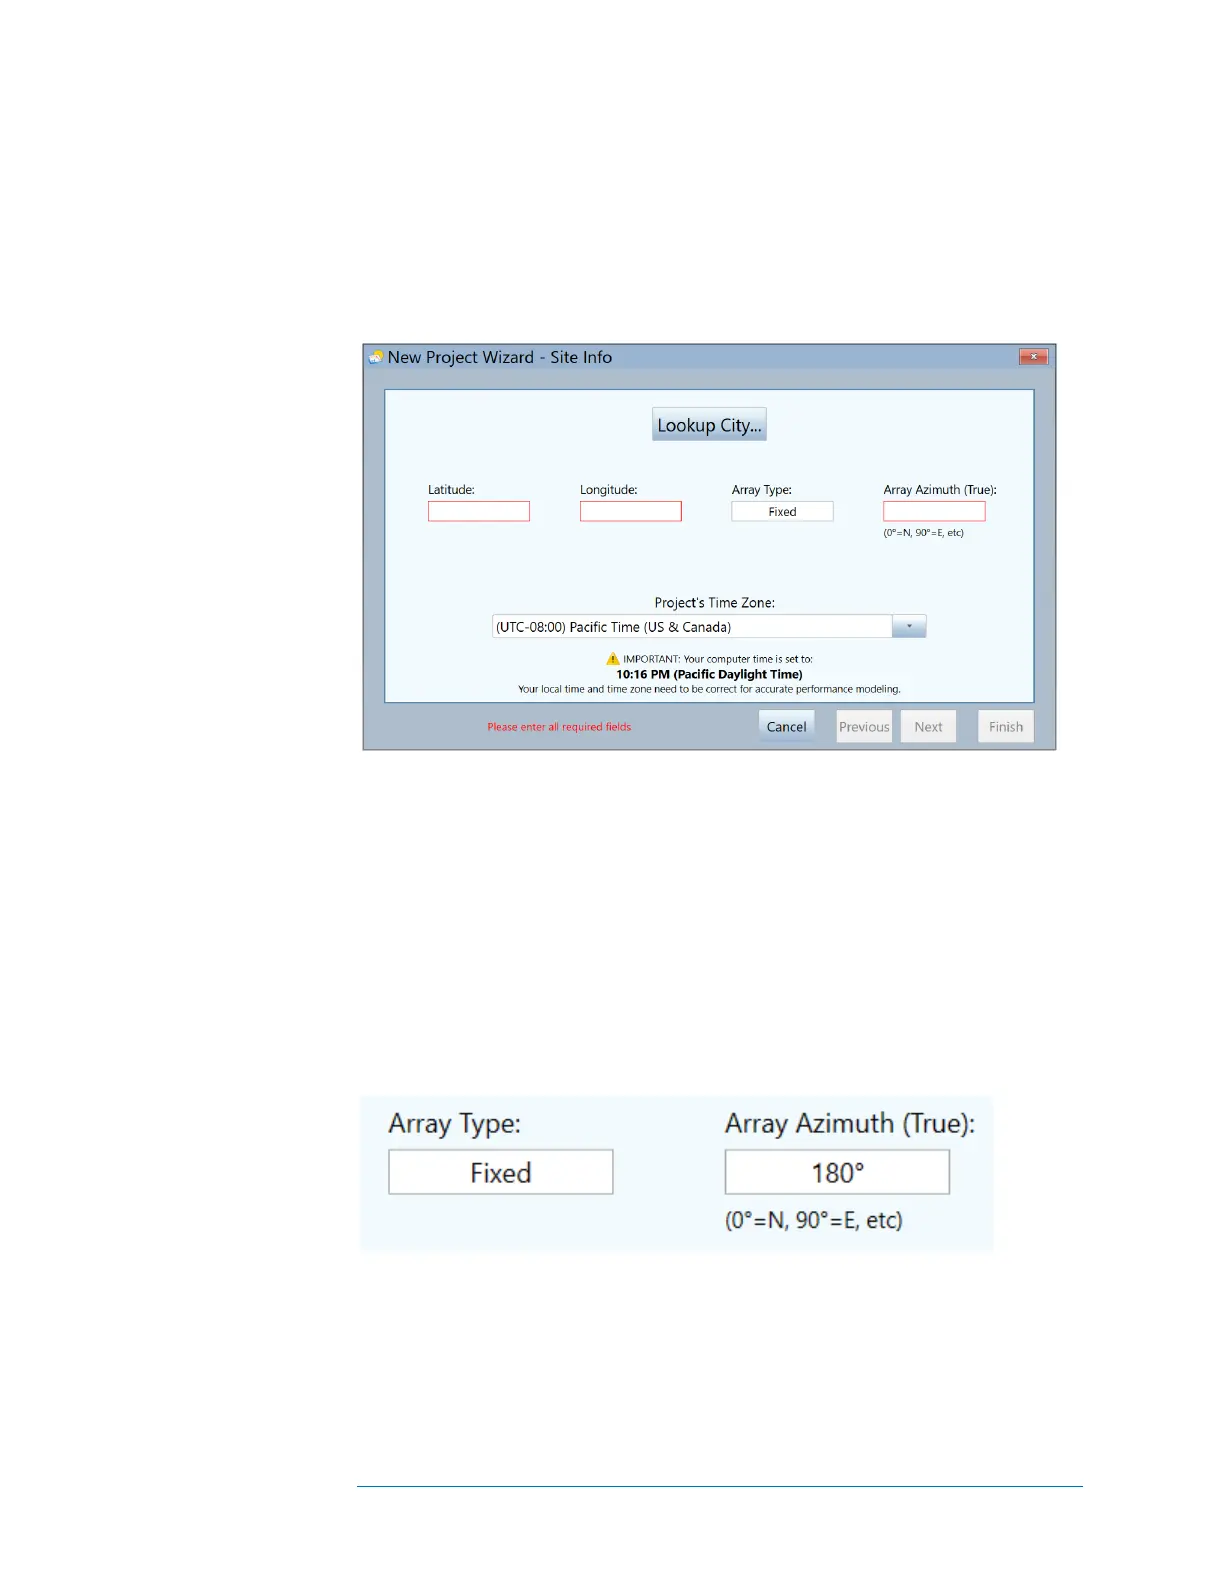
Clicking New Project… brings up the Site Info screen, shown in Figure 32. This is the
first of three screens of the New Project Wizard.
Figure 32. The Site Info screen of the New Project Wizard
Enter the latitude and longitude of the PV installation in the boxes provided, or use the
Lookup City button to substitute the latitude and longitude of a city near your PV
installation.
The Site Info screen has a special feature for horizontal single-axis tracking systems,
which allows the I-V curves to be taken while the tracker is working. This has the
advantage of taking all of your measurements at the greatest possible irradiance level.
The user enters the morning azimuth of the array, and at solar noon the software adds 180
degrees for the afternoon azimuth.
Figure 33 shows example settings for a fixed (non-tracking) array.
Figure 33. Controls in the Site Info screen, set for a fixed array with 180-degree
azimuth.
Figure 34 shows the array type and azimuth settings for a horizontal single-axis tracker.
In this example, the PV modules are facing East in the morning hours (before solar
noon). At solar noon, the PVA software will add 180-degrees to the morning azimuth.
 Loading...