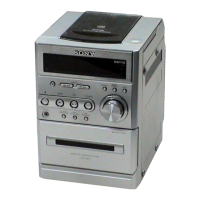
HCD-AZ33D
25
To Clear the Initialize Setup Data
Press [DVD MENU] button and then press [CLEAR] button on the
remote commander.
Emg. History Check
Laser Hours CD 999h 59min
DVD 999h 59min
initialize setup data...
[Next] Next Page [Prev] Prev Page
[0] Return to Top Menu
To Return to the Top Menu of Remocon Diagnosis
Menu
Press the [0] button on the remote commander.
5. CHECKING VERSION INFORMATION
To check the version information, please follow the following pro-
cedure.
Procedure:
1. From the top menu of Remocon Diagnosis Menu, select “4.
Version Information” by pressing the [4] button on the remote
commander. The following screen appears on the on-screen
display.
Version information
Firm(Main): Ver. X.XXX
Firm(Sub): XX.XX
RISC: XXXXXX
8032: XXXXXX
Audio DSP: XX.XX.XX.XX
Servo DSP: XX.XX.XX.XX
[0]Return to Top Menu
2. To return to the top menu of Remocon Diagnosis Menu, press
the [0] on the remote commander.
DIGITAL MEDIA PORT TEST
Procedure:
1. Connect the DMPORT CHECK JIG (Part No.: J-2501-309-A)
with the terminal DMPORT.
2. Press the [
?/1
] button to turn the power on.
3. Confi rm that both LEDs of the DMPORT confi rmation JIG
lights. (Confi rmation the power supply line.)
4. Touch the [DMPORT] sensor to select the “DMPORT”
5. Touch three sensors of [
x
], [DMPORT] and [VOLUME +]
simultaneously, the DMPORT test mode is activated.
6. Touch three sensors of [
x
], [DMPORT] and [VOLUME -] si-
multaneously, it is confi rmed that “DMPORT OK” is displayed
on this set display. (Confi rmation of communication line)
7. To a pinjack of the DMPORT confi rmation JIG input informa-
tion relevant to audio signal. (sine-wave 1.0Vrms)
8. Confi rm the output of speakers and monitor TV. (Confi rmation
of analog signal)
9. To release from this mode, press the [
?/1
] button to turn off
the system.
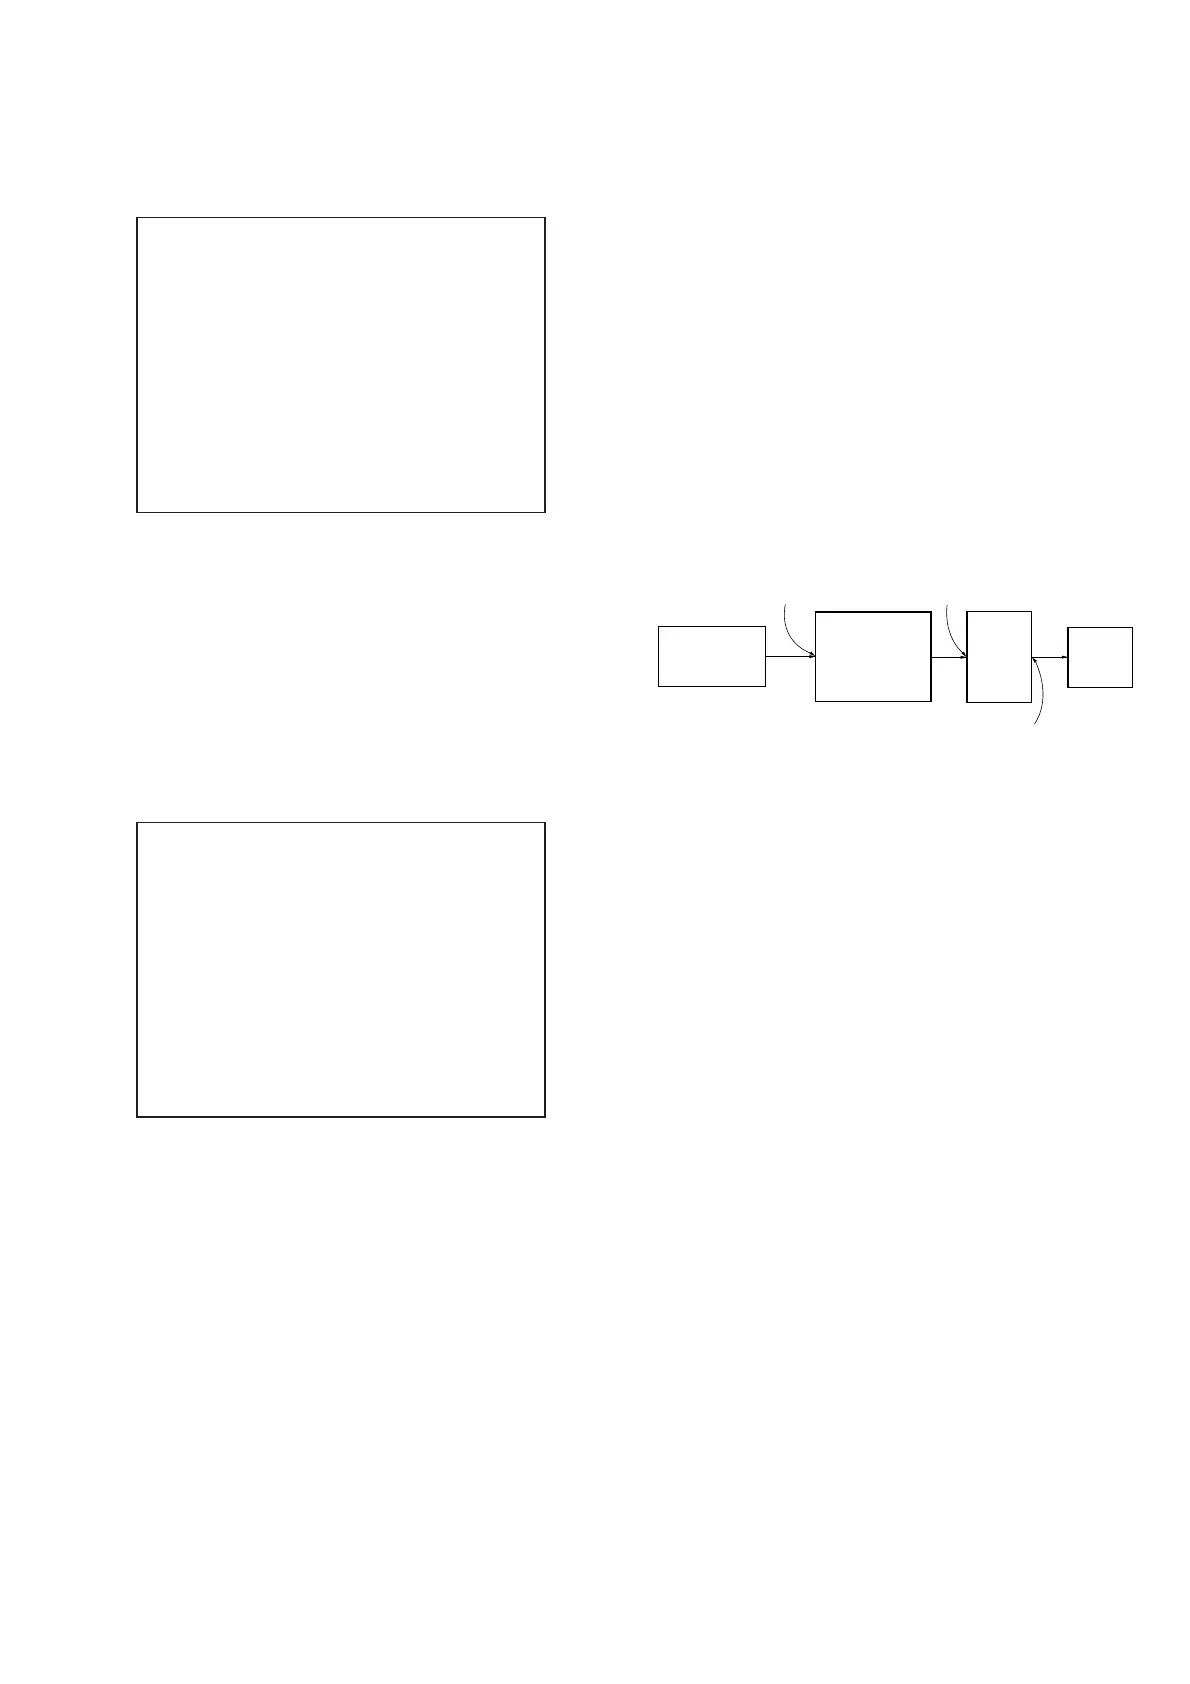
DMPORT
check jig
(Part No.:
J-2501-309-A)
J001
AF oscillator
set
FL/FR
speaker
DMPORT board
CN204
SPEAKER board
TB501
Ver. 1.1